Knowing where to temp a roast chicken is the secret to juicy, safe, and perfectly cooked poultry. Placing your thermometer correctly ensures accurate readings and avoids undercooked meat or dry, overdone results. With the right technique, you’ll serve a golden, flavorful bird every time.
Key Takeaways
- Insert the probe into the thickest part of the breast: This ensures you’re measuring the slowest-cooking area, preventing undercooking.
- Avoid bones and fat: These can give false temperature readings, leading to over- or under-cooking.
- Target 165°F (74°C) for safety: The USDA recommends this internal temperature for poultry to eliminate harmful bacteria.
- Check multiple spots if needed: Especially in larger birds, verify doneness in both breast and thigh.
- Let it rest after cooking: Resting allows juices to redistribute, keeping the meat moist and tender.
- Use an instant-read or probe thermometer: These provide accurate, real-time readings crucial for perfect results.
- Calibrate your thermometer regularly: Accuracy starts with a properly functioning tool.
Quick Answers to Common Questions
Where should I insert the thermometer in a roast chicken?
Insert the probe into the thickest part of the breast, avoiding bone and fat. This ensures you’re measuring the slowest-cooking area for accurate results.
What temperature should a roast chicken reach?
The USDA recommends 165°F (74°C) for safety. Many chefs pull it out at 160°F (71°C) and let it rest, as carryover cooking will bring it to 165°F.
Can I temp the thigh instead of the breast?
No. The thigh cooks faster than the breast. Temp the breast to ensure the slowest part is done.
How long should I let a roast chicken rest?
Let it rest for 10–15 minutes, tented with foil. This allows juices to redistribute and the temperature to rise slightly.
What type of thermometer is best for roasting chicken?
An oven-safe probe thermometer is ideal for hands-off monitoring. An instant-read works too, but requires checking manually.
📑 Table of Contents
- Where Do You Temp a Roast Chicken for Perfect Results
- Why Temperature Matters in Roasting Chicken
- Where to Insert the Thermometer: The Right Spot
- Target Temperatures for Different Cuts
- Step-by-Step Guide to Temp a Roast Chicken
- Common Mistakes and How to Avoid Them
- Tips for Juicier, More Flavorful Roast Chicken
- Conclusion
Where Do You Temp a Roast Chicken for Perfect Results
Roasting a chicken seems simple—toss it in the oven, wait, and serve. But anyone who’s ever carved into a dry breast or found pink, undercooked meat knows it’s easy to get it wrong. The secret? Knowing exactly where to temp a roast chicken. It’s not just about time or oven temperature—it’s about precision. And that starts with placing your thermometer in the right spot.
Imagine pulling a beautiful golden bird from the oven, only to find the breast is dry and the thigh is still pink. Frustrating, right? That’s what happens when you rely on guesswork instead of science. A meat thermometer takes the mystery out of roasting. But even with the best tool, you can still mess up if you don’t know where to insert it. The goal is to measure the internal temperature of the slowest-cooking part—without hitting bone or fat—so you can pull the chicken out at the perfect moment.
This guide will walk you through everything you need to know about where to temp a roast chicken, from probe placement to target temperatures, and why each step matters. Whether you’re a weekend cook or a seasoned home chef, mastering this skill will elevate your poultry game forever.
Why Temperature Matters in Roasting Chicken
Visual guide about Where Do You Temp a Roast Chicken for Perfect Results
Image source: newengland.com
Chicken is delicious, but it’s also one of the most common sources of foodborne illness when undercooked. Bacteria like Salmonella and Campylobacter thrive in raw poultry, and they don’t die until the meat reaches a specific internal temperature. That’s why knowing where to temp a roast chicken isn’t just about texture—it’s about safety.
But safety isn’t the only reason to care about temperature. Overcooking chicken dries it out, turning juicy meat into rubbery disappointment. The breast, in particular, has very little fat and can go from perfect to overdone in just a few minutes. That’s why precision is key. You want to hit the sweet spot: hot enough to be safe, but not so hot that the meat loses its moisture.
The USDA recommends cooking poultry to an internal temperature of 165°F (74°C). This temperature ensures harmful bacteria are destroyed. However, many chefs and food scientists now suggest pulling chicken out at 160°F (71°C) and letting it rest, as the temperature will continue to rise slightly (a process called carryover cooking) and reach 165°F during resting. This method helps preserve juiciness, especially in the breast.
But here’s the catch: you can only achieve this precision if you’re measuring the temperature in the right place. If you stick your thermometer into a thin part of the breast or near a bone, you’ll get a false reading. That’s why understanding where to temp a roast chicken is the foundation of great roasting.
The Science of Carryover Cooking
When you remove chicken from the oven, the internal temperature doesn’t immediately drop. Instead, heat continues to move from the hotter outer layers to the cooler center. This means the temperature can rise by 5–10°F (3–6°C) during resting. For example, if you pull a chicken out at 160°F, it may reach 165°F by the time you carve it.
This is why many professional cooks aim for 160°F in the breast. It’s a safer bet for juiciness, especially with lean cuts. But again, this only works if you’re measuring accurately. If your probe is in the wrong spot, you might think you’re at 160°F when you’re actually at 150°F—or worse, 170°F.
Safety vs. Tenderness: Finding the Balance
It’s a common misconception that chicken must be cooked to 165°F immediately to be safe. In reality, lower temperatures can also kill bacteria—if held long enough. For example, cooking chicken to 155°F (68°C) and holding it for 30 seconds is just as effective as 165°F for an instant kill. This is known as time-temperature equivalence.
However, most home cooks don’t have the tools to monitor holding times accurately. So, the 165°F rule remains the gold standard for simplicity and safety. But by using a thermometer and knowing where to temp a roast chicken, you can hit that target without overcooking.
Where to Insert the Thermometer: The Right Spot
Visual guide about Where Do You Temp a Roast Chicken for Perfect Results
Image source: idratherbeachef.com
Now for the million-dollar question: Where do you temp a roast chicken? The answer is simple but critical: the thickest part of the breast, avoiding bone and fat.
The breast is the largest muscle in the chicken and takes the longest to cook. It’s also the most prone to drying out. By measuring here, you ensure the slowest-cooking part is done, which means the rest of the bird is safe and ready.
To find the right spot, locate the breast—it’s the broad, flat section on the front of the chicken. The thickest part is usually about halfway down, near where the wing meets the body. Gently insert the probe at a slight angle, aiming toward the center of the breast. You want the tip to be in the middle of the meat, not touching the bone or the cavity.
Avoiding Common Mistakes
One of the biggest mistakes is inserting the thermometer into the thigh. While the thigh is delicious and benefits from higher heat (it can handle up to 175°F), it cooks faster than the breast. If you temp the thigh and call it done, the breast will be undercooked.
Another mistake is hitting the bone. Bones conduct heat differently than meat, so a probe touching bone will give a falsely high reading. The same goes for large pockets of fat. Fat doesn’t conduct heat the same way as muscle, so it can throw off your measurement.
Using a Probe vs. Instant-Read Thermometer
There are two main types of thermometers for roasting: probe thermometers and instant-read thermometers.
A probe thermometer stays in the chicken while it cooks. You insert it before roasting, and it connects to a base unit outside the oven that alerts you when the target temperature is reached. This is ideal for hands-off roasting, especially with larger birds.
An instant-read thermometer is used to check temperature at the end of cooking. You insert it, wait a few seconds, and read the result. It’s more flexible but requires you to open the oven door, which can cause heat loss.
Both work well, but the probe is better for precision. Just make sure it’s placed correctly from the start.
Target Temperatures for Different Cuts
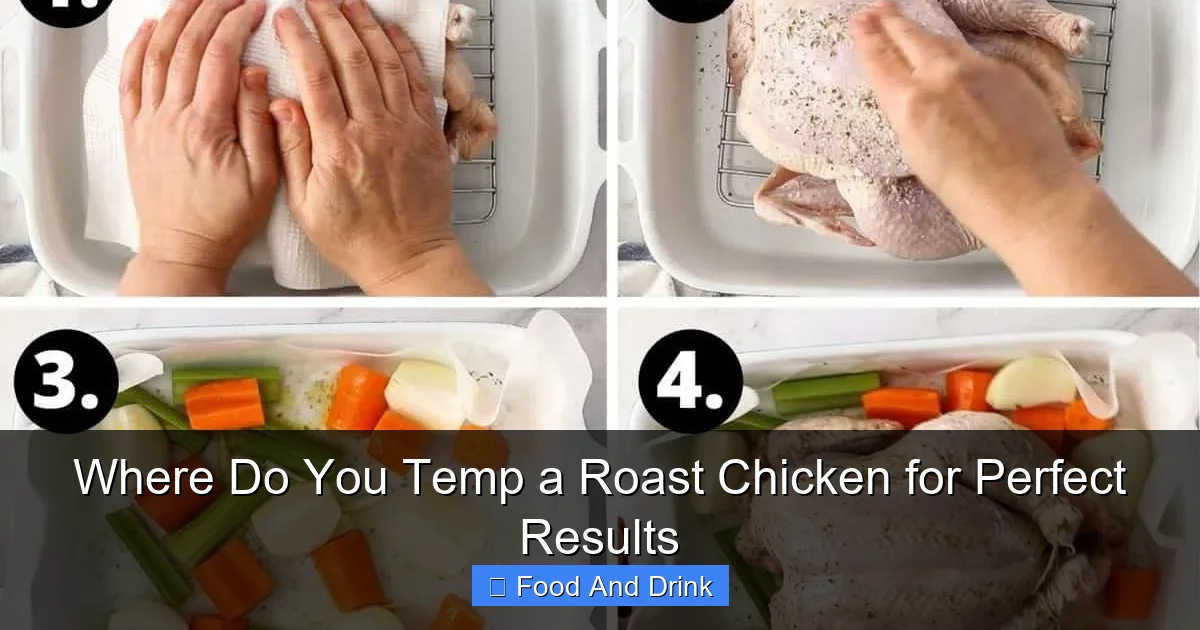
Visual guide about Where Do You Temp a Roast Chicken for Perfect Results
Image source: itsnotcomplicatedrecipes.com
Not all parts of the chicken cook at the same rate. The breast, thigh, and wing all have different ideal temperatures. Knowing where to temp a roast chicken means understanding these differences.
Breast Meat: 160–165°F (71–74°C)
The breast is lean and dries out quickly. Aim for 160°F and let it rest. It will reach 165°F during carryover cooking. If you go much higher, you risk dryness.
Thigh Meat: 170–175°F (77–80°C)
The thigh has more fat and connective tissue, which breaks down at higher temperatures. It becomes tender and juicy around 170°F. Some prefer it even higher, up to 175°F, for maximum tenderness.
Wings and Drumsticks: 165–170°F (74–77°C)
These parts are smaller and cook faster. They’re usually done by the time the breast reaches 160°F, but it’s good to check if you’re serving them separately.
Whole Chicken: Focus on the Breast
When roasting a whole chicken, always temp the breast. It’s the slowest to cook and the most important for safety and texture. Once the breast hits 160°F, the thighs and wings will likely be over 170°F—perfectly done.
Step-by-Step Guide to Temp a Roast Chicken
Ready to put this into practice? Here’s a simple step-by-step guide to ensure you temp your roast chicken correctly every time.
Step 1: Prepare the Chicken
Pat the chicken dry with paper towels. This helps the skin crisp up. Season generously with salt, pepper, and any herbs or spices you like. You can also stuff the cavity with aromatics like lemon, garlic, or herbs—just don’t pack it too tightly, as it can affect cooking time.
Step 2: Truss the Chicken (Optional)
Trussing—tying the legs together with kitchen twine—helps the chicken cook evenly and keeps the breast from drying out. It’s not required, but it’s a good practice for even roasting.
Step 3: Insert the Thermometer
Place the chicken breast-side up on a roasting pan or baking dish. Insert the probe into the thickest part of the breast, about halfway down. Angle it slightly so the tip is in the center of the meat, not touching the bone or cavity.
If using an instant-read thermometer, wait until the last 10–15 minutes of cooking to check.
Step 4: Roast at the Right Temperature
Preheat your oven to 375°F (190°C). Roast the chicken uncovered. A general rule is 20 minutes per pound, but always rely on temperature, not time.
For extra crispy skin, you can start at 425°F (220°C) for the first 20 minutes, then reduce to 350°F (175°C) for the remainder.
Step 5: Monitor the Temperature
If using a probe thermometer, set the alarm for 160°F. When it beeps, remove the chicken from the oven.
If using an instant-read, check the breast every 5–10 minutes during the last 20 minutes of cooking.
Step 6: Let It Rest
This is crucial. Transfer the chicken to a cutting board and tent loosely with foil. Let it rest for 10–15 minutes. During this time, the temperature will rise to 165°F, and the juices will redistribute.
Step 7: Carve and Serve
Carve the chicken and serve immediately. The meat will be juicy, tender, and perfectly safe.
Common Mistakes and How to Avoid Them
Even experienced cooks make mistakes when it comes to temp a roast chicken. Here are the most common ones—and how to fix them.
Mistake 1: Not Calibrating the Thermometer
A thermometer that’s off by even 5°F can ruin your chicken. Always calibrate your thermometer before use. To do this, fill a glass with ice water and insert the probe. It should read 32°F (0°C). If not, adjust or replace it.
Mistake 2: Checking Temperature Too Early
Don’t check the temperature until the chicken is about 10–15 minutes from the estimated finish time. Opening the oven too early causes heat loss and extends cooking time.
Mistake 3: Overcrowding the Pan
If you’re roasting vegetables with the chicken, don’t pile them too high. They should surround the chicken, not cover it. This ensures even airflow and crispy skin.
Mistake 4: Skipping the Rest
Resting is non-negotiable. Cutting into the chicken too soon lets all the juices run out, leaving dry meat. Always rest for at least 10 minutes.
Mistake 5: Ignoring Carryover Cooking
Pulling the chicken out at 165°F means it will go even higher during resting—potentially drying out the breast. Aim for 160°F and let carryover cooking do the rest.
Tips for Juicier, More Flavorful Roast Chicken
Now that you know where to temp a roast chicken, let’s talk about how to make it even better.
Brining for Moisture
Brining—soaking the chicken in salted water—helps it retain moisture during cooking. Use a wet brine (saltwater) or dry brine (rubbing salt on the skin and letting it sit in the fridge). Brine for 4–12 hours, then rinse and pat dry before roasting.
Basting for Flavor and Color
Basting with butter, olive oil, or pan juices adds flavor and helps brown the skin. Do it every 20–30 minutes, but avoid opening the oven too often.
Using a Roasting Rack
Place the chicken on a roasting rack inside the pan. This allows hot air to circulate underneath, cooking the bird evenly and crisping the skin all around.
Adding Aromatics
Stuff the cavity with lemon halves, garlic cloves, onion, and fresh herbs like thyme or rosemary. These infuse the meat with flavor as it roasts.
Finishing with Butter
For extra richness, brush the chicken with melted butter during the last 10 minutes of roasting. It adds shine and deepens the flavor.
Conclusion
Knowing where to temp a roast chicken is the key to perfect poultry every time. It’s not just about safety—it’s about texture, juiciness, and confidence in the kitchen. By inserting your thermometer into the thickest part of the breast, avoiding bones and fat, and targeting 160°F with a rest to reach 165°F, you’ll serve a golden, flavorful bird that’s safe and delicious.
Don’t rely on time or guesswork. Use a reliable thermometer, follow the steps, and let science guide your cooking. Whether you’re roasting a weeknight dinner or hosting a holiday feast, this simple skill will transform your results.
So next time you’re in the kitchen with a whole chicken, remember: precision beats guesswork. Temp it right, rest it well, and enjoy every juicy bite.
Frequently Asked Questions
Can I use a meat thermometer on a frozen chicken?
No. Always thaw chicken completely before roasting. Cooking from frozen leads to uneven cooking and inaccurate temperature readings.
Is it safe to eat chicken at 160°F?
Yes, if it rests long enough. The temperature will rise to 165°F during carryover cooking, making it safe to eat while staying juicy.
Why is my roast chicken dry even though I used a thermometer?
You may have overcooked it. Aim for 160°F in the breast and avoid going above 165°F. Also, brining and resting help retain moisture.
Should I remove the thermometer before resting?
Yes, remove the probe before resting to avoid damaging it. The internal temperature will continue to rise without the probe in place.
Can I temp a stuffed roast chicken the same way?
Yes, but the stuffing can affect cooking time. Temp the breast as usual, and ensure the stuffing reaches 165°F if consumed.
What if my thermometer touches the bone?
It will give a false high reading. Always angle the probe to avoid bones and aim for the center of the meat.