Knowing when to put foil on roast chicken is the secret to juicy meat and crispy skin. Whether you’re covering early to prevent drying or tenting at the end for even resting, timing matters. This guide breaks down the best practices for foolproof roasting.
Roasting a chicken seems simple—toss it in the oven, wait, and enjoy. But anyone who’s ever pulled out a dry, overcooked bird knows it’s easy to get it wrong. The difference between a juicy, golden roast chicken and a tough, flavorless one often comes down to one small detail: when to put foil on roast chicken. It’s not just about covering or uncovering—it’s about timing, technique, and understanding how heat and moisture interact with the meat.
Foil can be your best friend or your worst enemy in the kitchen. Used correctly, it locks in moisture, prevents burning, and helps the chicken cook evenly. Used at the wrong time, it can turn crispy skin into a soggy mess or trap too much steam, leading to uneven cooking. The key is knowing exactly when to apply that sheet of aluminum and when to let the chicken breathe. Whether you’re roasting a whole bird, chicken parts, or a spatchcocked chicken, the foil strategy changes slightly—but the principles remain the same.
In this guide, we’ll walk you through everything you need to know about when to put foil on roast chicken for juicy, flavorful results every single time. From understanding the science behind roasting to mastering different foil techniques, you’ll learn how to tailor your approach based on your oven, your recipe, and your desired outcome. Whether you’re a beginner or a seasoned home cook, these tips will help you roast a chicken that’s tender, moist, and full of flavor—with skin so crispy, everyone will ask for seconds.
Key Takeaways
- Cover early to retain moisture: Use foil at the start if your chicken tends to dry out, especially with lean cuts or high-heat roasting.
- Remove foil for crispy skin: Uncover during the last 20–30 minutes to allow the skin to brown and crisp up.
- Tent with foil after roasting: Loosely cover the cooked chicken with foil while resting to keep it warm without steaming the skin.
- Use a meat thermometer: Always check internal temperature (165°F in the thigh) to avoid overcooking, regardless of foil use.
- Adjust based on recipe and oven: High-heat roasting may need early foil; slow roasting often doesn’t require it at all.
- Choose the right foil technique: Loose tenting prevents sogginess; tight wrapping steams and softens skin.
- Practice makes perfect: Experiment with timing on your oven and chicken size to find your ideal foil routine.
Quick Answers to Common Questions
Should I cover roast chicken with foil at the beginning?
Yes, if roasting at high heat (400°F+), cover with foil for the first 20–30 minutes to retain moisture, especially for whole chickens or breast meat.
When should I remove foil from roast chicken?
Remove foil during the last 20–30 minutes of roasting to allow the skin to brown and crisp up.
Can I leave foil on roast chicken the entire time?
No, leaving foil on the entire time will result in soggy skin. Always uncover toward the end for crispiness.
How do I keep roast chicken warm without ruining the skin?
Tent loosely with foil after roasting and let it rest for 15–20 minutes. Avoid tight wrapping to prevent steaming.
Do I need foil for spatchcocked chicken?
Usually not. Spatchcocked chicken roasts evenly and crisps well uncovered at 425°F.
📑 Table of Contents
Why Foil Matters in Roasting Chicken
Roasting chicken is all about balance—heat, time, moisture, and airflow. Foil plays a crucial role in managing these elements. When used correctly, it helps control the cooking environment, protecting the meat from drying out while allowing the skin to crisp up at the right moment. But why does this matter so much?
Chicken, especially the breast meat, is lean and prone to drying out when exposed to high heat for too long. The dark meat (thighs and drumsticks) is more forgiving due to its higher fat content, but even that can toughen if overcooked. Foil acts as a shield, reflecting heat and trapping steam, which slows down the cooking process and keeps the meat moist. This is especially helpful during the early stages of roasting when the chicken is most vulnerable to moisture loss.
But foil isn’t just about protection—it’s also about timing. If you leave the chicken uncovered the entire time, the skin may burn before the inside is fully cooked. On the other hand, if you cover it too long, the skin won’t crisp up, and you’ll end up with a rubbery, unappetizing texture. The trick is to use foil strategically: cover early to protect, then remove it to finish.
Another reason foil matters is consistency. Ovens vary in temperature accuracy and heat distribution. Some run hot, others cool. Some have hot spots that can cause uneven browning. Foil helps even things out by diffusing direct heat and creating a more stable cooking environment. This is especially useful if you’re roasting at high temperatures (425°F or above), where the risk of drying out is higher.
Finally, foil can help with resting. Once the chicken is done, tenting it loosely with foil keeps it warm without steaming the skin. This allows the juices to redistribute, resulting in a more flavorful, tender bite. Without proper resting—and the right foil technique—those precious juices can escape, leaving the meat dry.
In short, foil is a powerful tool in your roasting arsenal. It’s not about using it all the time or avoiding it completely—it’s about knowing when and how to use it for the best results.
When to Cover Roast Chicken with Foil
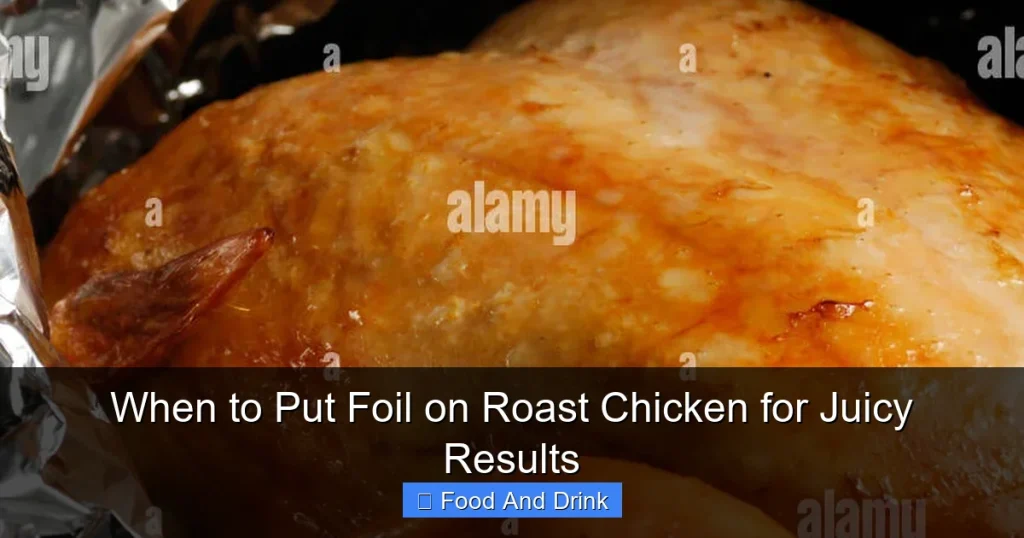
Visual guide about When to Put Foil on Roast Chicken for Juicy Results
Image source: shungrill.com
Knowing when to put foil on roast chicken starts with understanding the cooking stages. The goal is to protect the meat during the most vulnerable phase—usually the first half of roasting—while allowing the skin to crisp up toward the end. Here’s a breakdown of the best times to cover your chicken with foil.
Early Coverage for Moisture Retention
If you’re roasting at a high temperature (400°F to 450°F), consider covering the chicken with foil for the first 20 to 30 minutes. This is especially helpful if you’re cooking a whole bird or chicken parts with lean breast meat. High heat can quickly evaporate surface moisture, leading to dry meat. By covering early, you create a steaming effect that keeps the chicken juicy while it cooks through.
For example, if you’re roasting a 4-pound whole chicken at 425°F, place it breast-side up on a roasting pan, season generously, and cover loosely with foil. Roast for 25 minutes, then remove the foil. This initial cover protects the breast from drying out while the thighs and drumsticks catch up in doneness.
This technique is also useful if you’re roasting chicken parts separately. Dark meat can handle more heat, but breast pieces cook faster and dry out easily. Covering them early ensures they stay moist while the skin crisps later.
Using Foil to Prevent Over-Browning
Sometimes, the skin starts to brown too quickly—before the inside is fully cooked. This is common with chickens that have been brined or seasoned with sugar-based rubs (like brown sugar or honey), which caramelize fast. In these cases, covering with foil partway through roasting can prevent burning.
For instance, if you’ve rubbed your chicken with a spice blend containing paprika or brown sugar, check it after 30 minutes. If the skin is already dark golden, loosely tent it with foil for the remaining cooking time. This slows down browning while allowing the heat to penetrate the meat evenly.
This method is also helpful if your oven runs hot or has strong top heat. The foil acts as a barrier, reducing direct radiant heat from the top element and giving the chicken time to cook through without charring.
Foil for Slow Roasting or Low-Temperature Cooking
If you’re roasting at a lower temperature (325°F to 350°F), you may not need foil at all—or only briefly. Slow roasting naturally retains moisture because the heat is gentler and more consistent. However, if you notice the skin drying out or the chicken taking too long to cook, a loose foil cover can help speed things up without sacrificing juiciness.
For example, a spatchcocked chicken (butterflied) roasted at 375°F usually doesn’t need foil. The flat shape allows even cooking, and the skin crisps nicely uncovered. But if you’re roasting a whole chicken at 325°F and it’s been in for over an hour with little browning, a quick foil tent for 10–15 minutes can help retain heat and moisture without steaming the skin.
When Not to Use Foil Early
There are times when covering with foil at the start isn’t necessary—or even counterproductive. If you’re roasting at a moderate temperature (350°F to 375°F) and your chicken is well-brined or basted, it may not need early protection. Brining adds moisture and helps the meat retain it during cooking, reducing the risk of drying out.
Similarly, if you’re using a roasting rack that elevates the chicken above the pan, the airflow helps crisp the skin from all sides. In this case, covering early might trap too much steam and prevent browning. Instead, wait until the last 20–30 minutes to remove any foil, if used at all.
Ultimately, the decision to cover early depends on your recipe, oven, and chicken size. Smaller birds (under 3 pounds) cook faster and may not need foil. Larger ones (over 5 pounds) benefit from early coverage to prevent the breast from overcooking before the thighs are done.
When to Remove Foil for Crispy Skin
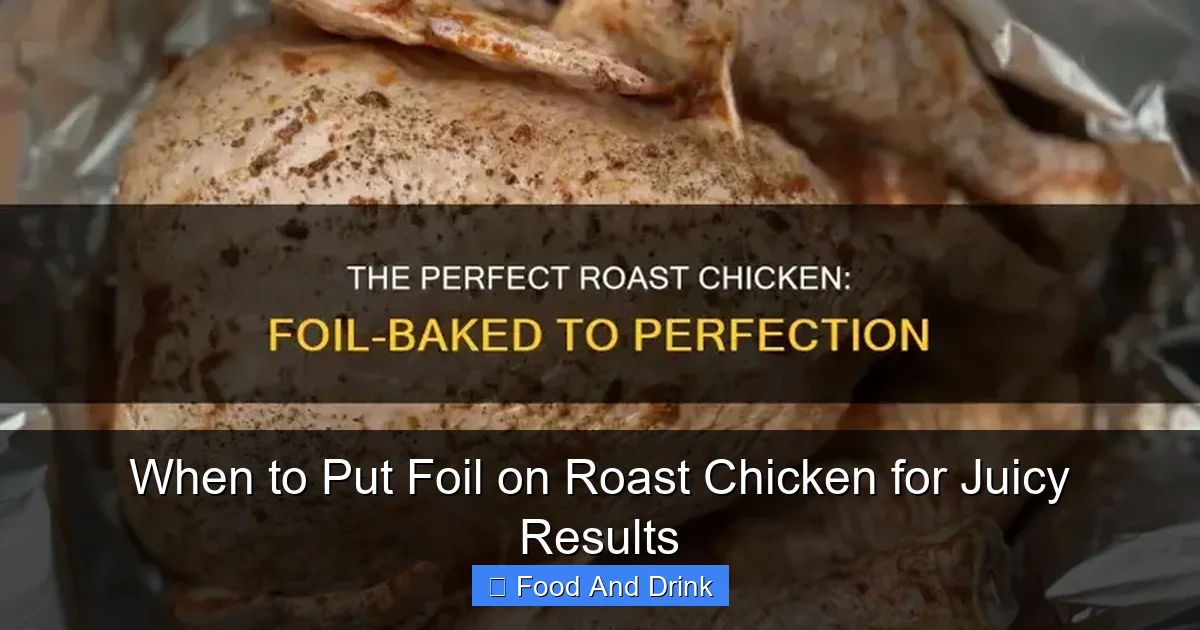
Visual guide about When to Put Foil on Roast Chicken for Juicy Results
Image source: thumbs.dreamstime.com
While covering with foil helps retain moisture, removing it at the right time is just as important—especially if you want crispy, golden skin. The skin needs direct exposure to dry heat to crisp up, and foil traps steam, which softens it. Here’s how to time the foil removal for perfect texture.
The Final 20–30 Minutes Rule
The most common and effective strategy is to remove the foil during the last 20 to 30 minutes of roasting. This gives the skin enough time to brown and crisp without overcooking the meat. For a standard 4-pound chicken roasted at 375°F, that means uncovering around the 50-minute mark if the total cook time is about 70–80 minutes.
During this final phase, the chicken is mostly cooked through, and the internal temperature is approaching 165°F. Removing the foil allows the surface to dry out and the fat to render, creating that coveted crispy texture. Keep an eye on the skin—it should turn a deep golden brown, not black or burnt.
Adjust Based on Oven and Chicken Size
Not all chickens cook at the same rate. A smaller bird (3 pounds) may only need 15 minutes uncovered, while a larger one (6 pounds) might need 30–40 minutes. Use a meat thermometer to guide you. Once the thickest part of the thigh reads 160°F, remove the foil and continue roasting until it hits 165°F.
Also, consider your oven’s behavior. If it runs hot, you may need to remove the foil earlier to prevent burning. If it runs cool, you might need to leave it uncovered a bit longer. Rotating the pan halfway through can also help ensure even browning.
Boost Crispiness with Extra Heat
For extra-crispy skin, crank up the heat during the final uncovered phase. After removing the foil, increase the oven temperature to 425°F for the last 10–15 minutes. This jump-start in heat helps render fat and crisp the skin quickly without overcooking the meat.
Alternatively, you can finish the chicken under the broiler for 2–3 minutes. Watch it closely—broilers are intense and can burn the skin in seconds. This method works best with chicken parts or spatchcocked birds, where the skin is more exposed.
Avoid Common Mistakes
One mistake is removing the foil too early. If the chicken isn’t nearly done, uncovering it will cause the skin to burn before the inside cooks. Always check the internal temperature before removing foil.
Another mistake is not removing it at all. Some cooks cover the chicken the entire time to keep it moist, but this results in soggy skin. Remember: moisture retention and crispiness require different approaches. Use foil early, then remove it to finish.
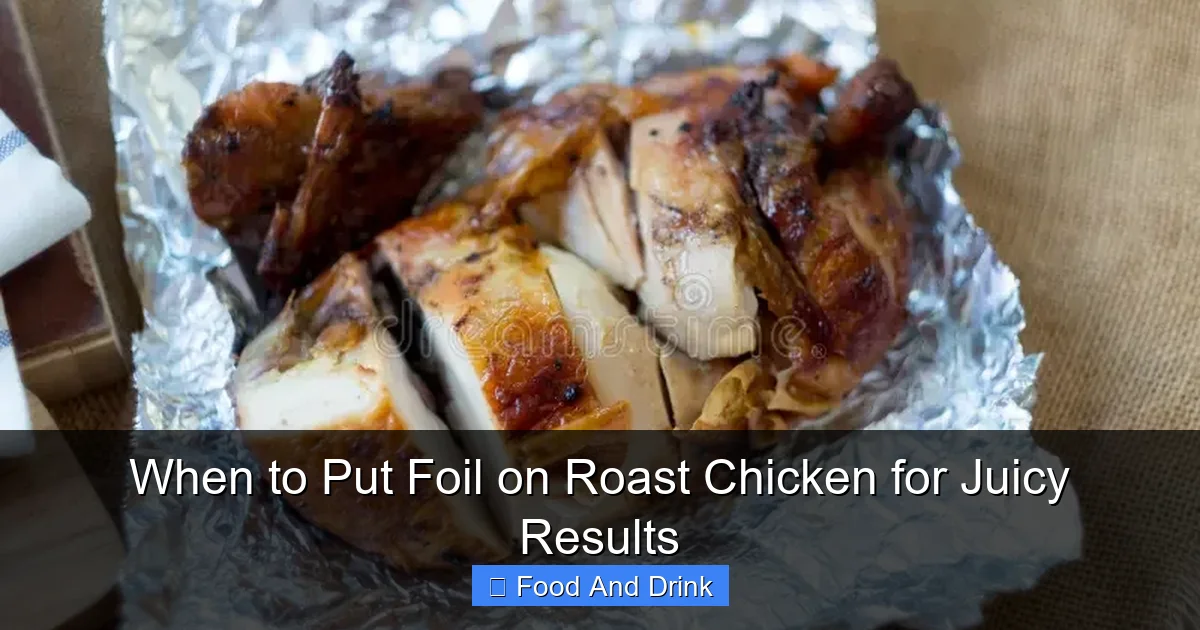
How to Tent Chicken with Foil After Roasting

Visual guide about When to Put Foil on Roast Chicken for Juicy Results
Image source: img.sndimg.com
Once your chicken is cooked, the job isn’t done. Resting is a critical step that allows the juices to redistribute, making the meat more tender and flavorful. But how you cover the chicken during resting can make or break the final texture—especially the skin.
Loose Tenting vs. Tight Wrapping
The key is to tent the chicken loosely with foil—don’t wrap it tightly. Tight wrapping traps steam, which softens the crispy skin and can make it rubbery. A loose tent allows heat to escape while keeping the chicken warm.
To tent properly, crumple a sheet of foil slightly to create air pockets, then drape it over the chicken like a tent. Make sure it doesn’t touch the skin directly. This creates a warm, breathable environment that preserves crispiness while keeping the meat juicy.
Resting Time Matters
Let the chicken rest for at least 15–20 minutes before carving. For a whole bird, 20–30 minutes is ideal. During this time, the internal temperature will rise by 5–10°F, ensuring it reaches the safe 165°F mark. The juices will also settle, so when you cut into the meat, they stay inside instead of pooling on the cutting board.
If you’re short on time, 10 minutes is better than nothing—but don’t skip resting entirely. A rushed carve leads to dry, stringy meat.
Keep It Warm Without Steaming
If you need to keep the chicken warm for longer (up to an hour), place it in a warm oven (170°F to 200°F) while tented with foil. This prevents it from cooling too quickly without overcooking. Just make sure the oven isn’t too hot—anything above 200°F will continue cooking the meat.
Alternatively, you can rest the chicken at room temperature, covered loosely with foil. Avoid placing it in the refrigerator during resting—this causes the skin to steam and lose its crispness.
Foil Techniques for Different Roasting Methods
Not all roasting methods require the same foil strategy. Whether you’re roasting a whole chicken, parts, or using a special technique like spatchcocking, the timing and method of foil use may vary.
Whole Chicken Roasting
For a whole chicken, cover with foil for the first 20–30 minutes if roasting above 375°F. Remove the foil for the final 20–30 minutes to crisp the skin. Use a meat thermometer to check doneness in the thigh, avoiding the bone.
Chicken Parts (Breasts, Thighs, Wings)
When roasting parts, cover the breast pieces early if cooking alongside dark meat. Thighs and drumsticks can handle more heat, but breasts dry out quickly. Remove foil 15–20 minutes before the end to crisp the skin.
Spatchcocked Chicken
Spatchcocking (butterflying) flattens the chicken, allowing even cooking and crispy skin all over. Because it roasts faster and more evenly, it usually doesn’t need foil at all. Roast uncovered at 425°F for 40–50 minutes, depending on size.
Roasting in a Bag or Pouch
Some recipes call for roasting chicken in a foil pouch with vegetables and herbs. This method steams the chicken, keeping it incredibly moist. However, the skin won’t crisp. If you want crispy skin, transfer the chicken to a baking sheet and broil for 3–5 minutes after cooking.
Troubleshooting Common Foil Mistakes
Even experienced cooks make foil mistakes. Here’s how to avoid the most common pitfalls.
Soggy Skin
Cause: Tight wrapping or leaving foil on too long.
Fix: Always tent loosely and remove foil 20–30 minutes before the end.
Dry Meat
Cause: No foil during high-heat roasting or overcooking.
Fix: Cover early at high temps and use a thermometer to avoid overcooking.
Uneven Cooking
Cause: Hot spots in the oven or improper foil placement.
Fix: Rotate the pan and use a roasting rack for even airflow.
Burnt Skin
Cause: Removing foil too early or high heat without monitoring.
Fix: Check the chicken regularly and adjust timing based on browning.
Conclusion
Mastering when to put foil on roast chicken is a game-changer for home cooks. It’s not about following a rigid rule—it’s about understanding the balance between moisture retention and crispy skin. Use foil early to protect lean meat, remove it to finish the skin, and tent loosely during resting to preserve texture. With practice, you’ll develop a feel for your oven and your chicken, leading to juicy, flavorful results every time. So next time you roast a bird, don’t guess—use foil wisely, and enjoy a dinner that’s as delicious as it is impressive.
Frequently Asked Questions
Does covering chicken with foil make it more juicy?
Yes, covering with foil during the early stages of roasting helps trap moisture and prevent drying, especially at high temperatures. However, it should be removed later to crisp the skin.
Can I use foil to prevent chicken skin from burning?
Absolutely. If the skin is browning too quickly—especially with sugary rubs—loosely tent with foil to slow down browning while the inside finishes cooking.
What’s the best way to rest roast chicken with foil?
Tent the chicken loosely with foil, ensuring it doesn’t touch the skin. This keeps it warm without steaming, preserving crispiness and allowing juices to redistribute.
Should I use foil when roasting chicken at 350°F?
It depends. At 350°F, chicken roasts slowly and may not need foil unless it’s a large bird or you notice drying. Monitor closely and cover only if necessary.
Can I roast chicken in a foil pan?
Yes, but a regular roasting pan with a rack is better for airflow and crispy skin. Foil pans can trap steam and lead to uneven cooking if not used carefully.
How long should I roast chicken after removing foil?
Typically 20–30 minutes, depending on size and temperature. Use a meat thermometer to ensure the internal temperature reaches 165°F in the thigh.