
Finding the best time to bake chicken ensures tender, juicy meat without overcooking. This guide covers ideal temperatures, cooking durations, and pro tips for bone-in, boneless, and stuffed chicken, so you can serve restaurant-quality meals at home with confidence.
When it comes to baking chicken, timing isn’t just a suggestion—it’s the secret to juicy, flavorful, and perfectly cooked meat. Whether you’re roasting a whole bird, baking boneless breasts for a weeknight dinner, or slow-cooking thighs for a Sunday roast, knowing the best time to bake chicken can mean the difference between a dry, rubbery disappointment and a tender, mouthwatering masterpiece. The good news? With a few simple guidelines and a little practice, anyone can master the art of oven-baked chicken.
Chicken is a staple in kitchens around the world, loved for its versatility, affordability, and mild flavor that pairs well with almost any seasoning or sauce. But despite its popularity, it’s one of the most commonly overcooked proteins. Why? Because it’s easy to underestimate how quickly it cooks—especially lean cuts like breast meat—or to rely solely on visual cues like color and texture, which aren’t always reliable. That’s why understanding the best time to bake chicken isn’t just about following a recipe; it’s about learning how heat, cut, and preparation work together to create the ideal outcome.
In this guide, we’ll break down everything you need to know to bake chicken like a pro. From choosing the right temperature and timing to mastering techniques like brining, resting, and using a meat thermometer, we’ll cover all the essentials. Whether you’re a beginner or a seasoned home cook, these tips will help you consistently serve juicy, perfectly cooked chicken that your family will love.
Key Takeaways
- Use a meat thermometer: The safest and most accurate way to determine doneness is by checking internal temperature—165°F (74°C) for all chicken parts.
- Adjust time based on cut: Boneless breasts cook faster (20–30 minutes) than bone-in thighs or whole chickens (60–90 minutes).
- Preheat your oven: Always preheat to the correct temperature (usually 375°F–425°F) to ensure even cooking and a golden crust.
- Rest the chicken: Let it rest for 5–10 minutes after baking to lock in juices and improve texture.
- Season and marinate wisely: Marinate for at least 30 minutes (or overnight) for deeper flavor and moisture retention.
- Use the right pan: A rimmed baking dish or sheet pan allows fat to drain and prevents steaming.
- Don’t overbake: Even a few extra minutes can dry out chicken—timing and temperature are everything.
Quick Answers to Common Questions
What is the safest internal temperature for baked chicken?
The USDA recommends cooking all chicken to an internal temperature of 165°F (74°C) to ensure it’s safe to eat. Use a meat thermometer to check the thickest part of the meat, avoiding bones.
Can I bake chicken at 350°F instead of 375°F?
Yes, baking at 350°F is fine—it just takes longer. Expect to add 10–15 minutes to the cooking time. This lower temperature is great for larger cuts or when cooking with vegetables.
How do I prevent chicken from drying out in the oven?
Brine the chicken before baking, use a meat thermometer to avoid overcooking, and let it rest after baking. Bone-in and skin-on cuts also stay juicier than boneless ones.
Should I cover chicken while baking?
Generally, no—covering traps steam and prevents browning. Only cover if the recipe calls for it, like in a casserole, or if the chicken is browning too quickly.
Can I bake frozen chicken?
Yes, but it takes about 50% longer. Increase baking time and check the internal temperature frequently. For best results, thaw chicken in the fridge before baking.
📑 Table of Contents
Why Timing Matters When Baking Chicken
Timing is everything when it comes to baking chicken—not just for food safety, but for texture and flavor too. Chicken, especially white meat like breasts, has very little fat and connective tissue compared to red meat. This means it can go from perfectly cooked to dry and tough in just a few minutes. Overcooking is the number one mistake home cooks make, and it often happens because people rely on guesswork instead of science.
The USDA recommends cooking all poultry to an internal temperature of 165°F (74°C) to ensure harmful bacteria like salmonella are destroyed. But here’s the catch: chicken can reach this safe temperature at different times depending on the cut, size, and oven temperature. For example, a thin boneless breast might hit 165°F in 20 minutes at 400°F, while a whole chicken could take over an hour at the same temperature. That’s why using a meat thermometer is non-negotiable—it takes the guesswork out of timing and ensures your chicken is both safe and delicious.
Another reason timing matters is moisture retention. When chicken cooks, its muscle fibers tighten and squeeze out moisture. If it’s cooked too long, too much liquid escapes, leaving you with dry meat. But if you pull it out at just the right moment—when it hits 165°F and has a few minutes to rest—those juices redistribute, resulting in a tender, succulent bite. Think of it like a sponge: over-squeeze it, and it stays dry. Let it rest, and it bounces back.
Timing also affects the texture of the skin. If you’re baking bone-in chicken with skin, you want it crispy and golden, not soggy or burnt. This requires the right balance of heat and time. Too little time, and the skin won’t crisp up. Too much, and it burns while the inside dries out. By understanding how different cuts respond to heat, you can adjust your timing to achieve that perfect balance of crispy skin and juicy meat.
Finally, timing impacts meal planning. Knowing exactly how long your chicken will take to bake helps you coordinate sides, sauces, and other dishes. There’s nothing worse than perfectly cooked vegetables getting cold while you wait for the chicken to finish. With accurate timing, you can have everything ready at the same time, making dinner stress-free and delicious.
Understanding Chicken Cuts and Their Cooking Times
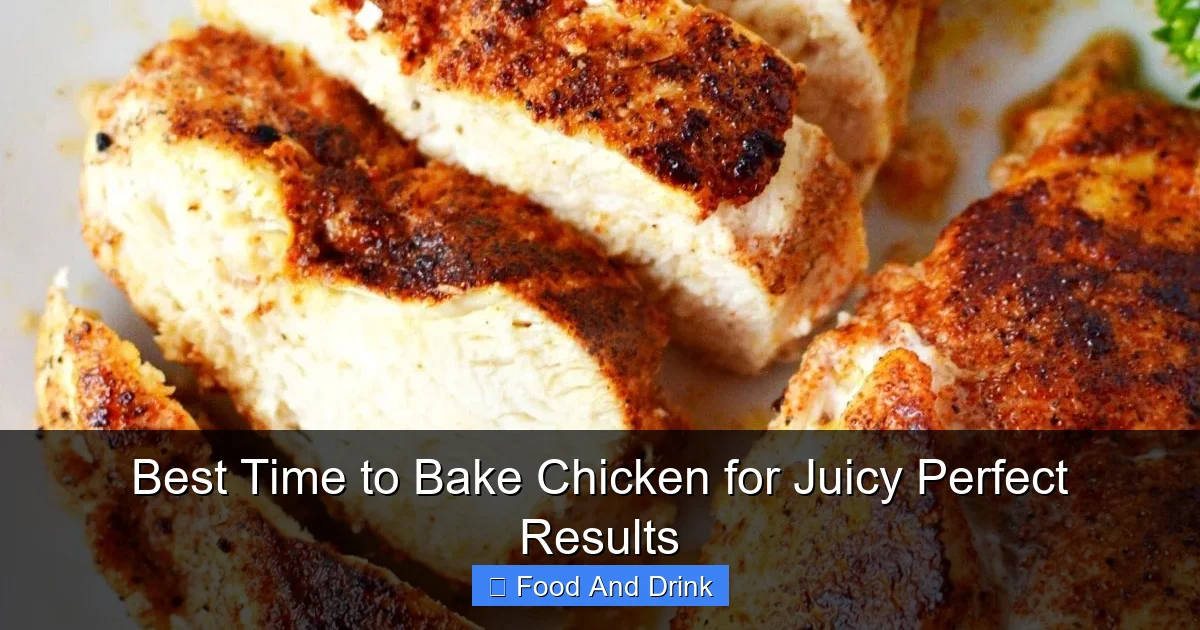
Visual guide about Best Time to Bake Chicken for Juicy Perfect Results
Image source: i.pinimg.com
Not all chicken is created equal—and neither are their baking times. The cut you choose dramatically affects how long it takes to cook and how you should prepare it. Let’s break down the most common cuts and their ideal baking times.
Boneless, Skinless Chicken Breasts
These are the go-to for quick, healthy meals. They’re lean, cook fast, and absorb marinades well. But they’re also the most prone to drying out. At 375°F (190°C), boneless breasts typically take 20 to 25 minutes to reach 165°F. If they’re particularly thick, you can pound them to an even thickness or butterfly them to speed up cooking. For extra insurance, brine them for 30 minutes before baking—this helps retain moisture.
Bone-In, Skin-On Chicken Breasts
These take longer—about 35 to 45 minutes at 375°F—but the bone and skin help keep the meat juicy. The skin also crisps up beautifully, adding flavor and texture. Start them skin-side up so the fat renders and the skin browns. You can finish under the broiler for 1–2 minutes if you want extra crispiness.
Chicken Thighs (Bone-In or Boneless)
Thighs are more forgiving than breasts because they have more fat and connective tissue. Bone-in thighs take about 40 to 50 minutes at 375°F, while boneless thighs cook in 25 to 30 minutes. They stay juicy even if slightly overcooked, making them a great choice for beginners.
Drumsticks
These are similar to thighs in fat content and cooking time. At 375°F, drumsticks take about 45 to 50 minutes. They’re great for marinating and develop a delicious crispy skin when baked properly.
Whole Chicken
Roasting a whole bird is a classic. At 375°F, allow 20 minutes per pound, plus an extra 15 minutes. So a 4-pound chicken takes about 95 minutes. Use a meat thermometer to check the thickest part of the thigh—it should read 165°F. Let it rest for 15–20 minutes before carving to keep it juicy.
Chicken Tenders or Cutlets
These thin strips cook in just 15 to 20 minutes at 400°F. They’re perfect for quick dinners or kid-friendly meals. Bread them for a crispy coating or bake them plain for a lighter option.
Ideal Oven Temperatures for Baking Chicken
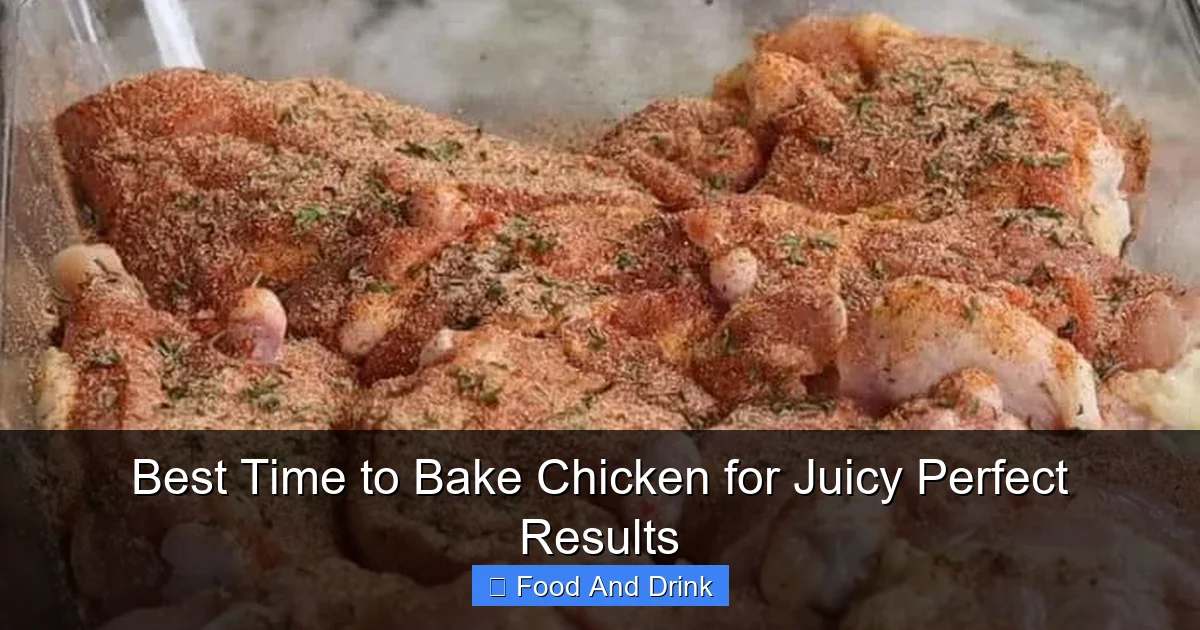
Visual guide about Best Time to Bake Chicken for Juicy Perfect Results
Image source: diyjoy.com
Temperature plays a huge role in how chicken cooks—and how it turns out. Too low, and it steams instead of roasting; too high, and the outside burns before the inside is done. Here’s a breakdown of the best temperatures for different results.
375°F (190°C): The Sweet Spot
This is the most common temperature for baking chicken. It’s hot enough to brown the skin and cook the meat evenly, but not so hot that it dries out. It works well for almost all cuts—breasts, thighs, drumsticks, and even whole chickens. At this temperature, you get a nice balance of moisture retention and browning.
400°F (200°C): Faster Cooking, Crispier Skin
If you’re short on time or want extra-crispy skin, crank the heat to 400°F. This works great for boneless breasts, thighs, and drumsticks. Just keep an eye on them—cooking times will be 5–10 minutes shorter than at 375°F. Use a thermometer to avoid overcooking.
425°F (220°C): High Heat for Roasting
This temperature is ideal for roasting a whole chicken or bone-in pieces when you want a deeply browned, crispy exterior. Start at 425°F for the first 20 minutes to kickstart browning, then reduce to 375°F for the remainder of the cooking time. This method gives you the best of both worlds: crispy skin and juicy meat.
350°F (175°C): Slow and Steady
Lower temperatures are better for larger cuts or when you’re cooking chicken with stuffing or vegetables. It takes longer, but the slow heat helps everything cook evenly without drying out. Great for casseroles or one-pan meals.
Broiling: The Finishing Touch
Never underestimate the broiler! After baking chicken at 375°F, pop it under the broiler for 1–2 minutes to crisp up the skin. Watch it closely—broilers are intense and can burn quickly.
How to Use a Meat Thermometer for Perfect Results
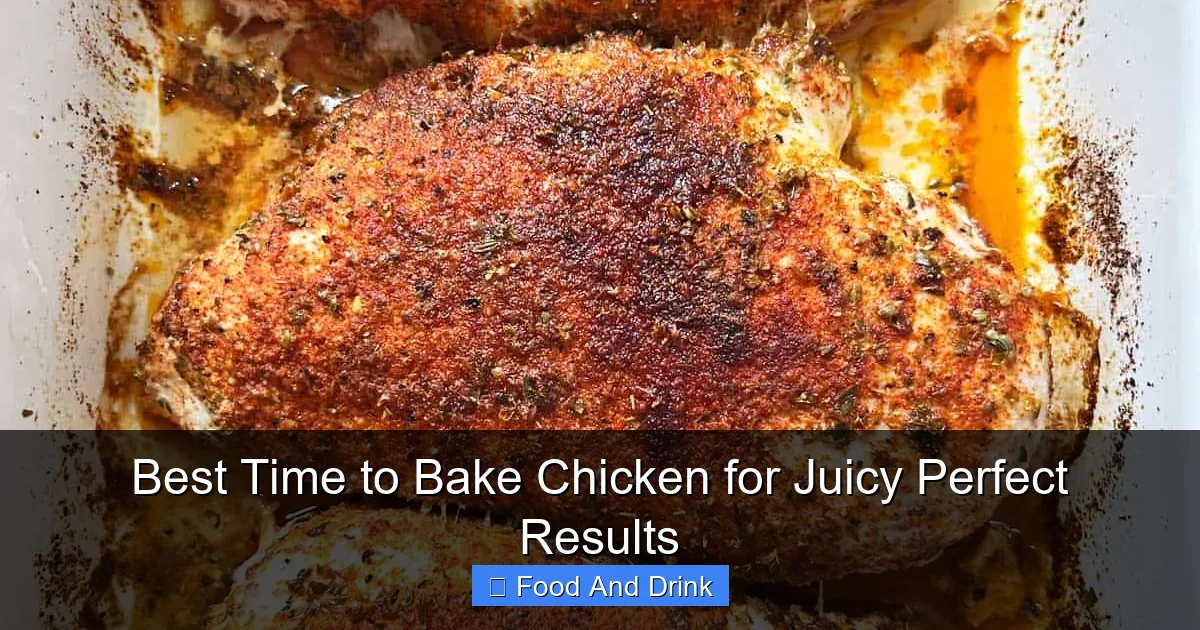
Visual guide about Best Time to Bake Chicken for Juicy Perfect Results
Image source: healthyrecipesblogs.com
If you don’t already own a meat thermometer, now is the time to get one. It’s the single most important tool for baking chicken perfectly. Visual cues like color and texture are unreliable—chicken can look done long before it’s safe to eat, or still be undercooked even when it’s golden brown.
Where to Insert the Thermometer
For boneless breasts, insert the probe into the thickest part, avoiding the pan. For bone-in cuts, check the thigh or breast near the joint—but don’t touch the bone, as it conducts heat and can give a false reading. For whole chickens, check the thickest part of the thigh, again avoiding the bone.
When to Check
Start checking the temperature about 5–10 minutes before the estimated cooking time ends. Chicken can go from 160°F to 165°F in just a few minutes, so don’t wait too long.
What Temperature to Aim For
The USDA says 165°F is safe, and it’s the standard for food service. But many chefs pull chicken at 160°F and let it rest—the temperature will rise to 165°F during resting, and the meat will be more tender. This is called “carryover cooking,” and it’s a pro trick for juicier results.
Types of Thermometers
Instant-read thermometers are affordable and accurate—perfect for home use. Leave-in probes are great for whole chickens or large roasts, as they alert you when the target temperature is reached. Digital models are faster and more precise than analog.
Tips for Juicy, Flavorful Baked Chicken
Beyond timing and temperature, a few simple techniques can take your baked chicken from good to great.
Brining for Moisture
Brining—soaking chicken in salted water—helps it retain moisture during cooking. Use a basic brine of 1/4 cup salt per quart of water, and soak for 30 minutes to 2 hours. Rinse and pat dry before baking.
Marinating for Flavor
Marinades add flavor and can tenderize the meat. Use acidic ingredients like lemon juice, vinegar, or yogurt, plus oil, herbs, and spices. Marinate for at least 30 minutes, or up to 24 hours in the fridge.
Patting Dry Before Baking
Moisture on the surface prevents browning. Always pat chicken dry with paper towels before seasoning or marinating. This ensures a crispy exterior.
Using a Rack
Place chicken on a wire rack set inside a baking pan. This allows hot air to circulate underneath, promoting even cooking and preventing soggy skin.
Seasoning Generously
Don’t be shy with salt, pepper, garlic, herbs, or spices. Season under the skin for bone-in cuts to infuse flavor deep into the meat.
Resting the Chicken
Let chicken rest for 5–10 minutes after baking. This allows juices to redistribute, resulting in a more tender and flavorful bite. Cover loosely with foil to keep warm.
Common Mistakes to Avoid
Even experienced cooks make mistakes. Here are the most common pitfalls and how to avoid them.
Not Preheating the Oven
Putting chicken in a cold oven leads to uneven cooking. Always preheat to the correct temperature before baking.
Overcrowding the Pan
Too much chicken in one pan traps steam and prevents browning. Leave space between pieces for proper airflow.
Skipping the Thermometer
Relying on time alone is risky. Always use a thermometer to check doneness.
Cutting Into the Chicken Too Soon
Cutting releases juices and dries out the meat. Wait until after resting to carve or slice.
Using the Wrong Pan
Glass or ceramic pans retain heat differently than metal. Adjust cooking time if needed, or use a rimmed sheet pan for best results.
Recipe Examples with Timing
Simple Baked Chicken Breasts
- Preheat oven to 375°F.
- Season 4 boneless breasts with salt, pepper, and herbs.
- Bake for 20–25 minutes, or until internal temp reaches 165°F.
- Rest for 5 minutes before serving.
Honey Garlic Chicken Thighs
- Preheat oven to 400°F.
- Marinate 6 bone-in thighs in honey, garlic, soy sauce, and ginger for 1 hour.
- Bake for 35–40 minutes, basting once.
- Broil 2 minutes for extra crisp.
Whole Roasted Chicken
- Preheat oven to 425°F.
- Season a 4-pound chicken inside and out.
- Roast for 20 minutes, then reduce to 375°F and cook 60–70 minutes.
- Check thigh temp—165°F. Rest 20 minutes before carving.
Conclusion
Mastering the best time to bake chicken doesn’t require fancy equipment or professional training—just a little knowledge and attention to detail. By understanding how different cuts cook, using the right temperature, and relying on a meat thermometer, you can consistently bake juicy, flavorful chicken that impresses every time. Remember to brine or marinate for extra moisture, season generously, and always let your chicken rest before serving. With these tips, you’ll turn a simple weeknight dinner into a delicious, restaurant-quality meal. So preheat that oven, grab your thermometer, and get ready to bake the best chicken of your life.
🎥 Related Video: Best Baked Chicken // Worth Bragging About ❤️
📺 Rachel’s Step by Step
I absolutely love this Baked Chicken Recipe, it is so easy and quick to put together. You hardly need a recipe because you can …
Frequently Asked Questions
How long does it take to bake boneless chicken breasts?
Boneless, skinless chicken breasts typically take 20 to 25 minutes at 375°F. Use a meat thermometer to ensure they reach 165°F in the thickest part.
Is it better to bake chicken at 375°F or 400°F?
375°F is ideal for even cooking and moisture retention, while 400°F gives faster results and crispier skin. Choose based on your time and texture preferences.
Why is my baked chicken dry?
Dry chicken is usually caused by overcooking. Use a thermometer, avoid high heat for lean cuts, and consider brining or marinating to add moisture.
Can I bake chicken and vegetables together?
Yes! Use a lower temperature like 375°F and cut vegetables into even pieces. Add them to the pan during the last 20–30 minutes so they don’t overcook.
How do I know when chicken is done without a thermometer?
While not recommended, you can check if the juices run clear and the meat is no longer pink. However, a thermometer is the only reliable way to ensure safety and doneness.
Should I flip chicken while baking?
It’s not necessary, but flipping halfway through can promote even browning, especially for boneless cuts. Use tongs to avoid piercing the meat.