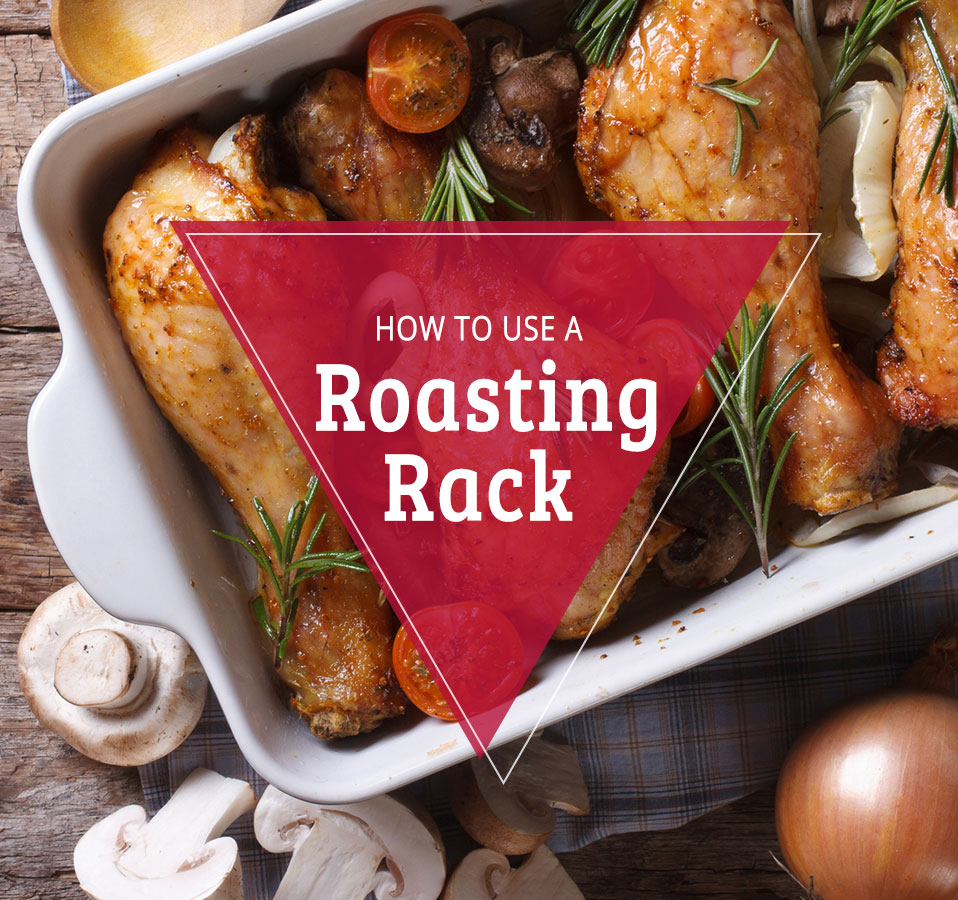
Are you ready to take your cooking to the next level? Knowing how to use a roasting pan with a rack can make a huge difference in the flavor and texture of your meals.
Whether you’re roasting a juicy chicken or tender vegetables, this simple tool helps you cook food evenly and keeps it from sitting in its own juices. If you’ve ever wondered how to get that perfect golden crust or avoid soggy bottoms, this guide is for you.
Keep reading, and you’ll learn easy tips that will turn your roasting pan into your kitchen’s secret weapon.
Choosing The Right Roasting Pan
Choosing the right roasting pan is key for cooking success. The right pan makes roasting easier and results better. It affects how heat spreads and how your food cooks. This section helps you pick the best pan for your kitchen and meals.
Materials And Sizes
Roasting pans come in many materials. Stainless steel is strong and lasts long. It heats evenly and resists rust. Aluminum pans are light and heat fast. But they may scratch easily. Cast iron pans keep heat well. They are heavy but great for slow roasting.
Sizes vary from small pans for 1-2 people to large pans for big meals. Choose a size that fits your oven and cooking needs. A pan too big wastes heat. A pan too small may overflow.
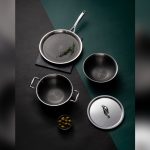
Benefits Of Non-stick Vs Stainless Steel
Non-stick pans stop food from sticking. They need less oil and clean easily. Great for delicate foods like fish or vegetables. But non-stick coatings can wear off over time.
Stainless steel pans do not have coatings. They are tougher and can handle high heat. Perfect for browning meat and making sauces. They need more oil to prevent sticking. Cleaning may require more effort.
Selecting The Perfect Rack
Selecting the perfect rack for your roasting pan is key to cooking success. The right rack lifts meat above the pan, allowing heat to circulate evenly. This helps the meat cook well and prevents it from sitting in juices. Choosing a rack that fits your pan and cooking style improves your meal every time.
Types Of Racks
Wire racks are common and fit inside most roasting pans. They have thin bars that hold the meat while letting juices drip down. Some wire racks come with legs to raise the meat higher.
Elevated racks have sturdy supports and often sit higher in the pan. These racks allow more air flow and are good for larger roasts.
Non-stick racks are easy to clean. They reduce food sticking but may cost more. Choose one that matches your cleaning preference.
Rack Placement Tips
Place the rack so it fits snugly inside the pan. It should not wobble or slide during cooking.
Position the rack to lift the meat evenly above the pan’s base. This helps heat reach all sides for better cooking.
Make sure the rack is high enough to catch drippings but not touch the pan lid. This prevents steam from building up too much.
Preparing The Pan And Rack
Preparing the roasting pan and rack is the first step for great cooking results. A clean and well-prepared pan helps food cook evenly. It also prevents sticking and makes cleaning easier after cooking.
Taking time to prepare the pan and rack ensures better flavor and texture. It keeps your kitchen tools in good shape for many uses. Follow these simple steps before every use.
Cleaning And Seasoning
Start by washing the pan and rack with warm, soapy water. Use a soft sponge to remove any dust or dirt. Rinse well to get rid of soap residue. Dry completely with a clean towel.
Seasoning the pan adds a thin protective layer. This helps prevent food from sticking. Rub a small amount of cooking oil on the inside surface of the pan. Heat it gently in the oven for 15 minutes. Let it cool before using.
Oiling The Rack
Lightly oil the rack to stop food from sticking. Use a brush or paper towel to spread oil evenly. Focus on the bars where food will touch. Avoid adding too much oil; a thin layer is enough.
This step helps meat and vegetables release easily after roasting. It also protects the rack from rust and wear. Properly oiled racks last longer and clean easier.
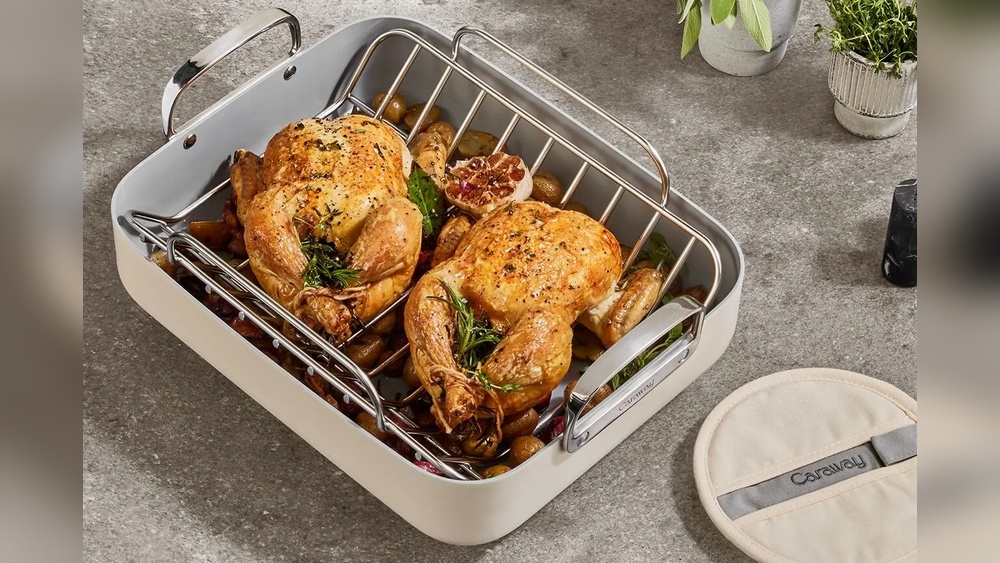
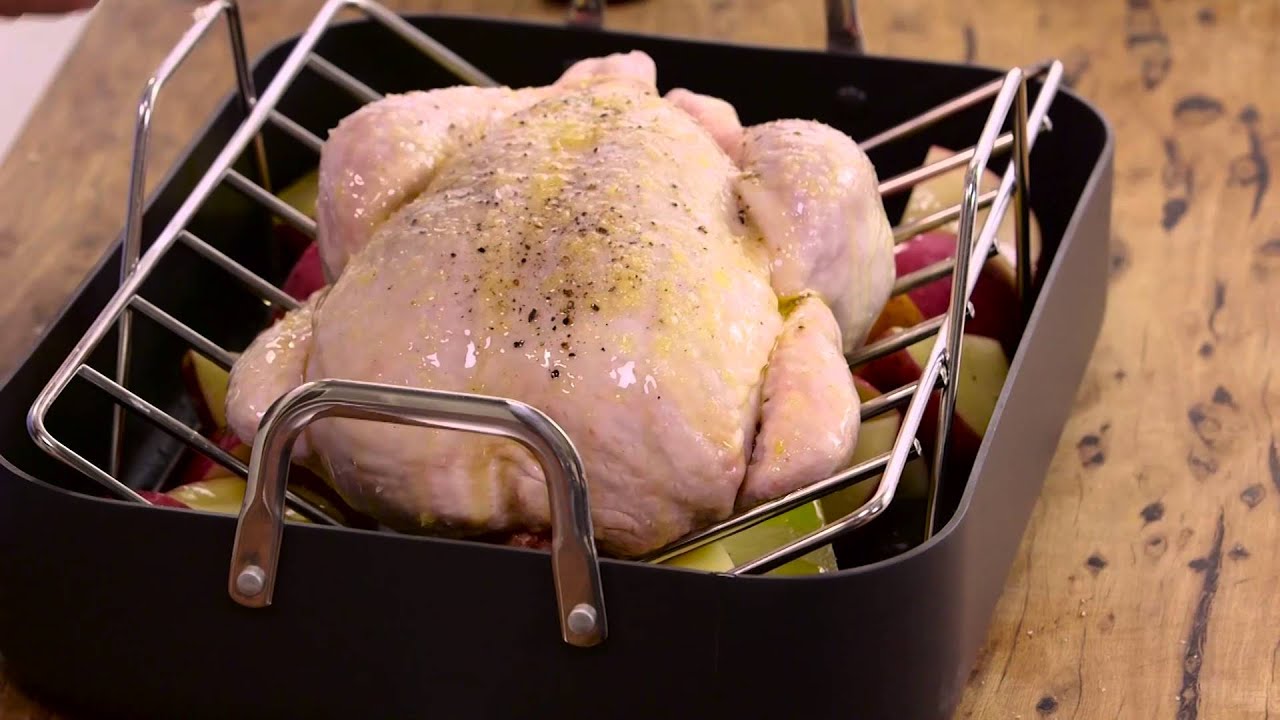
Arranging Meat On The Rack
Arranging meat on the rack is key for good roasting results. The rack holds the meat above the pan, allowing heat to circulate evenly. This helps the meat cook well and prevents it from sitting in its juices. Proper arrangement also makes cleaning easier. Follow simple tips for placing the meat right on the rack.
Positioning For Even Cooking
Place the meat in the center of the rack. This spot gets the most heat from all sides. Avoid crowding the meat. Leave space around it for air to flow freely. If cooking multiple pieces, arrange them with some gap between each. Position thicker parts of meat towards the outer edges to help them cook evenly.
Avoiding Common Mistakes
Do not let the meat touch the pan. This causes uneven cooking and soggy bottoms. Avoid stacking meat pieces on top of each other. It traps heat unevenly and slows cooking. Do not place very small pieces on the rack; they may fall through. Use foil or a drip tray if needed to catch drips and keep the oven clean.
Roasting Techniques For Juicy Results
Roasting meat in a pan with a rack helps keep it juicy and tender. The rack lifts the meat, allowing heat to circulate evenly. This stops the bottom from becoming soggy. Good roasting techniques make a big difference in taste and texture.
Knowing the right temperature and using a meat thermometer ensures perfect cooking. These simple steps bring out the best in your roast every time.
Temperature Settings
Set your oven to the right temperature for your meat type. Low heat cooks meat slowly and keeps it juicy. High heat creates a crispy outer layer but can dry the inside. Start with a high temperature to brown the meat. Then lower the heat to finish cooking gently. This method locks in juices and flavors.
Using A Meat Thermometer
A meat thermometer takes the guesswork out of roasting. Insert it into the thickest part of the meat. Avoid touching bone or fat for an accurate reading. Each meat has a safe internal temperature to reach. Check the thermometer often to avoid overcooking. Removing the meat at the right time keeps it moist and tender.

Credit: guide.michelin.com
Using Drippings For Flavor
Using drippings from a roasting pan with a rack adds deep flavor to meals. These juices hold the taste of the meat and spices. Saving and using them makes dishes richer and more delicious.
Making Gravy
Gravy starts with drippings in the roasting pan. Pour the juices into a saucepan. Heat gently to melt fat on top. Add flour or cornstarch to thicken. Stir constantly to avoid lumps. Slowly add broth or water. Cook until thick and smooth. Season with salt and pepper to taste. Pour over meat or vegetables for extra flavor.
Collecting Pan Juices
After roasting, let the meat rest on the rack. Tilt the pan slightly to gather juices in one corner. Use a spoon or baster to collect the liquid. Strain to remove bits of food or fat. Store drippings in the fridge for up to three days. Freeze for longer storage. Use these juices to enhance soups, sauces, or gravies later.
Cleaning And Maintenance Tips
Cleaning and taking care of your roasting pan with rack keeps it in good shape. It helps the pan last longer and stay safe for cooking. Proper cleaning removes stuck food and grease. Good maintenance stops rust and damage. Follow these simple tips to keep your roasting pan and rack clean and ready.
Removing Stubborn Residue
Fill the pan with warm water and a little dish soap. Let it soak for 30 minutes to soften stuck bits. Use a non-abrasive sponge to scrub gently. For tough spots, sprinkle baking soda and scrub again. Avoid metal brushes that can scratch the surface. Rinse well with clean water and dry with a cloth.
Storing Your Pan And Rack
Make sure both pan and rack are completely dry before storing. Store them in a dry place to stop rust. Keep the rack inside the pan to save space. Avoid stacking heavy items on top to prevent bending. Use a soft cloth between pans if stacking multiple pans. Store carefully to keep your roasting set ready for the next meal.
Credit: xtrema.com
Credit: www.youtube.com
Frequently Asked Questions
What Is The Purpose Of A Roasting Pan With Rack?
A roasting pan with rack elevates meat, allowing even heat circulation. This prevents sticking and promotes uniform cooking and browning.
How Do I Position Meat On A Roasting Pan Rack?
Place the meat directly on the rack, ensuring it’s centered. This helps juices drip down and avoids meat sitting in fat.
Can I Use A Roasting Pan Without The Rack?
Yes, but the rack improves cooking by lifting meat. Without it, food may cook unevenly and become greasy from sitting in drippings.
How Do I Clean A Roasting Pan With Rack Effectively?
Soak both pan and rack in warm soapy water. Use a non-abrasive scrubber to remove residue, then rinse and dry thoroughly.
Conclusion
Using a roasting pan with a rack helps cook food evenly. It keeps meat above juices for better browning and flavor. The rack also prevents food from sticking to the pan. Cleaning becomes easier because fat drips down. This tool works well for roasting poultry, beef, or vegetables.
Try it next time you cook for a tasty, juicy result. Simple steps bring better meals and happy guests. Cooking with a roasting pan and rack is a smart choice.