If you’ve ever wondered how to get that perfect, evenly shaped loaf of bread right at home, using a loaf pan is your secret weapon. Whether you’re a beginner or someone looking to improve your baking skills, mastering the use of a loaf pan can make a huge difference in the texture, rise, and crust of your bread.
You’ll discover simple tips and tricks to make your bread baking easier and more successful. Ready to transform your homemade bread into bakery-quality loaves? Keep reading—you won’t want to miss these game-changing insights.
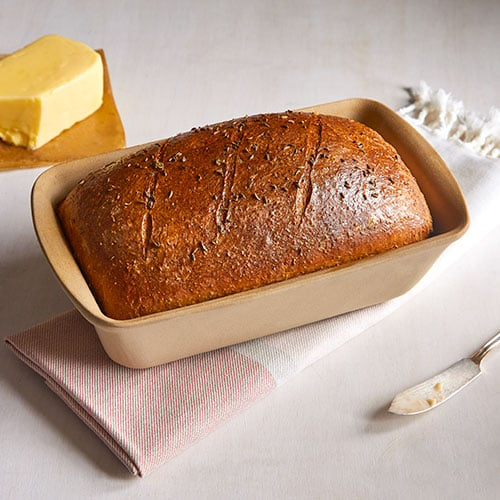
Credit: www.pamperedchef.com
Choosing The Right Loaf Pan
Choosing the right loaf pan shapes your bread baking experience. It affects how your bread bakes and looks. The right pan helps your bread cook evenly and rise well. This section explains how to pick the best loaf pan for your baking needs.
Material Types And Their Effects
Loaf pans come in different materials. Each material changes how heat moves through the pan. Metal pans, like aluminum or steel, heat quickly and give a crispy crust. Glass pans heat slower and hold heat longer. Silicone pans are flexible but bake unevenly sometimes. Non-stick pans make it easy to remove bread. Choose a material that fits your baking style and clean-up preference.
Size Matters: Picking The Perfect Dimensions
Loaf pans come in many sizes. The size you pick changes the bread’s shape and cooking time. A standard pan is 9×5 inches, perfect for most recipes. Smaller pans make taller, thicker loaves. Larger pans make wider, shorter bread. Use the size your recipe suggests to avoid baking problems. Think about how much bread you want to bake at once too.
Preparing The Pan
Preparing the loaf pan is an important step before baking bread. It helps the bread bake evenly and prevents it from sticking. A properly prepared pan makes it easier to remove the bread once it is done. There are simple ways to prepare your pan, such as greasing or using parchment paper.
Greasing Techniques
Greasing the pan creates a thin barrier between the bread and the metal. Use butter, oil, or non-stick spray to coat the inside of the pan. Apply the grease evenly with a brush or paper towel. Make sure to cover all corners and edges. This method helps the bread release cleanly without tearing.
Using Parchment Paper
Parchment paper is a great option for easy bread removal. Cut a piece slightly larger than the pan. Line the bottom and sides with the paper. Leave extra paper hanging over the edges to lift the bread out easily. Parchment paper also reduces the need for greasing. It keeps the loaf pan clean and makes cleanup quick.
Dough Placement Tips
Placing dough correctly in a loaf pan helps create a perfect bread shape. This step affects how your bread rises and bakes. Follow these simple tips to get the best results every time.
Shaping Your Dough For The Pan
Shape your dough to fit the loaf pan’s size. Roll it into a tight cylinder or oval. Make sure the dough is smooth with no cracks. This helps the dough rise evenly. Avoid over-stretching to prevent tearing the dough.
Filling The Pan Correctly
Place the shaped dough gently into the pan. Leave some space at the top for the dough to rise. Fill the pan about two-thirds full. Too much dough can overflow during baking. Too little dough makes a flat loaf.
Baking Strategies
Baking bread in a loaf pan needs careful planning. Good baking strategies help the bread cook evenly. They also make the crust and crumb perfect. This section guides you through key baking tips for best results.
Understanding temperature and timing ensures your bread bakes just right. Different breads need different care. Let’s explore these details.
Temperature Settings
Set your oven between 350°F and 375°F for most breads. Too hot, and the crust burns before the inside cooks. Too low, and the bread may stay doughy inside.
Use a thermometer to check your oven’s real heat. Oven dials can be inaccurate. Adjust the temperature if you notice uneven browning.
Timing For Different Bread Types
White bread usually bakes for 25 to 30 minutes. Whole wheat bread takes a bit longer, about 30 to 35 minutes. Rye bread may need up to 40 minutes.
Check bread by tapping the bottom. A hollow sound means it’s done. If unsure, use a thermometer; bread is ready at 190°F inside.
Cooling And Removing Bread
Cooling and removing bread from a loaf pan is a key step in baking. It affects the bread’s texture and shape. Cooling helps the bread finish baking inside and stops it from being too soft or doughy. Removing bread carefully keeps it whole and pretty.
Cooling Methods To Avoid Sogginess
Cool the bread on a wire rack. This lets air flow all around. Air prevents steam from making the bottom soggy. Keep the bread in the pan for 10-15 minutes only. Too long traps moisture and makes bread wet. Avoid wrapping the bread while it is hot. Warm bread wrapped in plastic causes sogginess.
Safe Ways To Remove Bread
Run a thin knife around the edges of the loaf pan. This loosens the bread from the sides. Place a cooling rack on top of the pan. Hold the rack and flip both together. Gently lift the pan off the bread. Avoid pulling bread out by force. This can tear or squash the loaf. Use a spatula to help if bread sticks slightly.

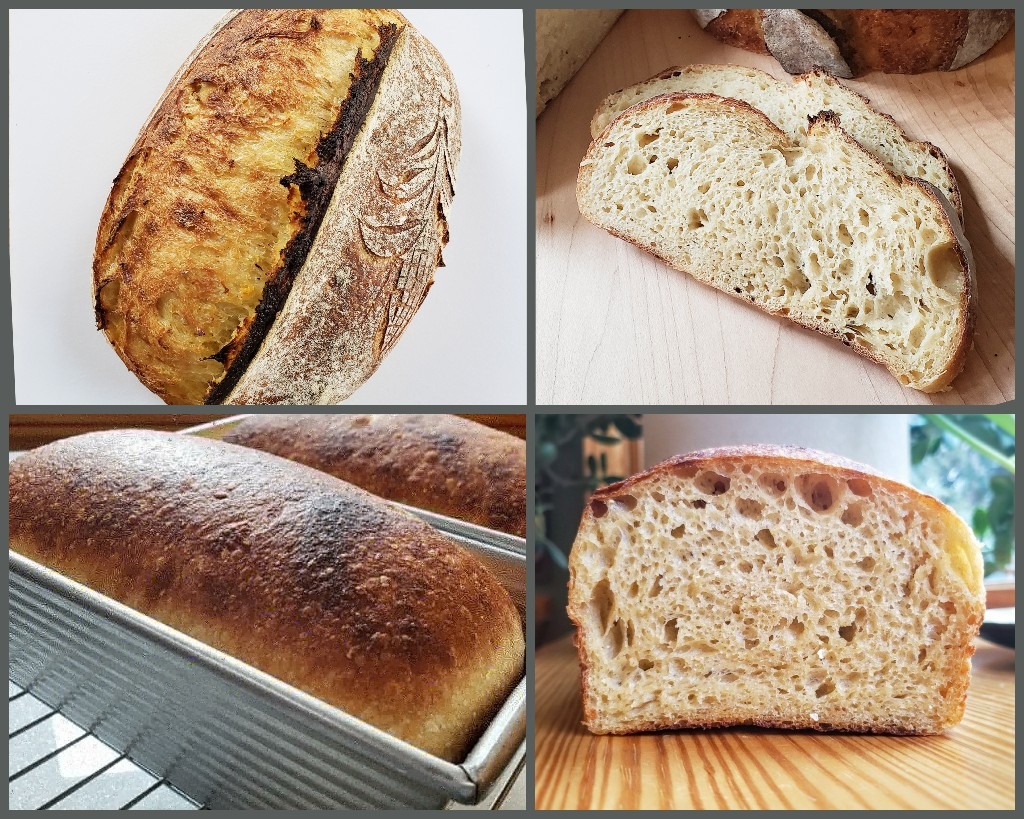
Credit: shop.kingarthurbaking.com
Cleaning And Maintaining Your Pan
Cleaning and maintaining your loaf pan is key to making great bread every time. Proper care keeps the pan in good shape and prevents sticking. It also helps your bread bake evenly and taste better. Simple steps can extend the life of your pan and save you money.
Best Cleaning Practices
Clean your loaf pan soon after baking. Let it cool, then wash with warm water and mild soap. Avoid harsh scrubbing that can damage the pan’s surface. Use a soft sponge or cloth. For stuck-on bits, soak the pan in warm water for a few minutes. Dry the pan completely before storing. Never use metal brushes or steel wool. They can scratch and ruin the non-stick coating.
Storage Tips For Longevity
Store your loaf pan in a dry place. Avoid stacking heavy items on top of it. Place a paper towel or cloth between pans if you stack them. This prevents scratches and dents. Keep the pan away from moisture to stop rust. Check the pan regularly for any damage or rust spots. Take care of your pan to enjoy fresh bread for years.
Common Mistakes To Avoid
Baking bread in a loaf pan is simple but requires care. Avoiding common mistakes helps get the best results. Small errors can cause bread to bake unevenly or stick to the pan. Knowing what not to do saves time and effort.
Overfilling The Pan
Do not fill the loaf pan more than two-thirds full. Overfilling makes dough rise too much and spill over. This causes a messy oven and uneven baking. Leave space for the dough to grow properly. It helps the bread bake evenly and get a nice shape.
Ignoring Pan Material Effects
Loaf pans come in different materials like metal, glass, or silicone. Each material changes how heat moves through the dough. Metal pans heat fast and make a crisp crust. Glass pans heat slower and can cause longer baking times. Silicone pans do not brown bread well. Choose the right pan for your recipe and adjust baking time as needed.
Credit: breadtopia.com
Frequently Asked Questions
What Is The Best Loaf Pan Material For Bread Baking?
The best loaf pan materials are metal, glass, and silicone. Metal pans conduct heat well, ensuring even baking. Glass pans offer good heat distribution and are easy to clean. Silicone pans are non-stick and flexible, ideal for easy bread removal.
How Do I Prepare A Loaf Pan Before Baking?
Grease the loaf pan with butter or oil to prevent sticking. You can also dust it lightly with flour. Alternatively, use parchment paper for easy removal and clean-up. Proper preparation ensures your bread comes out perfectly shaped and intact.
Can I Use A Loaf Pan For Different Bread Types?
Yes, loaf pans work well for various bread types like sandwich bread, banana bread, and quick breads. The pan shapes the dough for even baking and consistent texture. Choose the right size and material for your specific recipe.
How Do I Clean A Loaf Pan After Baking?
Allow the loaf pan to cool completely before cleaning. Wash it with warm, soapy water using a soft sponge. Avoid abrasive tools to protect the pan’s surface. Dry thoroughly to prevent rust, especially for metal pans.
Conclusion
Using a loaf pan helps shape your bread perfectly every time. It keeps the dough firm and supports even baking. You get a nice crust and soft inside. Cleaning the pan is easy, so baking stays fun. Try different recipes to find your favorite bread style.
Baking with a loaf pan makes homemade bread simple and enjoyable. Give it a try and enjoy fresh bread at home!