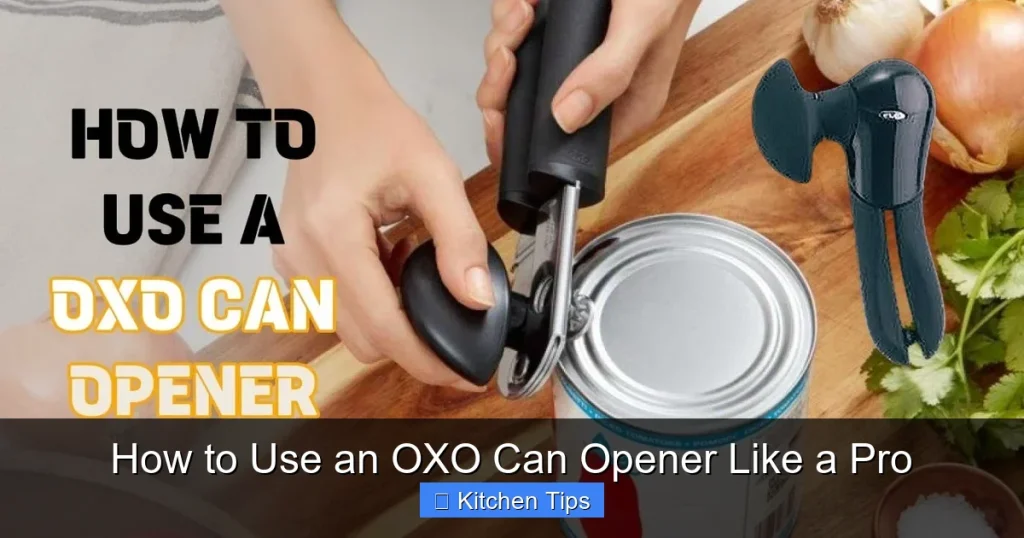
Master the OXO can opener with simple techniques that make opening cans effortless, safe, and mess-free. Whether you’re a kitchen newbie or a seasoned cook, this guide will help you unlock the full potential of your OXO tool.
Opening a can might seem like one of the simplest tasks in the kitchen—until you’re stuck with a stubborn lid, a dull opener, or worse, a cut finger from a jagged edge. That’s where the OXO can opener comes in. Known for its ergonomic design and smart features, this kitchen essential takes the frustration out of can opening. Whether you’re prepping dinner, packing a lunch, or just need a quick snack, knowing how to use an OXO can opener like a pro can save you time, effort, and a trip to the first-aid kit.
But here’s the thing: even the best tools need to be used correctly. Many people don’t realize that the OXO can opener has features designed for safety, comfort, and efficiency—features that only work when you know how to activate them. From the soft-grip handles to the smooth-cutting wheel, every detail is engineered to make your life easier. In this guide, we’ll walk you through everything you need to know—from basic operation to pro-level tips—so you can open cans with confidence and ease.
Key Takeaways
- Easy Grip Handle: The OXO can opener features a soft, non-slip grip that reduces hand fatigue and improves control.
- Precision Cutting Wheel: Its sharp, stainless steel blade cuts smoothly through cans without jagged edges.
- Hands-Free Operation: The built-in lid lifter allows you to remove lids without touching sharp metal.
- Safe Edge Technology: Leaves smooth, safe edges on both the can and lid—no more cuts from sharp rims.
- Easy to Clean: Removable cutting mechanism makes cleaning quick and hygienic.
- Works on All Can Sizes: From small tuna cans to large soup cans, it handles them all with ease.
- Durable and Long-Lasting: Built with high-quality materials for reliable performance over years of use.
Quick Answers to Common Questions
How do I attach the OXO can opener to the can?
Hold the opener with both hands, position the cutting wheel on the outside of the can rim, and the lid lifter over the top edge. Squeeze the handles gently until it clicks into place.
Does the OXO can opener leave sharp edges?
No, it uses smooth-edge technology that cuts just under the lid, leaving both the can and lid with safe, smooth edges.
Can I use the OXO can opener on pull-tab cans?
Yes, it works on both traditional and pull-tab cans. Simply position it on the rim and proceed as usual.
How do I clean the cutting mechanism?
Rinse it under warm water after each use. For deep cleaning, remove the cutting head using the release button and scrub with a brush.
Is the OXO can opener dishwasher safe?
While the handles are dishwasher safe, it’s best to hand-wash the cutting mechanism to preserve sharpness and prevent damage.
📑 Table of Contents
Why Choose an OXO Can Opener?
OXO has built a reputation for creating kitchen tools that prioritize comfort and usability. Their can opener is no exception. Unlike traditional manual openers that require brute strength and often leave sharp, dangerous edges, the OXO model is designed with user experience in mind. It’s not just about opening a can—it’s about doing it safely, smoothly, and with minimal effort.
One of the standout features is the soft, cushioned grip. If you’ve ever struggled with a slippery or hard plastic handle, you’ll appreciate how the OXO opener feels in your hand. It’s designed to reduce strain, especially during repetitive tasks or for those with arthritis or limited hand strength. The wide, contoured handles fit comfortably in your palm, giving you better leverage and control.
Another major advantage is the precision cutting mechanism. Instead of cutting along the rim like older models, the OXO opener cuts just under the lid, leaving a smooth, safe edge. This means no more worrying about sharp metal shards or accidentally cutting yourself while handling the can or lid. It’s a small change with a big impact on kitchen safety.
Key Features That Set It Apart
Let’s break down the features that make the OXO can opener a standout choice:
- Soft, Non-Slip Handles: Made from durable, food-safe materials that stay grippy even when wet.
- Stainless Steel Cutting Wheel: Sharp, rust-resistant, and built to last through thousands of uses.
- Magnetic Lid Lifter: Keeps the lid attached after cutting, so it doesn’t fall into your food.
- Smooth Edge Technology: Cuts cleanly without jagged edges on the can or lid.
- Easy-Clean Design: The cutting head can be removed for thorough cleaning.
These features work together to create a tool that’s not just functional, but genuinely enjoyable to use. Whether you’re opening a can of beans for a quick chili or slicing through a large can of tomatoes for a family pasta night, the OXO opener handles it all with ease.
Step-by-Step Guide: How to Use an OXO Can Opener
Visual guide about How to Use an OXO Can Opener Like a Pro
Image source: i.ytimg.com
Now that you know why the OXO can opener is worth using, let’s get into the nitty-gritty: how to actually use it. The process is simple, but doing it correctly ensures the best results every time.
Step 1: Prepare the Can
Start by selecting the can you want to open. Make sure it’s clean and free of dirt or residue, especially around the rim. A dirty can can transfer bacteria to your food or clog the cutting mechanism. If the can has a pull-tab lid, you can still use the OXO opener—it works on both traditional and pull-tab cans.
Place the can on a stable, flat surface. A cutting board or countertop works well. Avoid holding the can in your hand while opening—this reduces control and increases the risk of injury.
Step 2: Position the Can Opener
Hold the OXO can opener with both hands—one on each handle. The cutting wheel should be on the outside of the can, and the small metal arm (the lid lifter) should be positioned over the top edge of the can.
Gently squeeze the handles together to clamp the opener onto the rim of the can. You’ll feel it “click” into place. This ensures a secure grip and prevents the opener from slipping during use.
Step 3: Begin Cutting
With the opener securely attached, start turning the knob at the top of the opener. Turn it clockwise—this rotates the cutting wheel around the rim of the can. As you turn, you’ll hear a soft grinding sound, which is normal. Keep turning steadily and at a consistent pace.
Don’t rush. A slow, steady motion gives the blade time to cut cleanly and prevents jams. If you feel resistance, pause and check that the opener is still properly aligned on the rim.
Step 4: Complete the Cut
Continue turning the knob until you’ve made a full circle around the can. The magnetic lid lifter will hold the lid in place as it’s cut, so it won’t fall into your food. Once the cut is complete, the lid will remain attached to the opener.
Step 5: Remove the Lid
Lift the opener away from the can. The lid should come with it, held securely by the magnetic lifter. You can then gently tilt the opener to slide the lid off into the trash or recycling bin.
Step 6: Clean the Opener
After use, rinse the cutting head under warm water. If food residue has built up, use a small brush (like a toothbrush) to clean between the gears. For deeper cleaning, remove the cutting mechanism by pressing the release button on the side—this allows you to wash it thoroughly and prevent rust or buildup.
Pro Tips for Using Your OXO Can Opener
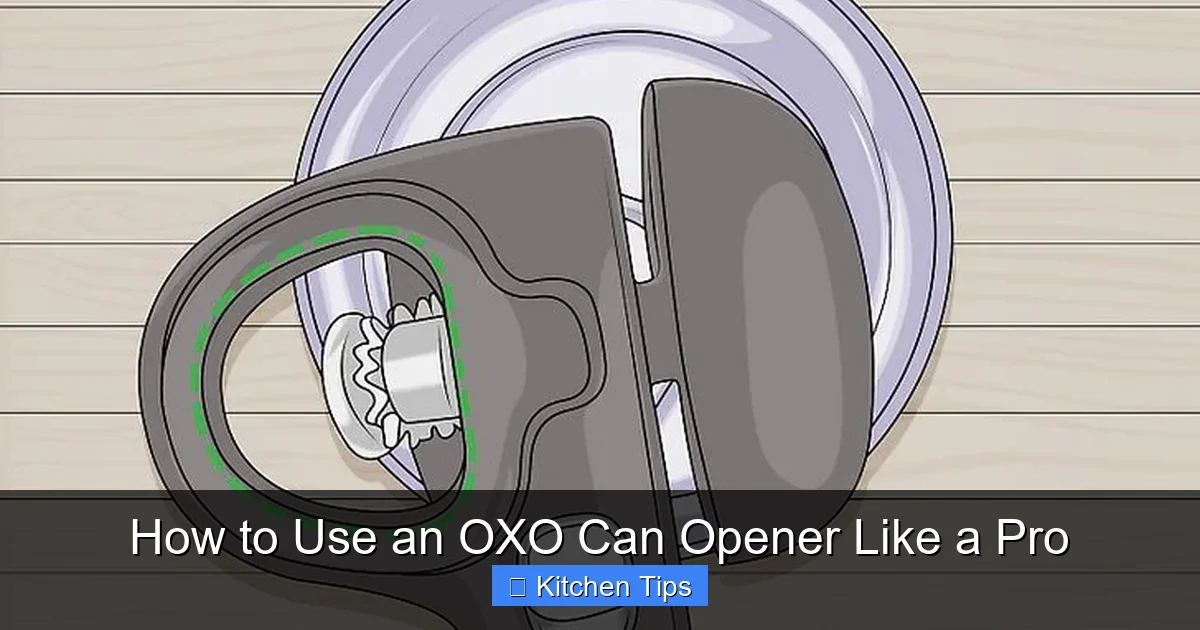
Visual guide about How to Use an OXO Can Opener Like a Pro
Image source: wikihow.com
Now that you’ve mastered the basics, let’s level up your can-opening game with some pro tips.
Use the Right Amount of Pressure
One common mistake is squeezing the handles too hard. The OXO opener is designed to grip the can with just enough pressure—over-squeezing can warp the can or damage the opener. A light, firm grip is all you need.
Keep the Cutting Wheel Sharp
While the stainless steel blade is durable, it can dull over time with heavy use. To maintain sharpness, avoid opening cans with thick or rusted rims. If you notice the opener struggling, it might be time to replace the cutting wheel (check OXO’s website for replacement parts).
Store It Properly
Keep your OXO can opener in a dry drawer or utensil holder. Avoid storing it in humid areas like under the sink, as moisture can lead to rust. If you live in a humid climate, consider wiping it dry after each use.
Use It for More Than Just Cans
Believe it or not, the OXO can opener can also be used to open bottles! The small metal arm doubles as a bottle opener—just flip it over and use the notch to pop off bottle caps. It’s a handy two-in-one tool for camping trips or backyard barbecues.
Maintenance and Cleaning Tips
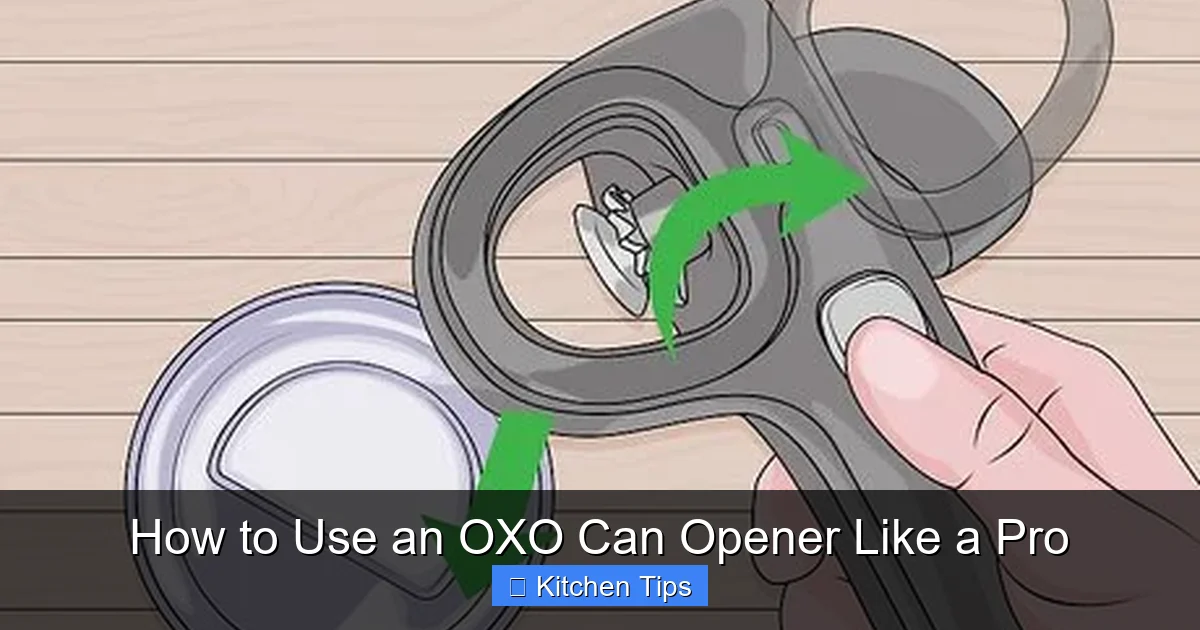
Visual guide about How to Use an OXO Can Opener Like a Pro
Image source: wikihow.com
To keep your OXO can opener in top condition, regular maintenance is key. Here’s how to care for it properly.
Daily Cleaning
After each use, rinse the cutting head under warm water. Use a soft brush to remove any food particles stuck in the gears. Dry it thoroughly with a towel to prevent moisture buildup.
Deep Cleaning
Once a week, or if you notice buildup, remove the cutting mechanism. Press the release button on the side of the opener to detach it. Soak the parts in warm, soapy water for 10 minutes, then scrub with a brush. Rinse and dry completely before reassembling.
Lubrication (Optional)
For smoother operation, you can apply a small amount of food-safe lubricant to the gears every few months. Use only a drop or two—too much can attract dirt and grime.
Troubleshooting Common Issues
Even the best tools can have hiccups. Here’s how to solve common problems with the OXO can opener.
Opener Won’t Grip the Can
If the opener slips or won’t clamp onto the rim, check that the cutting wheel and lid lifter are aligned properly. Also, make sure the can isn’t dented or warped—damaged cans can prevent a secure grip.
Lid Falls Into the Can
This usually happens if the magnetic lifter isn’t positioned correctly. Ensure the small metal arm is placed over the top edge of the lid before cutting. If the magnet seems weak, it may need cleaning—wipe it with a dry cloth to remove debris.
Cutting Wheel Gets Stuck
If the wheel stops turning, stop immediately. Check for food debris or metal shavings jamming the mechanism. Clean it out and try again. Never force the knob—this can damage the gears.
Conclusion
Using an OXO can opener like a pro isn’t about fancy tricks—it’s about understanding how the tool works and using it correctly. With its ergonomic design, smooth-cutting action, and safety features, the OXO opener makes a simple task even better. Whether you’re a busy parent, a college student, or a home chef, mastering this tool will save you time, reduce frustration, and keep your kitchen safer.
Remember: the key to success is consistency. Use the right technique, maintain your opener, and don’t rush the process. Over time, you’ll find that opening cans becomes second nature—smooth, safe, and stress-free.
So the next time you reach for a can of soup, beans, or tomatoes, grab your OXO can opener with confidence. You’ve got the skills to use it like a pro.
Frequently Asked Questions
Can the OXO can opener be used by left-handed people?
Yes, the OXO can opener is ambidextrous. It works equally well for left- and right-handed users, with no adjustments needed.
How long does the cutting wheel last?
With regular use and proper care, the stainless steel cutting wheel can last for several years. Replace it if you notice dulling or difficulty cutting.
Does it work on large cans, like #10 cans?
Yes, the OXO can opener is designed to handle a wide range of can sizes, including large commercial cans, as long as the rim is intact.
Why is my lid not sticking to the opener?
The magnetic lifter may be dirty or misaligned. Clean the magnet with a dry cloth and ensure it’s positioned over the lid’s edge before cutting.
Can I use it to open bottles?
Yes, the small metal arm doubles as a bottle opener. Flip it over and use the notch to pop off bottle caps.
Is the OXO can opener rust-resistant?
Yes, the cutting wheel and key components are made from rust-resistant stainless steel, but it’s still best to dry it after washing.