Keeping your Hamilton Beach coffee maker clean ensures better-tasting coffee and extends the machine’s life. With regular descaling, filter changes, and wipe-downs, you can prevent buildup and maintain optimal performance—no fancy tools required.
If you’re like most coffee lovers, your Hamilton Beach coffee maker is a daily essential. It kicks off your morning, powers through your afternoon slump, and maybe even helps you unwind in the evening. But here’s the thing—no matter how great your coffee tastes, if your machine isn’t clean, that rich, bold flavor can quickly turn bitter, flat, or even funky. Over time, mineral deposits from hard water, coffee oils, and leftover grounds build up inside your brewer, affecting both taste and performance.
The good news? Cleaning your Hamilton Beach coffee maker is easier than you think. You don’t need special cleaners, expensive tools, or hours of scrubbing. With just a few simple steps—and a little white vinegar—you can keep your machine running smoothly and your coffee tasting fresh. Whether you’ve owned your brewer for a few months or a few years, regular maintenance makes a huge difference. In this guide, we’ll walk you through everything you need to know to clean your Hamilton Beach coffee maker easily and effectively, so you can enjoy a perfect cup every single time.
Key Takeaways
- Clean your coffee maker weekly: Regular cleaning prevents mineral buildup, mold, and stale coffee residue from affecting flavor.
- Use white vinegar for descaling: A 50/50 mix of white vinegar and water effectively removes limescale and hard water deposits.
- Don’t forget the carafe and filter basket: These parts collect oils and grounds—wash them with warm, soapy water after each use.
- Run a rinse cycle after descaling: Always run 1–2 cycles of clean water to remove vinegar taste and residue.
- Wipe the exterior and warming plate: Use a damp cloth to clean the outside and prevent coffee stains or burnt-on spills.
- Replace water filters if applicable: Some models use water filters—replace them every 60 days or as recommended.
- Store properly when not in use: Keep the machine dry and covered to avoid dust and moisture buildup.
Quick Answers to Common Questions
How often should I clean my Hamilton Beach coffee maker?
Clean the carafe and filter basket after every use, do a weekly wash of removable parts, and run a vinegar descaling cycle every 1–2 months.
Can I use apple cider vinegar instead of white vinegar?
It’s not recommended. Apple cider vinegar is less acidic and can leave residue. Stick with white distilled vinegar for best results.
Will vinegar damage my coffee maker?
No, white vinegar is safe for most coffee makers when used in a 50/50 mix with water. Just be sure to rinse thoroughly afterward.
My coffee tastes like vinegar after cleaning. What should I do?
Run 1–2 additional brew cycles with fresh water only. This will flush out any remaining vinegar taste.
Can I clean my coffee maker with bleach?
No. Bleach is too harsh and can leave toxic residues. Use vinegar, citric acid, or a commercial coffee cleaner instead.
📑 Table of Contents
- Why Cleaning Your Coffee Maker Matters
- What You’ll Need to Clean Your Hamilton Beach Coffee Maker
- Step-by-Step Guide to Deep Cleaning Your Coffee Maker
- Daily and Weekly Maintenance Tips
- How to Clean Specific Hamilton Beach Models
- Natural Alternatives to Vinegar
- When to Replace Parts
- Storing Your Coffee Maker
- Conclusion
Why Cleaning Your Coffee Maker Matters
You might be thinking, “My coffee tastes fine—why bother cleaning it?” But here’s the truth: even if your coffee seems okay, your machine could be silently sabotaging your brew. Over time, mineral deposits from hard water accumulate inside the water reservoir, tubing, and heating elements. This buildup, known as limescale, can clog internal parts, reduce heating efficiency, and even cause your machine to malfunction.
But it’s not just minerals. Coffee oils—those rich, aromatic compounds that give your brew its flavor—can also stick to the carafe, filter basket, and inside the brewing chamber. When these oils oxidize, they turn rancid, giving your coffee a stale or bitter aftertaste. And if you leave wet coffee grounds sitting in the filter basket overnight, you’re basically creating a breeding ground for mold and bacteria.
Regular cleaning prevents all of this. It keeps your machine running efficiently, extends its lifespan, and ensures that every cup tastes as good as the first. Plus, a clean coffee maker just feels better to use—no weird smells, no gurgling sounds, and no surprise sludge at the bottom of your mug.
What You’ll Need to Clean Your Hamilton Beach Coffee Maker
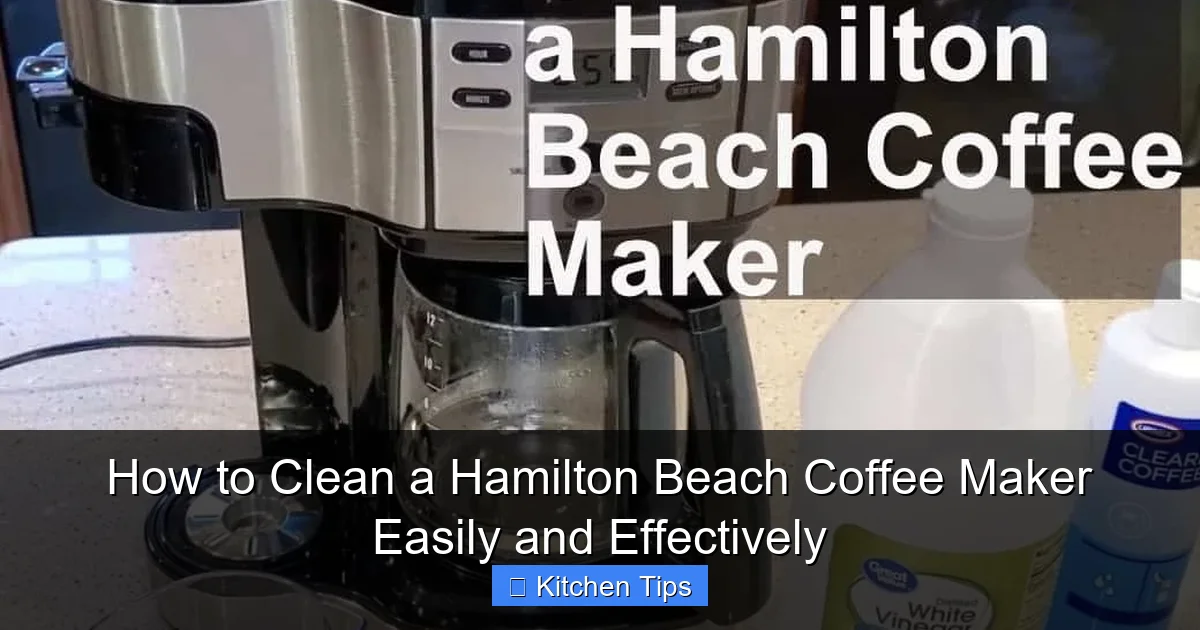
Visual guide about How to Clean a Hamilton Beach Coffee Maker Easily and Effectively
Image source: crispcooking.com
Before you start, gather these simple supplies. Most of them are probably already in your kitchen:
- White distilled vinegar (the hero of coffee maker cleaning)
- Fresh, clean water
- Mild dish soap
- Soft sponge or cloth
- Toothbrush (for scrubbing tight spots)
- Paper towels or a dry towel
- Optional: Coffee maker cleaning tablets (if you prefer not to use vinegar)
You don’t need any harsh chemicals or specialty tools. Vinegar is naturally acidic, which makes it perfect for breaking down mineral deposits without damaging your machine. And because it’s food-safe, you don’t have to worry about harmful residues.
Step-by-Step Guide to Deep Cleaning Your Coffee Maker

Visual guide about How to Clean a Hamilton Beach Coffee Maker Easily and Effectively
Image source: wecoffeecompany.com
Now let’s get into the nitty-gritty. Follow these steps to give your Hamilton Beach coffee maker a thorough deep clean. Aim to do this every 1–2 months, depending on how often you use it and your water hardness.
Step 1: Empty and Rinse the Carafe and Filter Basket
Start by removing the carafe and filter basket. Dump out any old coffee grounds and rinse both parts under warm water. Use a drop of dish soap and a soft sponge to scrub away any coffee stains or oily residue. For stubborn buildup, let them soak in warm, soapy water for 10–15 minutes.
Pay special attention to the filter basket—this is where coffee oils love to hide. If your model has a permanent filter, gently scrub it with a toothbrush to remove trapped grounds. If you use paper filters, toss them after each use and wipe the basket clean.
Step 2: Prepare the Vinegar Cleaning Solution
Fill the water reservoir halfway with white distilled vinegar, then top it off with fresh water. You want a 50/50 mix—this concentration is strong enough to dissolve mineral deposits but gentle enough not to damage your machine.
If your coffee maker has a water filter (like some Hamilton Beach models), remove it before adding the vinegar solution. The vinegar can degrade the filter, so it’s best to clean without it during this cycle.
Step 3: Run a Brew Cycle with the Vinegar Solution
Place the empty carafe back on the warming plate and close the lid. Turn on the coffee maker and let it run a full brew cycle using the vinegar-water mixture. This allows the solution to flow through the internal tubing, heating element, and spray head, breaking down limescale and residue.
You might notice a strong vinegar smell—that’s normal! Just open a window or turn on a fan if the odor bothers you.
Step 4: Let It Sit (Optional but Recommended)
For extra cleaning power, pause the cycle after it starts and let the vinegar solution sit in the machine for 15–30 minutes. This gives the acid more time to work on tough mineral deposits. Then resume the cycle to completion.
Step 5: Rinse with Fresh Water
Once the vinegar cycle is done, discard the solution. Rinse the carafe and filter basket thoroughly. Then fill the reservoir with fresh, clean water and run 1–2 full brew cycles to flush out any remaining vinegar taste.
Taste the water from the final cycle—if it still smells or tastes like vinegar, run one more rinse cycle. You want your machine to be completely vinegar-free before brewing coffee again.
Step 6: Clean the Exterior and Warming Plate
While the machine is running rinse cycles, take a damp cloth and wipe down the outside of the coffee maker. Pay attention to the control panel, buttons, and warming plate. Coffee spills can burn onto the warming plate, creating sticky, hard-to-remove stains.
For stubborn residue on the warming plate, make a paste of baking soda and water, apply it with a soft cloth, and gently scrub. Wipe clean with a damp cloth and dry with a towel.
Daily and Weekly Maintenance Tips

Visual guide about How to Clean a Hamilton Beach Coffee Maker Easily and Effectively
Image source: crispcooking.com
Deep cleaning is important, but daily and weekly upkeep keeps your machine in top shape between deep cleans.
After Every Use: Rinse and Wipe
Make it a habit to rinse the carafe and filter basket after each use. Don’t let coffee grounds sit overnight—they can mold and leave a sour smell. Wipe the warming plate with a damp cloth to remove spills before they burn on.
Weekly: Wash Removable Parts
Once a week, give the carafe, filter basket, and any removable parts a thorough wash with warm, soapy water. This prevents oil buildup and keeps your coffee tasting fresh.
Check the Water Reservoir
Every few days, peek inside the water reservoir. If you see any slimy film or mineral spots, wipe it out with a vinegar-soaked cloth. This prevents mold and keeps the interior clean.
How to Clean Specific Hamilton Beach Models
Hamilton Beach makes a variety of coffee makers—from single-serve brewers to 12-cup drip machines. While the basic cleaning steps are the same, some models have unique features that need special care.
Single-Serve Coffee Makers
If you have a Hamilton Beach single-serve brewer, clean the needle that punctures the coffee pod. Over time, it can get clogged with coffee grounds. Use a paperclip or the cleaning tool that came with your machine to gently clear any blockages.
Also, wipe the pod holder and drip tray regularly. These areas collect moisture and coffee residue, which can lead to mold.
Programmable Drip Coffee Makers
For programmable models, don’t forget to clean the water filter (if equipped). Replace it every 60 days or as recommended in the user manual. A clogged filter reduces water flow and affects brewing performance.
Coffee Makers with Thermal Carafes
Thermal carafes don’t have a warming plate, so they stay hot longer—but they also trap moisture inside. After washing, leave the lid off to air dry completely. This prevents musty odors and bacteria growth.
Natural Alternatives to Vinegar
If you’re not a fan of vinegar’s smell, or you’ve heard concerns about using it in plastic parts, there are alternatives.
Citric Acid
Food-grade citric acid (available online or in canning sections) is a great vinegar substitute. Mix 1–2 tablespoons with water and run a brew cycle. It’s equally effective at removing limescale and leaves no odor.
Commercial Coffee Maker Cleaners
Products like Urnex or Café Clean are specifically designed for coffee makers. They’re safe, effective, and often come in pre-measured tablets. Just follow the package instructions.
Baking Soda (for light cleaning)
For mild buildup, you can use a baking soda solution (1 tablespoon per cup of water). However, it’s not as strong as vinegar or citric acid for heavy descaling.
When to Replace Parts
Even with regular cleaning, some parts wear out over time.
- Permanent filters: Replace every 6–12 months, depending on use.
- Water filters: Change every 60 days or as recommended.
- Carafe: If it’s cracked, stained, or retains odors, it’s time for a new one.
- Seals and gaskets: Check for cracks or stiffness—replace if they’re no longer airtight.
Using worn parts can affect brewing quality and even pose safety risks.
Storing Your Coffee Maker
If you’re not using your coffee maker for a while—say, during travel or a long vacation—take these steps to store it properly:
- Clean it thoroughly before storing.
- Empty the water reservoir and let all parts dry completely.
- Store in a cool, dry place, preferably in its original box or a dust cover.
- Don’t stack heavy items on top of it.
Proper storage prevents mold, dust buildup, and damage.
Conclusion
Cleaning your Hamilton Beach coffee maker doesn’t have to be a chore. With a little effort and the right routine, you can keep your machine in excellent condition and your coffee tasting amazing. Remember: clean weekly, descale monthly, and always rinse after using vinegar. Your taste buds—and your coffee maker—will thank you.
A clean machine isn’t just about hygiene; it’s about respect for your daily ritual. That first sip of coffee should be pure, rich, and satisfying—not tainted by old oils or mineral gunk. So grab that vinegar, roll up your sleeves, and give your brewer the care it deserves. Your perfect cup is just a clean cycle away.
Frequently Asked Questions
How do I descale my Hamilton Beach coffee maker?
Mix equal parts white vinegar and water, run a full brew cycle, let it sit for 15–30 minutes if needed, then rinse with 1–2 cycles of fresh water.
Why does my coffee taste bitter even after cleaning?
Bitter coffee can result from old beans, over-extraction, or residual oils. Clean your machine thoroughly and check your grind size and brew time.
Can I put my Hamilton Beach carafe in the dishwasher?
Check your model’s manual—some carafes are dishwasher-safe, while others (especially thermal ones) should be hand-washed to prevent damage.
What if my coffee maker won’t turn on after cleaning?
Make sure all parts are properly reassembled and the machine is plugged in. If it still doesn’t work, check for water in the electrical components and let it dry completely.
How do I clean the water reservoir?
Wipe the inside with a cloth dampened with vinegar or soapy water. For hard-to-reach spots, use a bottle brush or toothbrush.
Is it safe to drink coffee made after a vinegar cleaning cycle?
Yes, as long as you run at least one full rinse cycle with fresh water. The vinegar taste should be completely gone.