

Knowing how long to bake chicken breast ensures juicy, safe, and delicious results every time. Whether you’re using boneless or bone-in cuts, the right temperature and timing make all the difference. This guide covers everything from prep to doneness, so your chicken turns out tender and never dry.
Key Takeaways
- Bake boneless chicken breast at 400°F (200°C) for 20–30 minutes: This range ensures even cooking without drying out the meat, depending on thickness.
- Use a meat thermometer to check for 165°F (74°C): This is the safe internal temperature for poultry, guaranteeing food safety and optimal texture.
- Bone-in chicken takes longer—about 35–45 minutes: The bone insulates the meat, requiring more time to reach the proper temperature.
- Let chicken rest for 5–10 minutes after baking: Resting allows juices to redistribute, keeping the meat moist and flavorful.
- Brining or marinating improves moisture and flavor: Even a 30-minute soak in saltwater or marinade can prevent dryness.
- Adjust time based on thickness, not just weight: Thicker cuts need longer baking or a lower temperature to cook through evenly.
- Cover with foil halfway through for extra juiciness: This traps steam and prevents the surface from drying out, especially for lean cuts.
Quick Answers to Common Questions
How long should you bake chicken breast at 400°F?
Boneless, skinless chicken breast should bake at 400°F for 20–30 minutes, depending on thickness. Use a meat thermometer to ensure it reaches 165°F internally.
Can you bake chicken breast from frozen?
Yes, but it takes longer—about 50–60 minutes at 350°F. Cover with foil to prevent drying, and always check the internal temperature.
Should you cover chicken breast while baking?
Covering with foil for the first half of baking helps retain moisture, especially for boneless cuts. Remove foil at the end for browning.
How do you know when baked chicken breast is done?
The safest way is to use a meat thermometer. Insert it into the thickest part—chicken is done at 165°F (74°C).
Why is my baked chicken breast dry?
Dryness is usually caused by overcooking. Use a thermometer, brine the chicken, and let it rest after baking to keep it juicy.
📑 Table of Contents
- How Long Should You Bake Chicken Breast for Perfect Results
- Understanding Chicken Breast Cuts and Their Impact on Baking Time
- Oven Temperature and Its Role in Baking Chicken Breast
- How to Determine the Right Baking Time Based on Thickness
- Pre-Baking Tips to Ensure Juicy, Flavorful Chicken
- Step-by-Step Guide to Baking Perfect Chicken Breast
- Troubleshooting Common Baking Problems
- Conclusion
How Long Should You Bake Chicken Breast for Perfect Results
There’s nothing quite like a perfectly baked chicken breast—tender, juicy, and full of flavor. But let’s be honest: one of the most common kitchen struggles is figuring out exactly how long to bake chicken breast so it’s safe to eat but not overcooked and dry. You’ve probably been there—pulling out a chicken breast that looks done on the outside but is still pink inside, or worse, one that’s tough and rubbery from too much time in the oven.
The good news? Baking chicken breast doesn’t have to be a guessing game. With the right techniques, a little know-how, and attention to detail, you can achieve restaurant-quality results at home every single time. Whether you’re meal prepping for the week, cooking a quick weeknight dinner, or impressing guests with a healthy main course, mastering the bake time for chicken breast is a game-changer.
In this guide, we’ll walk you through everything you need to know about how long to bake chicken breast—from choosing the right cut and preparing it properly to understanding oven temperatures and using tools like meat thermometers. We’ll also share practical tips to keep your chicken moist, flavorful, and perfectly cooked, no matter your cooking style or experience level.
Understanding Chicken Breast Cuts and Their Impact on Baking Time
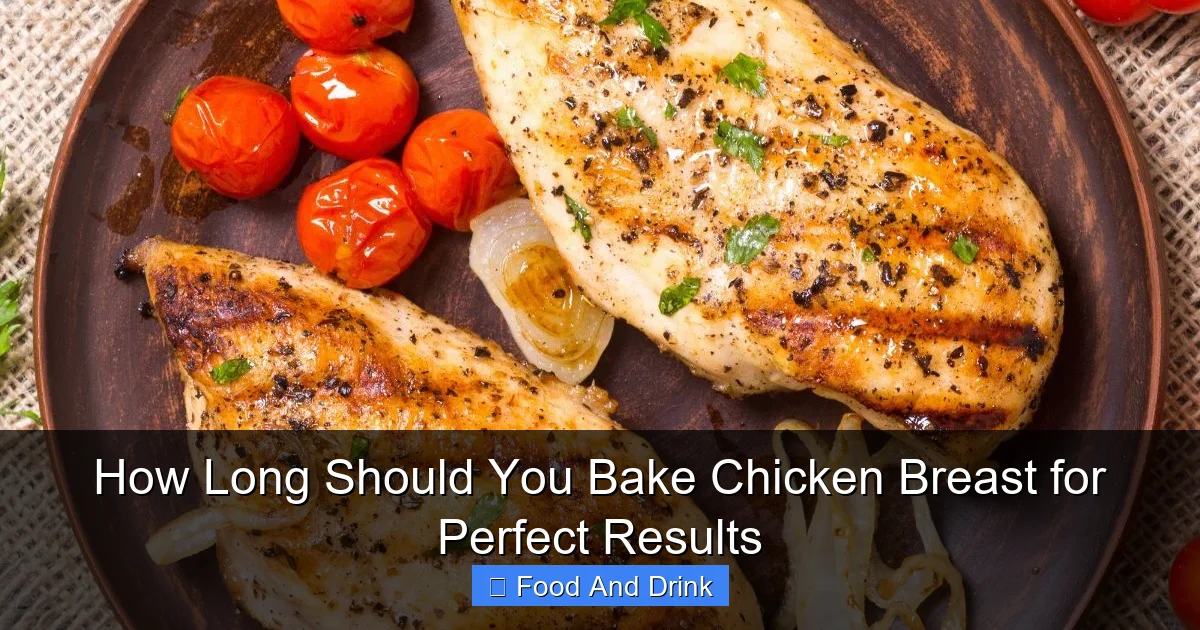
Visual guide about How Long Should You Bake Chicken Breast for Perfect Results
Image source: morechickenrecipes.com
Not all chicken breasts are created equal. The type of cut you choose—boneless, bone-in, skin-on, or skinless—can significantly affect how long it takes to bake and how it turns out in the end. Let’s break down the most common cuts and what you need to know about each.
Boneless, Skinless Chicken Breast
This is the most popular cut for home cooks because it’s lean, cooks quickly, and absorbs marinades well. Boneless, skinless chicken breasts are ideal for recipes where you want the chicken to be the star—like grilled, baked, or sautéed dishes. However, because they lack skin and bone, they’re more prone to drying out if overcooked.
When baking boneless, skinless chicken breast, the general rule is to cook it at 400°F (200°C) for 20 to 30 minutes. But here’s the catch: thickness matters more than weight. A thin cut might be done in 18 minutes, while a thick, plump breast could need up to 35 minutes. That’s why using a meat thermometer is essential—more on that later.
Bone-In, Skin-On Chicken Breast
Bone-in, skin-on chicken breasts take longer to bake—typically 35 to 45 minutes at 375°F to 400°F (190°C to 200°C). The bone acts as an insulator, slowing down the cooking process, while the skin helps retain moisture and adds a delicious crispy texture when properly rendered.
This cut is more forgiving than boneless because the bone and skin protect the meat from drying out. It’s a great option if you’re new to baking chicken or want a more hands-off approach. Just remember to pat the skin dry before seasoning and place the chicken skin-side up on a baking sheet or in a pan.
Butterflied or Thin-Cut Chicken Breast
Some chicken breasts are sold pre-butterflied or sliced thin for quick cooking. These cuts are perfect for recipes that require fast baking, like stuffed chicken or weeknight meals. Because they’re thinner, they bake in just 12 to 18 minutes at 400°F (200°C).
If you’re working with regular chicken breasts but want faster cooking, you can butterfly them yourself. Simply place the breast on a cutting board, hold it flat with one hand, and slice horizontally through the middle—almost like opening a book—without cutting all the way through. Then, open it up and pound it gently to an even thickness. This ensures even cooking and reduces bake time.
Oven Temperature and Its Role in Baking Chicken Breast
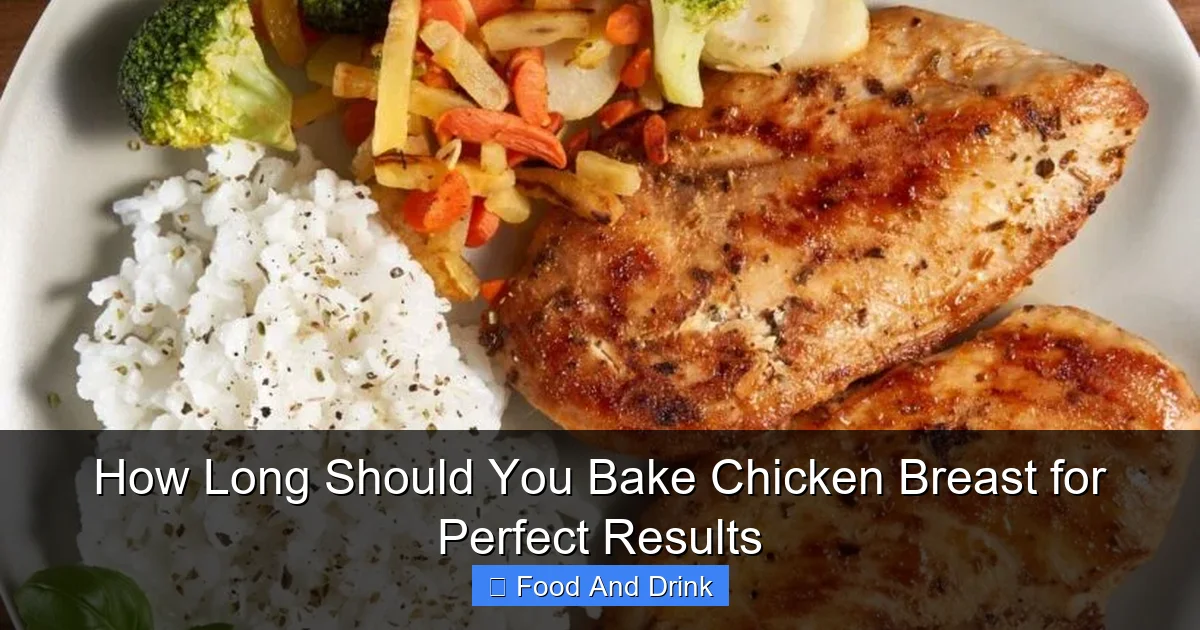
Visual guide about How Long Should You Bake Chicken Breast for Perfect Results
Image source: morechickenrecipes.com
Temperature is one of the most critical factors when it comes to how long to bake chicken breast. Too high, and the outside burns before the inside cooks through. Too low, and the chicken dries out or takes forever to bake. Finding the sweet spot is key.
The Ideal Baking Temperature: 375°F to 400°F (190°C to 200°C)
Most experts recommend baking chicken breast at 375°F to 400°F (190°C to 200°C). This range provides enough heat to cook the chicken thoroughly without drying it out. At 400°F, the outside develops a nice golden color while the inside stays juicy. At 375°F, the cooking is gentler, which can be better for thicker cuts or bone-in pieces.
For boneless, skinless chicken breasts, 400°F is usually the best choice. It cooks the chicken quickly and evenly, especially if the pieces are pounded to an even thickness. For bone-in or thicker cuts, 375°F gives the heat more time to penetrate the center without overcooking the exterior.
Why Not Go Higher or Lower?
Baking at 425°F or higher might seem like a good idea for faster cooking, but it often leads to uneven results. The outside can brown or even burn before the inside reaches 165°F (74°C), especially with thicker breasts. This is especially true if you’re using a baking sheet without a rack, as the bottom can overcook while the top stays underdone.
On the flip side, baking at 350°F or lower extends the cooking time significantly. While this can work for bone-in chicken, it increases the risk of drying out boneless cuts. Lower temperatures also don’t promote the same browning and flavor development that higher heat provides.
Convection vs. Conventional Ovens
If your oven has a convection setting, you can use it to bake chicken breast more evenly and slightly faster. Convection ovens circulate hot air, which helps cook food more uniformly and can reduce baking time by about 5 to 10 minutes. Just remember to lower the temperature by 25°F (about 15°C) when using convection—so bake at 375°F instead of 400°F.
However, if you’re new to convection baking, it’s safer to stick with conventional mode until you’re comfortable adjusting times and temperatures.
How to Determine the Right Baking Time Based on Thickness
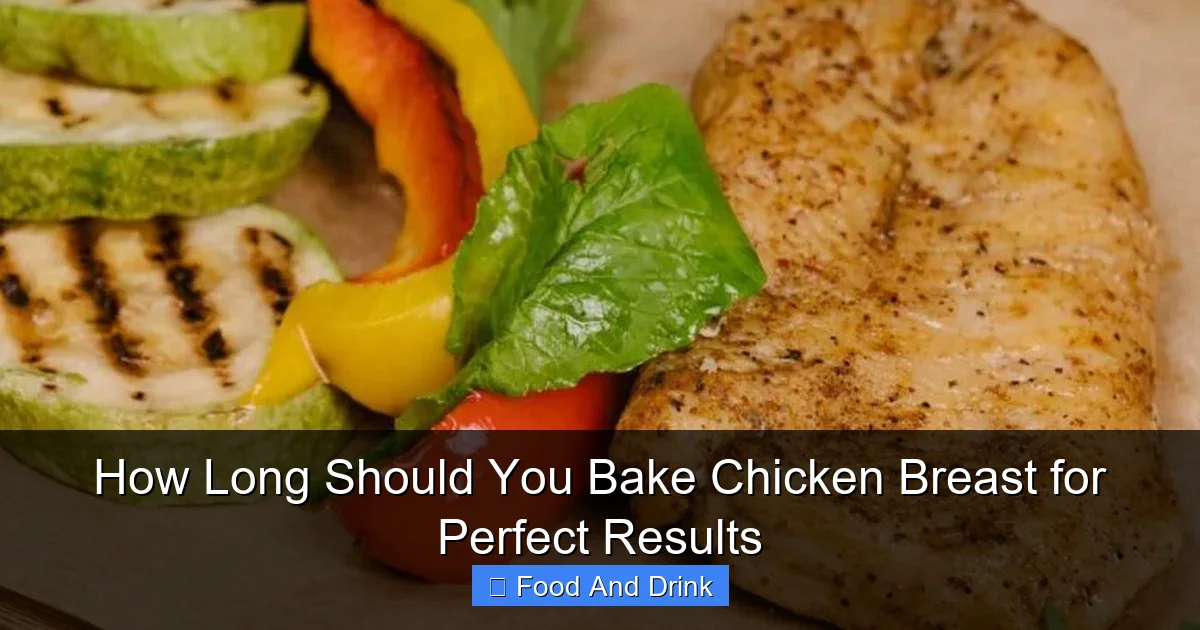
Visual guide about How Long Should You Bake Chicken Breast for Perfect Results
Image source: morechickenrecipes.com
One of the biggest mistakes people make when baking chicken breast is relying solely on weight or package instructions. The real key to perfect timing is thickness. A thin, flat piece will cook much faster than a thick, rounded one—even if they weigh the same.
Measuring Thickness for Accuracy
To get the best results, measure the thickest part of your chicken breast with a ruler or kitchen scale. Most store-bought chicken breasts range from ¾ inch to 1½ inches thick. Here’s a general guide:
– ¾ inch thick: Bake at 400°F for 18–22 minutes
– 1 inch thick: Bake at 400°F for 22–26 minutes
– 1¼ inch thick: Bake at 400°F for 26–30 minutes
– 1½ inch thick: Bake at 400°F for 30–35 minutes
These times assume the chicken is at room temperature and not frozen. If your chicken is straight from the fridge, add 3 to 5 minutes to the baking time.
Pounding for Even Cooking
If your chicken breasts are uneven in thickness, pounding them is a simple fix. Place the breast between two sheets of plastic wrap or in a zip-top bag, then gently pound it with a meat mallet, rolling pin, or even a heavy skillet. Aim for an even thickness of about 1 inch.
This not only ensures even cooking but also reduces overall bake time. Pounded chicken breasts cook faster and more uniformly, so you’re less likely to end up with dry edges and a raw center.
Using a Meat Thermometer: The Ultimate Tool
No matter how experienced you are, a meat thermometer is the most reliable way to know when your chicken is done. Insert the probe into the thickest part of the breast, avoiding bone or fat. The chicken is safe to eat when it reaches an internal temperature of 165°F (74°C).
But here’s a pro tip: remove the chicken from the oven when it hits 160°F (71°C). The temperature will continue to rise by 5°F as it rests, bringing it to the safe 165°F mark. This prevents overcooking and keeps the meat juicy.
Pre-Baking Tips to Ensure Juicy, Flavorful Chicken
How you prepare your chicken before it goes into the oven can make a huge difference in the final result. A few simple steps can transform a bland, dry piece of meat into a tender, flavorful centerpiece.
Brining for Moisture
Brining is one of the best ways to keep chicken breast juicy. Soaking the chicken in a saltwater solution (and optionally sugar, herbs, and spices) for 30 minutes to 2 hours helps the meat retain moisture during cooking.
To make a basic brine, dissolve ¼ cup of salt and 2 tablespoons of sugar in 4 cups of water. Add the chicken and refrigerate. After brining, rinse and pat dry before seasoning and baking.
Even a quick 30-minute brine can make a noticeable difference, especially for boneless, skinless cuts.
Marinating for Flavor
Marinating adds flavor and can also help tenderize the meat. Use acidic ingredients like lemon juice, vinegar, or yogurt, combined with oil, herbs, and spices. Marinate for at least 30 minutes, or up to 24 hours in the fridge.
Popular marinades include lemon-garlic, teriyaki, Italian herb, or spicy chipotle. Just be sure to discard the marinade after use—never reuse it unless you boil it first.
Seasoning and Resting Before Baking
Always season your chicken generously with salt and pepper before baking. Let it sit at room temperature for 15 to 30 minutes. This allows the seasoning to penetrate the meat and ensures more even cooking.
Avoid overcrowding the baking sheet. Leave space between each piece so heat can circulate and the chicken browns properly.
Using a Rack or Foil Tent
For extra juiciness, especially with boneless cuts, cover the chicken loosely with aluminum foil for the first half of the baking time. This traps steam and prevents the surface from drying out. Remove the foil for the last 10 minutes to allow browning.
Alternatively, place the chicken on a wire rack set inside a baking sheet. This elevates the meat and allows heat to circulate underneath, promoting even cooking and preventing soggy bottoms.
Step-by-Step Guide to Baking Perfect Chicken Breast
Now that you know the basics, here’s a foolproof method to bake chicken breast every time.
Step 1: Preheat the Oven
Always preheat your oven to 400°F (200°C). A hot oven ensures even cooking from the start.
Step 2: Prepare the Chicken
Pat the chicken dry with paper towels. Season both sides with salt, pepper, and any desired spices or herbs. Let it sit at room temperature for 15–30 minutes.
Step 3: Arrange on a Baking Sheet
Place the chicken on a baking sheet lined with parchment paper or a silicone mat. For bone-in, skin-on chicken, place skin-side up. For boneless, you can place them flat or on a rack.
Step 4: Bake
Bake boneless chicken for 20–30 minutes, depending on thickness. Bone-in chicken takes 35–45 minutes. Use a meat thermometer to check for 165°F (74°C) in the thickest part.
Step 5: Rest Before Serving
Remove the chicken from the oven and let it rest for 5–10 minutes. This allows the juices to redistribute, keeping the meat moist.
Step 6: Slice and Serve
Slice against the grain for maximum tenderness. Serve with your favorite sides—roasted vegetables, rice, or a fresh salad.
Troubleshooting Common Baking Problems
Even with the best intentions, things can go wrong. Here’s how to fix the most common issues.
Chicken Is Dry
Overcooking is the main culprit. Use a meat thermometer and remove the chicken at 160°F (71°C). Brining or marinating can also help retain moisture.
Chicken Is Undercooked
If the center is still pink, return it to the oven and check every 2–3 minutes. Make sure your oven is properly preheated and the chicken is at room temperature before baking.
Chicken Is Unevenly Cooked
Pound the chicken to an even thickness before baking. Avoid overcrowding the pan, and rotate the baking sheet halfway through if your oven has hot spots.
Skin Is Soggy (Bone-In)
Pat the skin very dry before seasoning. Bake skin-side up and avoid covering with foil unless necessary. For extra crispiness, broil for 1–2 minutes at the end.
Conclusion
Knowing how long to bake chicken breast doesn’t have to be complicated. With the right temperature, attention to thickness, and a few smart techniques, you can achieve juicy, flavorful results every time. Whether you’re baking boneless, skinless cuts for a quick dinner or bone-in breasts for a more traditional meal, the key is consistency and care.
Remember: use a meat thermometer, let the chicken rest, and don’t skip the prep steps like brining or marinating. These small efforts make a big difference in taste and texture.
Baking chicken breast is a skill that improves with practice. The more you do it, the more intuitive it becomes. So go ahead—preheat that oven, season your chicken, and enjoy the satisfaction of a perfectly baked meal made right at home.
Frequently Asked Questions
How long should you bake chicken breast at 375°F?
At 375°F, boneless chicken breast takes about 25–35 minutes, while bone-in takes 40–50 minutes. Always check the internal temperature to ensure doneness.
Can you bake chicken breast without oil?
Yes, you can bake chicken breast without oil, but it may be drier. Using a little oil or butter helps with browning and moisture retention.
Should you flip chicken breast while baking?
Flipping is not necessary when baking chicken breast. The top and bottom cook evenly in a hot oven, especially if using a rack.
How long do you bake thin chicken breast?
Thin chicken breast (about ½ inch thick) bakes in 12–18 minutes at 400°F. Use a thermometer to avoid overcooking.
Can you bake chicken breast with vegetables?
Yes, bake chicken breast with vegetables like potatoes, carrots, or broccoli. Cut veggies into even pieces and adjust baking time as needed.
How do you keep baked chicken breast from drying out?
Brine or marinate the chicken, use a meat thermometer, bake at the right temperature, and let it rest after cooking to retain moisture.


