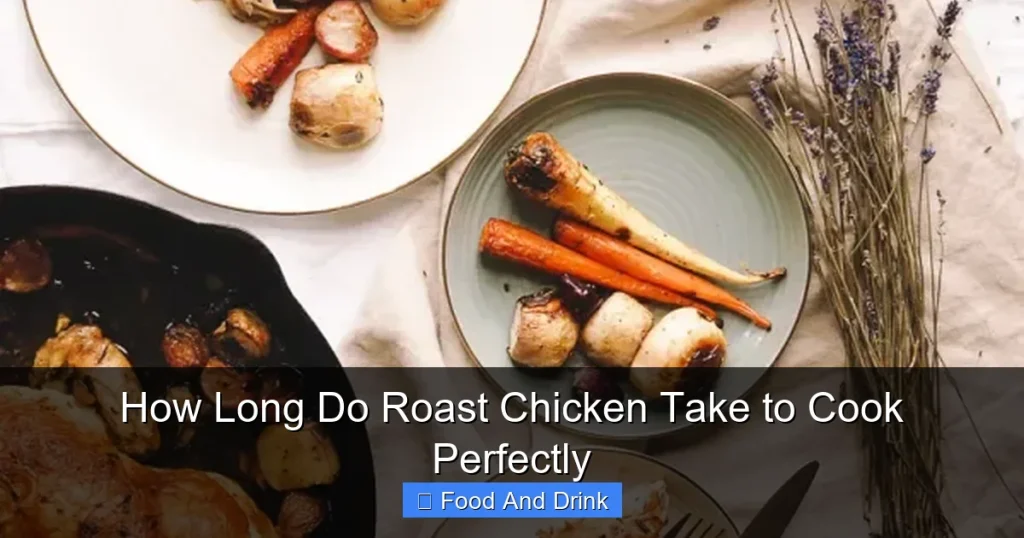
Roasting a chicken to perfection depends on weight, oven temperature, and technique—not just time. Whether you’re cooking a 3-pound or 6-pound bird, understanding the right timing ensures juicy meat and crispy skin every time.
There’s something deeply comforting about the aroma of a roast chicken wafting through the kitchen—golden skin crackling, herbs sizzling, and the promise of tender, juicy meat waiting to be carved. It’s a classic centerpiece for family dinners, holiday feasts, or even a simple weeknight meal that feels special. But despite its simplicity, roasting a chicken perfectly can be surprisingly tricky. One minute it’s undercooked and pink near the bone; the next, it’s dry and overdone. So, how long do roast chicken take to cook perfectly? The answer isn’t just about time—it’s about understanding your bird, your oven, and the science behind great roasting.
The truth is, there’s no one-size-fits-all answer. A small 3-pound chicken won’t take the same time as a hefty 6-pound roaster. Oven temperatures vary, chickens come with or without giblets, and some are stuffed while others are spatchcocked. But with the right guidelines, a few pro tips, and a reliable thermometer, you can master the art of the perfect roast chicken every single time. This guide will walk you through everything you need to know—from timing charts and temperature tips to troubleshooting common mistakes—so your next roast chicken is nothing short of spectacular.
Key Takeaways
- Weight is the #1 factor: A 4-pound chicken typically takes 1 hour 15 minutes at 375°F (190°C), while larger birds need more time.
- Use a meat thermometer: The safest way to check doneness is when the thickest part of the thigh reaches 165°F (74°C).
- Resting is crucial: Let the chicken rest for 15–20 minutes after roasting to lock in juices and improve texture.
- Higher heat = faster cooking: Roasting at 425°F (220°C) reduces cooking time but requires careful monitoring to avoid drying out.
- Trussing helps even cooking: Tying the legs together promotes uniform browning and prevents overcooking delicate breast meat.
- Stuffing adds time: If roasting with stuffing, add 15–20 minutes and ensure the stuffing reaches 165°F (74°C) internally.
- Bone-in vs. boneless: Boneless chickens cook faster—often in under an hour—but can dry out more easily without proper care.
Quick Answers to Common Questions
How long does a 4-pound roast chicken take to cook?
A 4-pound roast chicken typically takes 1 hour 15 minutes to 1 hour 30 minutes at 375°F (190°C), depending on whether it’s stuffed and how your oven performs.
Can I roast a chicken at 400°F instead of 375°F?
Yes, roasting at 400°F will reduce cooking time by about 10–15 minutes. Just monitor the chicken closely to prevent the breast from drying out.
Is it safe to eat chicken if the juices run pink?
Not necessarily. Some chickens retain a pink hue even when fully cooked. Always use a thermometer—165°F (74°C) in the thigh is the safe standard.
Should I cover my roast chicken while it cooks?
No, covering traps steam and prevents crispy skin. Only tent loosely with foil during resting, not while roasting.
Can I roast a frozen chicken?
It’s not recommended. Frozen chickens cook unevenly and take much longer. Always thaw in the refrigerator before roasting for safety and best results.
📑 Table of Contents
- Understanding the Basics: What Affects Roast Chicken Cooking Time?
- How to Use a Meat Thermometer for Perfect Results
- Roasting Techniques That Affect Cooking Time
- Stuffed vs. Unstuffed: Does It Change the Time?
- Resting: The Final Step for Juicy Chicken
- Troubleshooting Common Roast Chicken Problems
- Conclusion: Mastering the Perfect Roast Chicken
Understanding the Basics: What Affects Roast Chicken Cooking Time?
When it comes to how long roast chicken take to cook, several key factors come into play. The most important is the weight of the chicken. A general rule of thumb is to allow 15–20 minutes per pound at 375°F (190°C). So, a 4-pound chicken would take about 60–80 minutes. But that’s just a starting point. Other variables—like whether the chicken is stuffed, bone-in or boneless, and how your oven heats—can significantly impact the total cooking time.
Another major factor is oven temperature. Higher heat (like 425°F or 220°C) can reduce cooking time and help achieve that coveted crispy skin, but it also increases the risk of drying out the breast meat before the thighs are fully cooked. Lower temperatures (around 325°F or 165°C) cook more slowly and gently, which can help retain moisture—especially for larger birds—but may result in less browning.
The chicken’s starting temperature also matters. A chicken straight from the fridge will take longer to cook than one that’s been brought to room temperature for 30–60 minutes. Cold meat doesn’t roast evenly, so letting it sit out (uncovered, in a safe place) helps it cook more uniformly. And don’t forget the role of trussing—tying the legs together with kitchen twine not only gives the chicken a neat appearance but also helps it cook more evenly by keeping the breast and thighs in close contact with the heat.
Why Weight Matters Most
The weight of your chicken is the single biggest predictor of cooking time. A 3-pound chicken is leaner and smaller, so it cooks faster—typically in about 50–60 minutes at 375°F. A 5-pound bird, on the other hand, may need 1 hour 45 minutes to 2 hours. Always use a kitchen scale or check the label to know the exact weight, as this will help you estimate time more accurately.
For example, here’s a quick reference:
– 3 lbs (1.4 kg): 50–60 minutes
– 4 lbs (1.8 kg): 1 hour 15 minutes to 1 hour 30 minutes
– 5 lbs (2.3 kg): 1 hour 45 minutes to 2 hours
– 6 lbs (2.7 kg): 2 hours 15 minutes to 2 hours 30 minutes
These times assume a standard roasting temperature of 375°F (190°C) and a whole, unstuffed, bone-in chicken. Adjust as needed based on your specific setup.
The Role of Oven Temperature
Oven temperature plays a dual role: it affects both cooking speed and texture. Roasting at 375°F strikes a good balance between browning and moisture retention. But if you’re short on time, bumping the heat to 425°F can shave off 10–15 minutes. Just keep a close eye on the chicken, especially the breast, which can dry out quickly at high heat.
Some chefs use a two-stage method: start at 425°F for the first 15–20 minutes to kickstart browning, then reduce to 350°F for the remainder of the cook time. This gives you the best of both worlds—crispy skin and juicy meat. Conversely, slow-roasting at 325°F is ideal for larger chickens or when you want ultra-tender results, though it will take longer.
How to Use a Meat Thermometer for Perfect Results
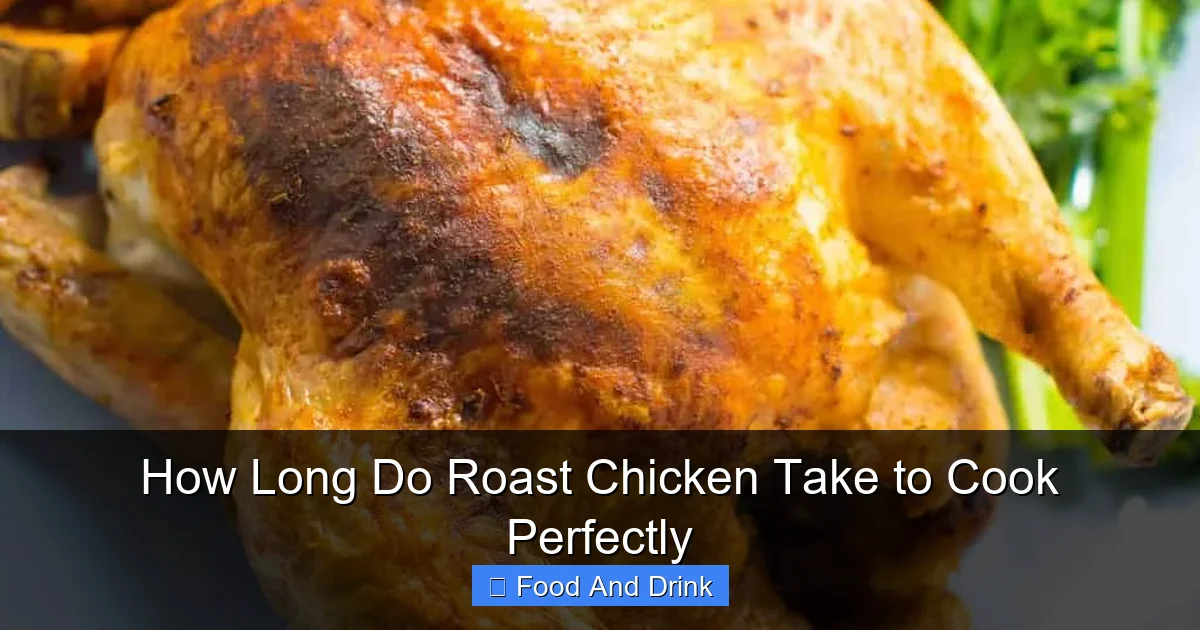
Visual guide about How Long Do Roast Chicken Take to Cook Perfectly
Image source: kidgredients.com.au
If you’re still guessing when your roast chicken is done, it’s time to retire the old “poke and hope” method. The only reliable way to know if your chicken is safely cooked is by using a meat thermometer. The USDA recommends cooking poultry to an internal temperature of 165°F (74°C) to kill harmful bacteria like salmonella.
But here’s the trick: you don’t insert the thermometer into the breast. Instead, place it into the thickest part of the thigh, avoiding the bone. The thigh takes longer to cook than the breast, so if the thigh is done, the breast will be too—without being overcooked. Insert the probe gently, making sure it doesn’t touch the bone, which can give a false reading.
For stuffed chickens, check the temperature of the stuffing as well. It must also reach 165°F (74°C) to be safe to eat. This is why many food safety experts recommend cooking stuffing separately—it’s easier to control and safer overall.
Instant-Read vs. Leave-In Thermometers
There are two main types of meat thermometers: instant-read and leave-in (or probe) thermometers. Instant-read thermometers are quick and accurate but require you to open the oven door to check, which can cause temperature fluctuations. Leave-in thermometers, on the other hand, stay in the chicken throughout the cook and often come with an alarm that goes off when the target temperature is reached. These are ideal for hands-off roasting and are especially helpful for beginners.
Investing in a good digital thermometer is one of the best things you can do for your cooking. Models like the Thermapen or ThermoPop are fast, accurate, and widely used by professional chefs. For leave-in options, the ThermoWorks DOT or the Meater+ are excellent choices that connect to your phone via Bluetooth.
What If the Chicken Is Done Early—or Late?
Sometimes, despite your best efforts, the chicken finishes cooking earlier or later than expected. If it’s done early, don’t panic. Simply remove it from the oven, tent it loosely with foil, and let it rest. The internal temperature will continue to rise slightly (a phenomenon called “carryover cooking”) and the resting period will help redistribute the juices.
If the chicken is running late, check the oven temperature with an oven thermometer—many home ovens run hotter or cooler than the setting indicates. You can also tent the breast with foil if it’s browning too quickly while the thighs are still undercooked. This slows down the cooking on the breast and gives the thighs time to catch up.
Roasting Techniques That Affect Cooking Time
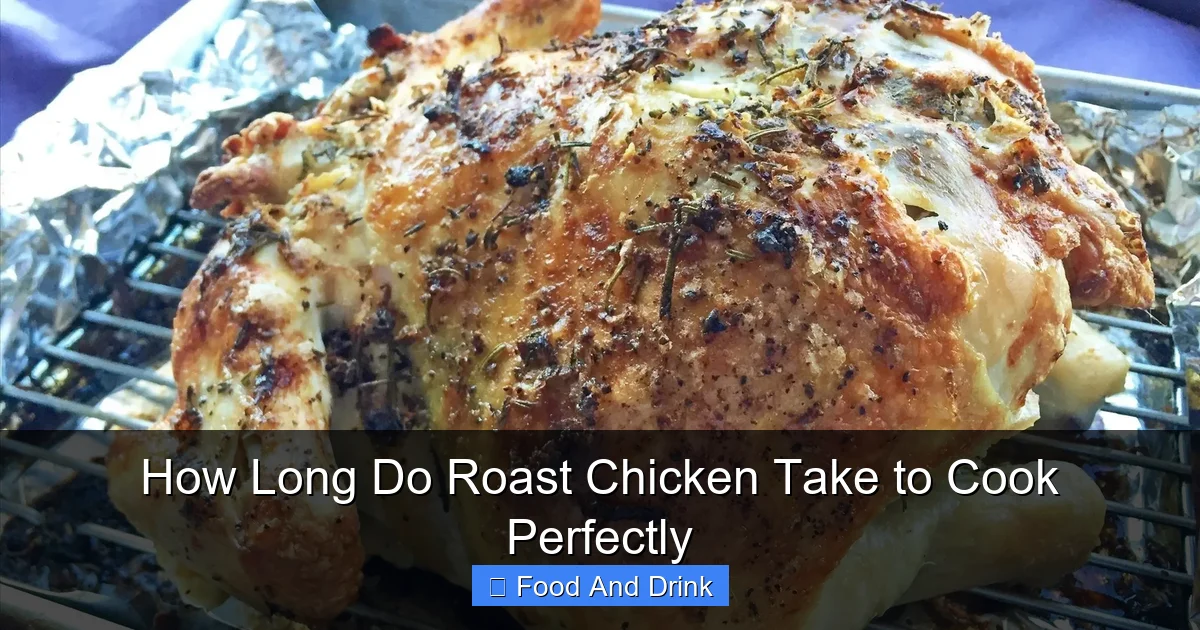
Visual guide about How Long Do Roast Chicken Take to Cook Perfectly
Image source: img.wonderhowto.com
Not all roast chickens are created equal—and your technique can dramatically influence how long it takes to cook. From trussing to spatchcocking, the way you prepare the bird before it hits the oven can speed things up or slow them down.
Trussing: Neat and Even
Trussing—tying the legs together with kitchen twine—is a classic technique that helps the chicken cook evenly. By pulling the legs toward the center, you reduce the surface area exposed to direct heat, which prevents the breast from drying out before the thighs are done. It also gives the chicken a more uniform shape, promoting even browning.
To truss a chicken, place it breast-side up, tuck the wing tips behind the shoulders, and tie the legs together with twine. You can also loop the string around the body to keep everything snug. While trussing isn’t strictly necessary, it’s a simple step that makes a big difference in both appearance and texture.
Spatchcocking: Faster and Crispier
Spatchcocking—also known as butterflying—is a game-changer for roast chicken lovers who want speed and crispiness. By removing the backbone and flattening the bird, you expose more surface area to the heat, which reduces cooking time by up to 30–40%. A 4-pound spatchcocked chicken can go from oven to table in under an hour.
To spatchcock, place the chicken breast-side down and use kitchen shears to cut along both sides of the backbone. Remove the backbone, flip the chicken over, and press down firmly on the breastbone to flatten it. Roast breast-side up on a baking sheet or roasting pan. The result? Crispy skin all around and juicy meat that cooks evenly.
Roasting on a Rack vs. Directly in the Pan
Roasting the chicken on a rack set inside a roasting pan allows hot air to circulate underneath, promoting even browning and preventing the bottom from steaming. This is especially helpful for achieving that golden, crispy skin. If you don’t have a rack, you can improvise with chopped vegetables (like onions, carrots, and celery) to lift the chicken off the pan.
Roasting directly in the pan is fine for smaller chickens or when you’re making gravy, but the skin may not crisp as well on the bottom. Just be sure to flip the chicken halfway through if you’re aiming for even browning.
Stuffed vs. Unstuffed: Does It Change the Time?
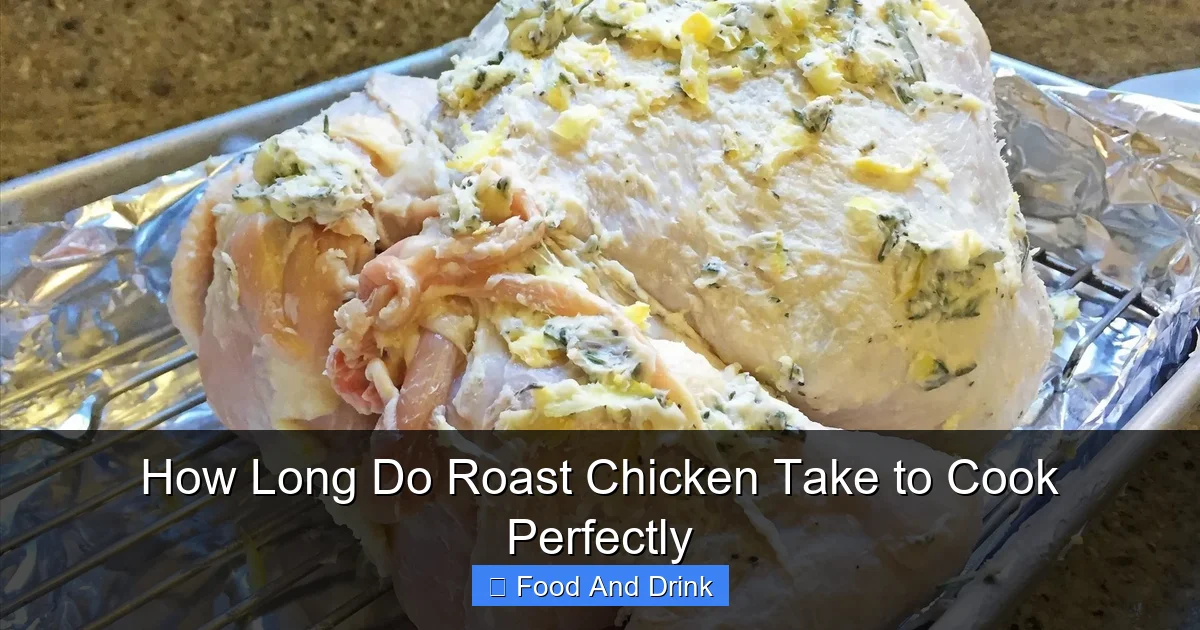
Visual guide about How Long Do Roast Chicken Take to Cook Perfectly
Image source: img.wonderhowto.com
Stuffing the cavity of your roast chicken adds flavor and aroma, but it also adds cooking time—and risk. Because the stuffing acts as an insulator, it slows down the heat transfer to the center of the bird. As a result, a stuffed chicken can take 15–20 minutes longer to cook than an unstuffed one of the same weight.
More importantly, the stuffing itself must reach 165°F (74°C) to be safe to eat. This means the chicken may need to cook longer than usual, increasing the chance of overcooking the breast meat. For this reason, many food safety experts recommend cooking stuffing separately. You can still add aromatics like lemon halves, garlic, and herbs to the cavity for flavor without the added risk.
If you do choose to stuff your chicken, use a moist stuffing (like bread-based with broth) and pack it loosely—don’t overstuff, as it expands during cooking. Check the temperature of the stuffing with a thermometer before serving.
Alternative Flavor Boosters
Instead of stuffing, try these flavor-enhancing techniques that don’t add cooking time:
– **Herb butter under the skin:** Gently loosen the skin over the breast and thighs, then slide in softened butter mixed with fresh herbs like thyme, rosemary, and sage. This bastes the meat from the inside as it roasts.
– **Citrus and aromatics in the cavity:** Place halved lemons, garlic cloves, and herb sprigs inside the cavity for a fragrant, juicy result.
– **Dry brining:** Salt the chicken (inside and out) and let it sit uncovered in the fridge for 12–24 hours. This seasons the meat deeply and helps it retain moisture during roasting.
Resting: The Final Step for Juicy Chicken
Once your roast chicken reaches the right internal temperature, the cooking isn’t over—it’s just beginning. Resting is one of the most important steps in the process, yet it’s often overlooked. When you remove the chicken from the oven, the juices are highly concentrated in the center. If you carve it immediately, those juices will spill out onto the cutting board, leaving the meat dry.
By letting the chicken rest for 15–20 minutes (tented loosely with foil to keep it warm), the muscle fibers relax and the juices redistribute throughout the meat. This results in a more tender, moist bite. The internal temperature may also rise by 5–10°F during resting due to carryover cooking, so factor that in when checking doneness.
How to Rest Properly
Place the roasted chicken on a cutting board or platter, tent it with foil (don’t wrap tightly—this can steam the skin and make it soggy), and let it rest. Use this time to make gravy, reheat sides, or set the table. After 15–20 minutes, the chicken will be easier to carve and far more delicious.
For larger chickens (5 pounds or more), consider resting for up to 30 minutes. The bigger the bird, the more time it needs to relax and redistribute juices.
Troubleshooting Common Roast Chicken Problems
Even with the best planning, things can go wrong. Here’s how to fix the most common roast chicken issues:
Dry Breast Meat
This is the #1 complaint with roast chicken. The breast cooks faster than the thighs, so it’s easy to overcook. Solutions:
– Use a lower oven temperature (325°F) and cook longer.
– Baste the breast with butter or pan juices every 20 minutes.
– Tent the breast with foil once it’s golden brown.
– Try the spatchcock method for even cooking.
Pink Juices or Undercooked Chicken
If you see pink juices or the meat near the bone looks raw, return the chicken to the oven and cook in 5-minute increments until the thermometer reads 165°F. Don’t rely on color—some chickens retain a pink hue even when fully cooked due to myoglobin in the meat.
Soggy Skin
Crispy skin starts with dry skin. Pat the chicken thoroughly with paper towels before seasoning. Dry brining (salting and refrigerating uncovered) also helps draw out moisture. Roast on a rack and avoid covering the chicken while it rests.
Uneven Browning
Rotate the pan halfway through cooking to ensure even exposure to heat. If one side is browning faster, turn the chicken or adjust its position in the oven.
Conclusion: Mastering the Perfect Roast Chicken
So, how long do roast chicken take to cook perfectly? The short answer: it depends. But with the right knowledge—weight-based timing, accurate temperature checks, smart techniques, and proper resting—you can consistently achieve a golden, juicy, and safe-to-eat roast chicken that impresses every time.
Remember, roasting is as much about patience as it is about precision. Don’t rush the process. Let the chicken come to room temperature, use a thermometer, and give it time to rest. Whether you’re cooking a weeknight dinner or hosting a holiday feast, these tips will help you nail it.
And don’t be afraid to experiment. Try spatchcocking for speed, dry brining for flavor, or herb butter for richness. Every roast chicken is a chance to learn and improve. With practice, you’ll develop your own rhythm and style—and maybe even a signature recipe that becomes a family favorite.
So preheat that oven, season that bird, and get ready to enjoy one of the most satisfying meals in the culinary world. Your perfect roast chicken is just a timer away.
Frequently Asked Questions
How do I know when my roast chicken is done?
The safest way is to use a meat thermometer. Insert it into the thickest part of the thigh, avoiding the bone, and check that it reads 165°F (74°C). The juices should also run clear, not pink.
Can I stuff my roast chicken?
Yes, but it adds 15–20 minutes to cooking time and requires the stuffing to reach 165°F (74°C). For safety and even cooking, many experts recommend cooking stuffing separately.
Why is my roast chicken dry?
Dry chicken is usually due to overcooking, especially in the breast. Use a thermometer, avoid high heat, and consider brining or basting to retain moisture.
Should I truss my roast chicken?
Trussing helps the chicken cook evenly and look neat, but it’s not mandatory. If you skip it, just monitor the breast to prevent overcooking.
How long should I let my roast chicken rest?
Let it rest for 15–20 minutes, tented loosely with foil. This allows juices to redistribute, resulting in more tender and flavorful meat.
Can I roast a chicken without a roasting pan?
Absolutely. Use a baking sheet, cast-iron skillet, or even a Dutch oven. Just ensure the chicken is elevated (on a rack or veggies) for even browning.