
Knowing how long you’re supposed to cook chicken breast is key to juicy, safe meals. Overcook and it dries out; undercook and it’s unsafe. This guide covers temps, times, and methods for perfect results every time.
If you’ve ever stood over a sizzling pan, wondering if your chicken breast is done—or worse, served dry, rubbery meat to your family—you’re not alone. Chicken breast is one of the most popular proteins in home kitchens, thanks to its lean protein, mild flavor, and versatility. But it’s also one of the easiest to mess up. The question “how long are you supposed to cook chicken breast?” isn’t just about timing—it’s about texture, safety, and flavor.
The good news? With a few simple guidelines, you can cook chicken breast perfectly every single time. Whether you’re baking, grilling, pan-searing, or air-frying, the key lies in understanding how heat affects the meat and using the right tools to monitor doneness. Gone are the days of guessing based on color or poking with a fork. Today’s home cooks have access to affordable meat thermometers, reliable recipes, and science-backed techniques that make juicy, tender chicken breast achievable—even on a busy weeknight.
In this guide, we’ll walk you through everything you need to know about cooking chicken breast, from safe internal temperatures to method-specific cook times, prep tips, and common mistakes to avoid. By the end, you’ll feel confident turning out restaurant-quality chicken at home, no matter your cooking style.
Key Takeaways
- Safe internal temperature: Always cook chicken breast to 165°F (74°C) as measured with a meat thermometer.
- Cooking time varies by method: Pan-searing takes 6–8 minutes per side, baking 20–30 minutes, and grilling 6–7 minutes per side.
- Thickness matters: A 1-inch thick breast cooks faster than a thinner or thicker cut—adjust time accordingly.
- Resting is essential: Let chicken rest 5–10 minutes after cooking to retain juices and ensure even doneness.
- Brining helps moisture: Soaking in saltwater for 30 minutes to 2 hours prevents dryness, especially with lean cuts.
- Use a thermometer: Visual cues like color aren’t reliable—always check internal temp for safety.
- Prep impacts cooking time: Pounding to even thickness or butterflying reduces cook time and improves texture.
Quick Answers to Common Questions
How long are you supposed to cook chicken breast in the oven?
At 375°F (190°C), cook boneless, skinless chicken breast for 20–30 minutes, depending on thickness. Use a thermometer to check for 165°F.
Can you eat chicken breast at 160°F?
Technically, yes—if held at 160°F for at least 3 minutes. But for simplicity and safety, most experts recommend 165°F.
How long does it take to cook frozen chicken breast?
Frozen chicken breast takes about 50% longer. Bake at 375°F for 35–45 minutes, or use the defrost setting on your microwave first.
Should I cover chicken breast while baking?
Covering for the first 15 minutes helps retain moisture, but uncover for the last 10–15 minutes to brown the surface.
How do I keep chicken breast from drying out?
Brine it, don’t overcook it, let it rest, and use a thermometer. Adding fat or liquid during cooking also helps.
📑 Table of Contents
Why Cooking Chicken Breast Right Matters
Chicken breast is a lean cut of meat, which means it has less fat than other parts like thighs or wings. While that makes it a healthy choice, it also means it dries out quickly if overcooked. On the flip side, undercooked chicken poses serious health risks due to bacteria like Salmonella and Campylobacter. That’s why knowing how long you’re supposed to cook chicken breast isn’t just about taste—it’s about safety and satisfaction.
When chicken is cooked properly, the proteins denature and the meat becomes tender and juicy. But push it too far, and those same proteins tighten up, squeezing out moisture and leaving you with a chalky, tough texture. Undercook it, and you risk foodborne illness, which can cause nausea, vomiting, diarrhea, and in severe cases, hospitalization.
The ideal outcome? A chicken breast that’s fully cooked to a safe internal temperature, yet still moist, flavorful, and tender. Achieving that balance requires attention to time, temperature, and technique. And while many people rely on visual cues—like the color of the meat or the clarity of the juices—these aren’t reliable indicators of doneness. The only way to know for sure is to use a meat thermometer.
The Science of Safe Cooking
Food safety experts agree: chicken must reach an internal temperature of 165°F (74°C) to be considered safe to eat. This temperature is high enough to kill harmful bacteria quickly—within seconds, in fact. Some people worry that cooking to 165°F will dry out the meat, but that’s a myth. The real culprit is overcooking *beyond* that point.
Interestingly, chicken can be safe to eat at lower temperatures if held there long enough. For example, cooking to 150°F (66°C) and holding it for about 7 minutes also kills bacteria. But for home cooks, aiming for 165°F is the simplest and most reliable method. It’s the standard recommended by the USDA, FDA, and health organizations worldwide.
Using a digital instant-read thermometer is the best way to hit that target without overshooting. Insert the probe into the thickest part of the breast, avoiding bone or fat, and wait for the reading to stabilize. If it’s 165°F, you’re good to go. If not, cook a little longer and check again.
Common Mistakes That Ruin Chicken Breast
Even experienced cooks make mistakes when preparing chicken breast. One of the most common is cooking it straight from the fridge. Cold chicken takes longer to cook and heats unevenly, leading to dry edges and undercooked centers. Always let your chicken sit at room temperature for 15–20 minutes before cooking.
Another mistake? Not pounding the breast to even thickness. Chicken breasts are often uneven, with one end thicker than the other. This causes the thinner part to overcook while the thicker part is still underdone. Use a meat mallet or rolling pin to gently pound the breast to about ½-inch thickness for even cooking.
Skipping the resting period is another pitfall. When you remove chicken from heat, the juices are still moving. Cutting into it immediately causes those juices to spill out, leaving the meat dry. Let it rest for 5–10 minutes so the fibers relax and the juices redistribute.
Finally, relying on time alone—without checking temperature—is risky. Oven temperatures vary, pan heat fluctuates, and chicken sizes differ. Always use a thermometer to confirm doneness, even if you’re following a recipe to the minute.
How Long to Cook Chicken Breast by Method

Visual guide about How Long Are You Supposed to Cook Chicken Breast Perfectly
Image source: 1.bp.blogspot.com
The answer to “how long are you supposed to cook chicken breast?” depends heavily on your cooking method. Each technique transfers heat differently, affecting both cooking time and final texture. Below, we break down the most popular methods with specific times and tips.
Pan-Searing (Stovetop)
Pan-searing is a favorite for its speed and ability to create a golden, crispy crust. It’s ideal for weeknight dinners when you want dinner on the table in under 20 minutes.
To pan-sear chicken breast:
– Pat the chicken dry and season with salt, pepper, and any desired spices.
– Heat 1–2 tablespoons of oil (like canola, vegetable, or avocado) in a skillet over medium-high heat.
– Once the oil shimmers, add the chicken breast, smooth side down.
– Cook for 6–8 minutes without moving it to develop a nice crust.
– Flip and cook for another 6–8 minutes, or until the internal temperature reaches 165°F.
For best results, use a heavy-bottomed skillet like cast iron, which retains heat well. Avoid overcrowding the pan—cook one or two breasts at a time. If the chicken is browning too quickly, reduce the heat slightly and cover the pan for the last few minutes to finish cooking through.
Total cook time: 12–16 minutes.
Baking (Oven)
Baking is a hands-off method that’s great for meal prep or cooking multiple breasts at once. It delivers even, gentle heat that helps retain moisture—especially when combined with a marinade or brine.
To bake chicken breast:
– Preheat your oven to 375°F (190°C).
– Place seasoned chicken breasts on a baking sheet lined with parchment paper or in a baking dish.
– Bake for 20–30 minutes, depending on thickness.
– Check the internal temperature at the 20-minute mark. A 1-inch thick breast usually takes about 25 minutes.
For extra juiciness, try baking at a higher temperature (425°F/220°C) for 18–22 minutes. This creates a nice sear on the outside while keeping the inside tender. You can also cover the dish with foil for the first 15 minutes to trap steam, then uncover to brown.
Tip: Add a splash of broth, lemon juice, or butter to the pan to keep the chicken moist.
Total cook time: 20–30 minutes.
Grilling
Grilling imparts a smoky, charred flavor that’s hard to beat. It’s perfect for summer cookouts or when you want that outdoor-cooked taste indoors (using a grill pan).
To grill chicken breast:
– Preheat your grill to medium-high heat (about 375–400°F).
– Clean and oil the grates to prevent sticking.
– Season the chicken and place it on the grill.
– Cook for 6–7 minutes per side, flipping once.
– Use a thermometer to check doneness—aim for 165°F.
Avoid frequent flipping, as this prevents a good sear. If flare-ups occur, move the chicken to a cooler part of the grill temporarily. For thicker breasts, you can use the “reverse sear” method: cook over indirect heat first, then finish over direct flame for char.
Total cook time: 12–14 minutes.
Air Frying
Air fryers have become a kitchen staple for their ability to deliver crispy results with little oil. They’re especially great for smaller portions or when you want fast, even cooking.
To air fry chicken breast:
– Preheat the air fryer to 360°F (182°C).
– Pat the chicken dry and season well.
– Place the breasts in the basket in a single layer, leaving space between them.
– Cook for 12–16 minutes, flipping halfway through.
– Check the temperature at 12 minutes—most 1-inch breasts are done by 14–16 minutes.
For extra crispiness, lightly coat the chicken with oil or use a breading (like panko or flour). Avoid overcrowding, as this reduces air circulation and leads to steaming instead of frying.
Total cook time: 12–16 minutes.
Poaching and Sous Vide
For the juiciest, most tender chicken breast, consider gentler methods like poaching or sous vide.
Poaching involves simmering chicken in liquid (water, broth, or milk) at around 160–180°F. It takes about 10–15 minutes for a 1-inch breast and results in incredibly moist meat. Use poached chicken in salads, sandwiches, or pasta dishes.
Sous vide is a precision method where chicken is vacuum-sealed and cooked in a water bath at a controlled temperature. Cook at 145°F (63°C) for 1–2 hours for tender, juicy results, then sear briefly in a hot pan for color. This method eliminates guesswork and ensures perfect doneness every time.
While these methods take longer, they’re worth it for special occasions or when you want foolproof results.
Factors That Affect Cooking Time

Visual guide about How Long Are You Supposed to Cook Chicken Breast Perfectly
Image source: i2.wp.com
Even with the same method, cooking times can vary. Understanding these variables helps you adapt and avoid under- or overcooked chicken.
Thickness and Size
This is the biggest factor. A thin, pounded breast cooks in 10–12 minutes, while a thick, bone-in breast can take 30–40 minutes. Always measure the thickest part with a ruler or use your fingers to estimate. Aim for even thickness by pounding or butterflying.
Starting Temperature
Chicken straight from the fridge takes longer to cook. Let it sit at room temperature for 15–20 minutes before cooking. This ensures even heating and reduces total cook time.
Bone-In vs. Boneless
Bone-in chicken breasts take longer to cook because the bone acts as an insulator. They also retain more moisture. Add 5–10 minutes to your cook time and check the temperature near the bone.
Marinades and Brines
Marinating adds flavor but doesn’t significantly affect cook time. However, brining (soaking in saltwater) can help the meat retain moisture, allowing you to cook it slightly longer without drying out. Brine for 30 minutes to 2 hours, then pat dry before cooking.
Altitude and Humidity
At higher altitudes, water boils at a lower temperature, which can affect poaching and boiling times. Humidity can impact grilling and baking by altering how quickly the surface dries. Adjust heat and time as needed.
Tips for Juicy, Flavorful Chicken Breast
Visual guide about How Long Are You Supposed to Cook Chicken Breast Perfectly
Image source: i2.wp.com
Perfect chicken breast isn’t just about time and temperature—it’s also about preparation and finishing touches.
Season Generously
Chicken breast is mild, so it needs bold seasoning. Use salt, pepper, garlic powder, paprika, or a dry rub. Let it sit for 15–30 minutes before cooking to allow flavors to penetrate.
Use a Meat Thermometer
This is non-negotiable. Visual cues like “white meat” or “clear juices” are unreliable. A thermometer ensures safety and prevents overcooking.
Rest Before Serving
Let the chicken rest for 5–10 minutes after cooking. This allows the juices to redistribute, resulting in a moister bite. Cover loosely with foil to keep warm.
Add Fat or Liquid
Lean cuts benefit from added moisture. Try cooking with a tablespoon of butter, olive oil, or broth. You can also baste the chicken with melted butter or pan juices during the last few minutes of cooking.
Slice Against the Grain
When serving, slice the chicken breast against the grain (perpendicular to the muscle fibers). This shortens the fibers, making each bite more tender.
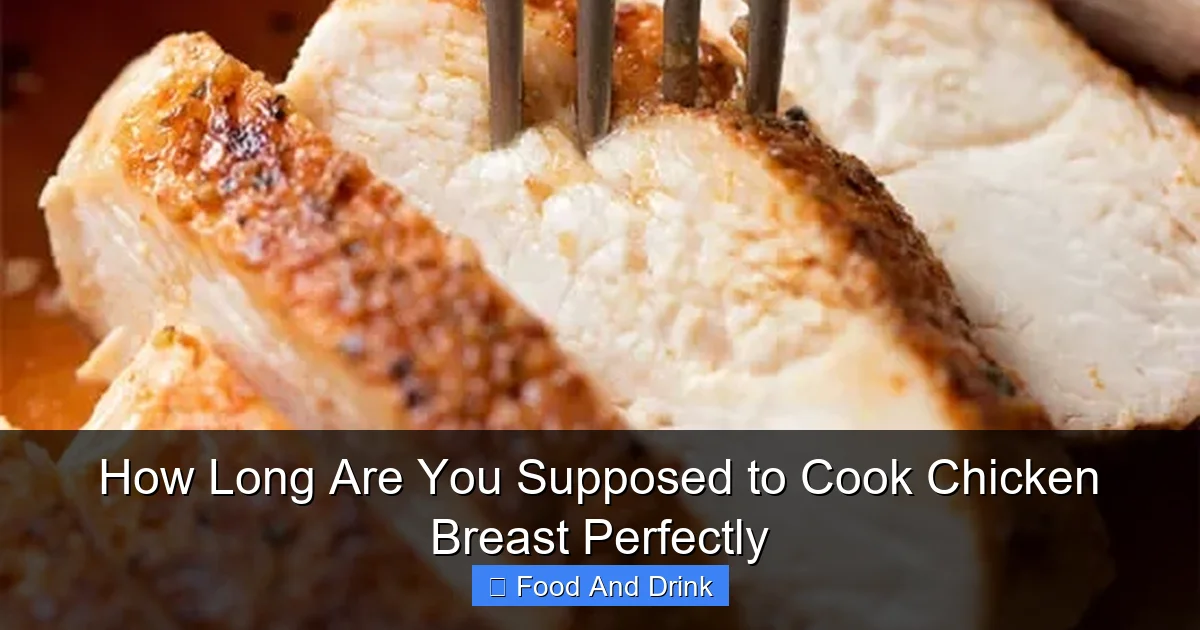
How to Tell If Chicken Breast Is Done
While a thermometer is the best tool, here are a few additional signs of doneness:
– The meat is opaque and white throughout (no pink).
– Juices run clear when pierced (though this isn’t foolproof).
– The breast feels firm but springs back when pressed.
– It reaches 165°F on a thermometer.
Avoid cutting into the chicken to check—this releases juices and dries out the meat. Instead, use a thermometer and trust the numbers.
Conclusion
Knowing how long you’re supposed to cook chicken breast doesn’t have to be complicated. With the right method, a reliable thermometer, and a few smart techniques, you can serve juicy, safe, and delicious chicken every time. Whether you’re pan-searing for a quick dinner, baking for meal prep, or grilling for a backyard feast, the key is to focus on internal temperature, not just time.
Remember: 165°F is the magic number. Adjust for thickness, let the chicken rest, and don’t skip the seasoning. With practice, you’ll develop a feel for your preferred method and be able to cook chicken breast perfectly—no guesswork required.
So the next time you’re standing in the kitchen with a package of chicken breasts, you’ll know exactly what to do. Cook with confidence, serve with pride, and enjoy every tender, flavorful bite.
🎥 Related Video: How to cook chicken breast perfectly every time (stovetop recipe)
📺 Olivia Yi
Frequently Asked Questions
What is the safest internal temperature for chicken breast?
The USDA recommends cooking chicken breast to an internal temperature of 165°F (74°C). This temperature kills harmful bacteria quickly and ensures food safety.
Can I cook chicken breast from frozen?
Yes, but it will take longer—about 50% more time. Increase oven temperature slightly and use a thermometer to check doneness. Thawing first is safer and more even.
How long should I let chicken breast rest after cooking?
Let it rest for 5–10 minutes. This allows the juices to redistribute, resulting in a moister, more flavorful bite.
Is it safe to eat slightly pink chicken breast?
Not if it’s under 165°F. Pink color can sometimes appear even when cooked, but safety depends on temperature, not appearance. Always use a thermometer.
Should I pound chicken breast before cooking?
Yes, especially if it’s uneven. Pounding to even thickness ensures uniform cooking and prevents dry edges and undercooked centers.
Can I reuse marinade that touched raw chicken?
No. Marinade that contacted raw chicken can contain bacteria. If you want to use it as a sauce, boil it first for at least 5 minutes.
