Knowing how do you know if roast chicken is done is essential for safety and flavor. This guide covers temperature checks, visual signs, and pro tips to ensure your roast chicken turns out juicy, golden, and perfectly cooked every single time.
Key Takeaways
- Use a meat thermometer: The most reliable way to check doneness is by measuring the internal temperature—165°F (74°C) in the thickest part of the thigh.
- Check the juices: When pierced, the juices should run clear, not pink or bloody.
- Look for visual cues: The skin should be golden brown, and the legs should move easily when wiggled.
- Rest the chicken: Let it rest for 10–15 minutes after roasting to lock in juices and ensure even doneness.
- Avoid overcooking: Overcooked chicken becomes dry and tough—timing and temperature are key.
- Consider carryover cooking: The internal temperature rises 5–10°F after removal from the oven.
- Practice makes perfect: Every oven varies, so keep notes to refine your roasting technique over time.
Quick Answers to Common Questions
What temperature should roast chicken reach?
The internal temperature should reach 165°F (74°C) in the thickest part of the thigh, avoiding the bone, to ensure it’s safe to eat.
Can you eat roast chicken if it’s a little pink?
No. Pink meat near the bone can indicate undercooking. Always check the temperature with a thermometer to be sure.
How long should you rest roast chicken?
Let it rest for 10–15 minutes, covered loosely with foil, to allow juices to redistribute and prevent dryness.
Is it safe to stuff a roast chicken?
Yes, but stuffing increases cooking time and can lead to uneven cooking. Cook stuffing separately for safety and better results.
Can you roast a chicken from frozen?
It’s not recommended. Frozen chicken cooks unevenly and increases the risk of undercooked areas. Always thaw in the refrigerator first.
📑 Table of Contents
- How Do You Know If Roast Chicken Is Done Perfectly Every Time?
- The Science Behind Perfectly Cooked Chicken
- The Best Way to Check Doneness: Use a Meat Thermometer
- Visual and Physical Cues: What to Look For
- Timing and Temperature: Finding the Sweet Spot
- Resting: The Secret to Juicy Chicken
- Common Mistakes and How to Avoid Them
- Conclusion
How Do You Know If Roast Chicken Is Done Perfectly Every Time?
Roast chicken is one of those classic comfort foods that feels like home—crispy golden skin, tender meat, and that rich, savory aroma filling your kitchen. But here’s the thing: even seasoned cooks sometimes wonder, “Is it done?” You don’t want undercooked chicken (hello, food safety concerns), but you also don’t want dry, overcooked meat that’s tough to chew. So, how do you know if roast chicken is done perfectly every time?
The good news? It’s not as mysterious as it seems. With a few reliable techniques and a little know-how, you can roast a juicy, safe, and delicious chicken with confidence—no guesswork required. Whether you’re cooking your first bird or you’ve roasted dozens, this guide will walk you through every step to ensure perfection.
From using a meat thermometer (the gold standard) to reading visual and physical cues, we’ll cover all the signs that tell you your roast chicken is ready to serve. We’ll also talk about timing, resting, and how to avoid common mistakes that lead to dry or undercooked meat. By the end, you’ll never have to wonder, “Is it done?” again.
The Science Behind Perfectly Cooked Chicken
Visual guide about How Do You Know If Roast Chicken Is Done Perfectly Every Time
Image source: i.pinimg.com
Before we dive into the practical tips, let’s talk about what’s actually happening inside that chicken as it roasts. Understanding the science helps you make smarter decisions in the kitchen—and gives you peace of mind that your meal is both safe and delicious.
Chicken, like all poultry, contains proteins that change structure when heated. As the internal temperature rises, these proteins denature and coagulate, turning from translucent to opaque. This is why raw chicken looks pink and jelly-like, while cooked chicken becomes firm and white (or light beige in the case of dark meat).
But here’s the catch: different parts of the chicken cook at different rates. The breast, which is lean, cooks faster and can dry out if overcooked. The thighs and legs, with more fat and connective tissue, stay juicy longer and can handle higher heat. That’s why knowing how do you know if roast chicken is done isn’t just about hitting a single temperature—it’s about balancing doneness across the whole bird.
Food safety is another critical factor. The USDA recommends cooking poultry to a minimum internal temperature of 165°F (74°C) to destroy harmful bacteria like Salmonella and Campylobacter. This temperature ensures safety, but it doesn’t necessarily guarantee the best texture. That’s why many chefs aim for 160°F (71°C) in the breast and let carryover cooking bring it up to 165°F during resting.
Carryover cooking is a real phenomenon: even after you take the chicken out of the oven, the internal temperature continues to rise by 5–10°F as heat redistributes. If you pull the chicken at exactly 165°F, it could easily hit 175°F by the time it’s served—way too high for tender meat. That’s why timing and temperature monitoring are so important.
Why Timing Alone Isn’t Enough
Many recipe books give roasting times like “20 minutes per pound” or “1 hour at 375°F.” While these are helpful starting points, they’re not foolproof. Ovens vary in accuracy, chicken sizes differ, and even the type of roasting pan can affect cooking time. A chicken roasted in a dark pan will cook faster than one in a light-colored pan because dark surfaces absorb more heat.
Also, stuffing the cavity, trussing the legs, or adding vegetables underneath can all impact how heat circulates around the bird. That’s why relying solely on time is risky. You might end up with a chicken that looks done on the outside but is still undercooked in the thickest part—or worse, overcooked and dry.
Instead, use time as a rough guide, but always verify doneness with a thermometer or other reliable methods. This way, you’re not just following a recipe—you’re cooking with intention and precision.
The Best Way to Check Doneness: Use a Meat Thermometer

Visual guide about How Do You Know If Roast Chicken Is Done Perfectly Every Time
Image source: gardeninthekitchen.com
If there’s one tool that will revolutionize your roast chicken game, it’s a good meat thermometer. This is the most accurate and foolproof way to know how do you know if roast chicken is done. No guessing, no cutting into the meat (which lets juices escape), just a quick, reliable reading.
Choosing the Right Thermometer
Not all thermometers are created equal. For roasting, you’ll want one that’s fast, accurate, and easy to use. Here are a few top options:
– **Instant-read thermometers:** These are handheld devices that give a reading in 2–5 seconds. They’re perfect for checking temperature at the end of cooking. Look for models with a thin probe to avoid tearing the meat.
– **Oven-safe probe thermometers:** These stay in the chicken while it roasts and connect to a base unit outside the oven. You can set an alarm to go off when the chicken reaches the desired temperature—great for hands-off cooking.
– **Wireless smart thermometers:** These connect to your phone via Bluetooth or Wi-Fi, so you can monitor the temperature from another room. Ideal for busy cooks or large gatherings.
For most home cooks, an instant-read thermometer is the best choice. They’re affordable, accurate, and widely available. Popular brands include ThermoWorks Thermapen, Lavatools Javelin, and Taylor Precision.
Where to Insert the Thermometer
Placement is key. To get an accurate reading, insert the probe into the thickest part of the thigh, avoiding the bone. The thigh is the best spot because it’s one of the last parts to cook and has a higher fat content, which helps it stay moist.
Here’s how to do it right:
1. Wait until the chicken has roasted for at least 30–40 minutes before checking.
2. Open the oven carefully to avoid heat loss.
3. Insert the thermometer into the inner thigh, near where the leg meets the body.
4. Make sure the probe doesn’t touch the bone—this can give a false reading.
5. Wait for the temperature to stabilize (usually 2–3 seconds).
The target temperature is 165°F (74°C). But remember: carryover cooking means the temperature will rise after removal. So many chefs pull the chicken at 160°F (71°C) to prevent overcooking.
What If You Don’t Have a Thermometer?
We get it—sometimes you’re in a pinch. Maybe your thermometer broke, or you’re cooking at a friend’s house. In that case, you can still check doneness using other methods, but they’re less precise.
One option is the “wiggle test”: grab the leg and gently wiggle it. If it moves freely and the skin pulls away from the drumstick, the chicken is likely done. But this isn’t foolproof—some undercooked chickens can still pass this test.
Another method is checking the juices. Pierce the thickest part of the thigh with a knife or fork. If the juices run clear (not pink or bloody), the chicken is probably cooked. But again, this isn’t 100% reliable, and cutting into the meat lets precious juices escape.
So while these methods can help in a pinch, investing in a thermometer is worth it for consistent, safe results.
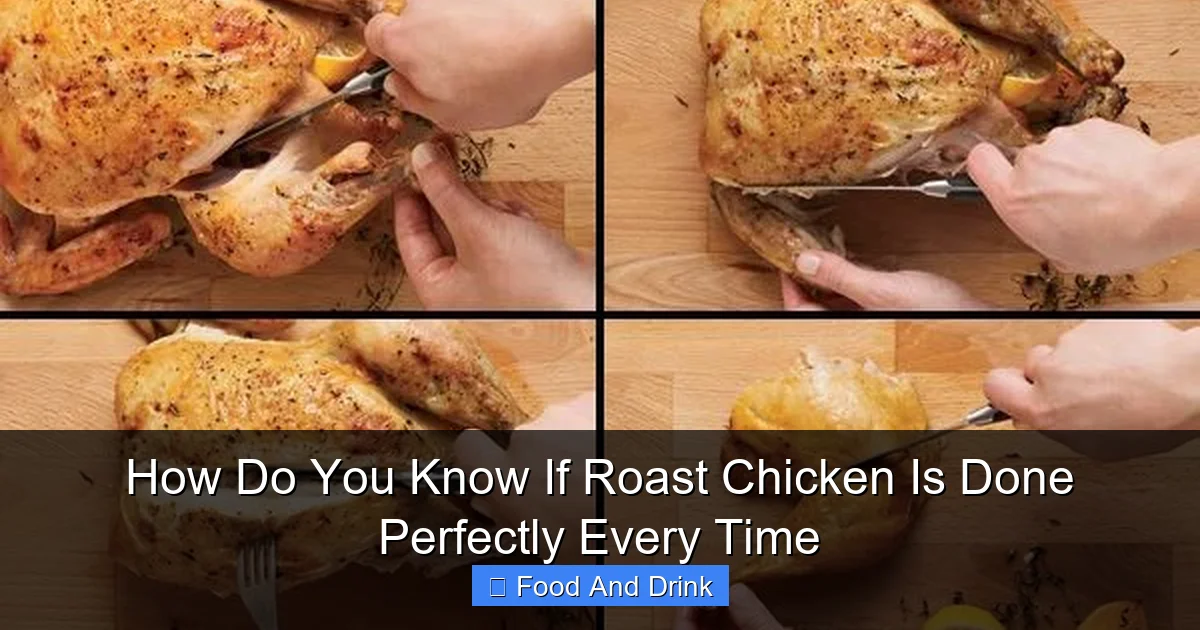
Visual and Physical Cues: What to Look For

Visual guide about How Do You Know If Roast Chicken Is Done Perfectly Every Time
Image source: media.zenfs.com
Even with a thermometer, it’s helpful to know the visual and physical signs of a perfectly roasted chicken. These cues give you confidence and help you troubleshoot if something seems off.
Golden Brown Skin
One of the most satisfying sights is a chicken with crispy, golden brown skin. This doesn’t just look good—it’s a sign that the Maillard reaction has occurred. This chemical process between amino acids and sugars creates complex flavors and that irresistible crust.
But be careful: dark brown or burnt skin doesn’t mean the chicken is done. It could mean the oven was too hot or the chicken was too close to the heating element. Aim for an even, deep gold—like the color of a ripe banana.
If your skin isn’t browning, try these tips:
– Pat the chicken dry before seasoning. Moisture prevents browning.
– Use a higher oven temperature (425°F/220°C) for the last 10–15 minutes to crisp the skin.
– Brush with a little oil or melted butter to enhance browning.
Legs That Move Freely
As the chicken cooks, the connective tissue in the joints breaks down. This makes the legs and wings easier to move. If you can wiggle the leg and it moves freely—almost like it’s loose in its socket—the chicken is likely done.
But again, this isn’t a guarantee. Some undercooked chickens can still pass this test, especially if they’re small or have been brined. Use this as a supporting clue, not the main indicator.
Clear Juices
When you pierce the thickest part of the thigh with a knife or fork, the juices should run clear. If they’re pink, red, or cloudy, the chicken needs more time. Clear juices are a good sign, but they’re not as reliable as a thermometer.
One thing to watch for: sometimes juices can look clear even when the chicken isn’t fully cooked, especially if it’s been brined or marinated. So always double-check with a thermometer if possible.
Meat Pulling Away from the Bone
As the chicken roasts, the meat shrinks slightly and pulls away from the bones. In a fully cooked bird, you’ll notice a small gap between the meat and the drumstick or wing bone. This is a helpful visual cue, especially in the thigh area.
But like the other signs, it’s not foolproof. Some chickens, especially heritage breeds or free-range birds, have tighter muscle structure and may not pull away as much. So use this in combination with other methods.
Timing and Temperature: Finding the Sweet Spot
Now that you know how to check doneness, let’s talk about how to get there. Roasting time depends on several factors: the size of the chicken, the oven temperature, and whether it’s stuffed or trussed.
General Roasting Guidelines
Here’s a quick reference for roasting a whole chicken:
– **3–3.5 lbs (1.4–1.6 kg):** 1 hour to 1 hour 15 minutes at 375°F (190°C)
– **4–4.5 lbs (1.8–2 kg):** 1 hour 15 minutes to 1 hour 30 minutes
– **5–6 lbs (2.3–2.7 kg):** 1 hour 30 minutes to 1 hour 45 minutes
These times assume the chicken is unstuffed and roasted on a rack in a roasting pan. If you stuff the cavity, add 15–20 minutes to the cooking time, as the stuffing acts as an insulator.
High-Heat Roasting for Crispy Skin
Many chefs recommend starting with a high-heat blast to crisp the skin, then lowering the temperature to cook the meat gently. Here’s how:
1. Preheat the oven to 425°F (220°C).
2. Roast the chicken for 20–30 minutes to brown the skin.
3. Reduce the heat to 350°F (175°C) and continue roasting until the internal temperature reaches 160°F (71°C).
4. Let rest for 10–15 minutes before carving.
This method gives you the best of both worlds: crispy skin and juicy meat.
Spatchcocking for Even Cooking
Spatchcocking—removing the backbone and flattening the chicken—is a game-changer for even cooking. It exposes more surface area to heat, so the breast and thighs cook at similar rates. This reduces the risk of dry breast meat.
To spatchcock:
1. Place the chicken breast-side down.
2. Use kitchen shears to cut along both sides of the backbone.
3. Remove the backbone and flip the chicken over.
4. Press down firmly to flatten.
Roast spatchcocked chickens at 425°F (220°C) for 40–50 minutes, depending on size.
Resting: The Secret to Juicy Chicken
You’ve roasted your chicken, the thermometer reads perfect, and it looks amazing. But don’t carve it right away! Resting is one of the most important—and often overlooked—steps in roasting.
Why Resting Matters
When meat cooks, the juices are pushed toward the center. If you carve it immediately, those juices spill out onto the cutting board, leaving the meat dry. Resting allows the juices to redistribute throughout the meat, resulting in a moister, more flavorful bite.
For roast chicken, rest for at least 10–15 minutes. Cover loosely with foil to keep it warm, but don’t wrap it tightly—this can steam the skin and make it soggy.
Carryover Cooking in Action
During resting, the internal temperature will rise by 5–10°F. So if you pulled the chicken at 160°F, it might reach 165–170°F by the time you carve it. This is why pulling it a few degrees early is smart—especially for the breast, which dries out quickly.
Common Mistakes and How to Avoid Them
Even with the best intentions, things can go wrong. Here are some common mistakes and how to fix them:
Overcooking the Breast
The breast is the most delicate part of the chicken. To prevent dryness:
– Use a meat thermometer and pull the chicken at 160°F.
– Baste with butter or broth during roasting.
– Consider brining the chicken beforehand to add moisture.
Undercooked Thighs
If the thighs aren’t done but the breast is, try this:
– Remove the chicken from the oven.
– Separate the legs and thighs and return them to the pan.
– Roast for an additional 10–15 minutes, then check the temperature.
Soggy Skin
Crispy skin starts with dry skin. Always pat the chicken dry before seasoning. You can also refrigerate it uncovered overnight to dry out the skin further.
Uneven Cooking
To promote even cooking:
– Use a roasting rack so heat circulates around the chicken.
– Rotate the pan halfway through roasting.
– Spatchcock for faster, more even results.
Conclusion
Knowing how do you know if roast chicken is done perfectly every time doesn’t have to be a mystery. With the right tools—especially a reliable meat thermometer—and a few key techniques, you can roast a juicy, golden, and safe chicken with confidence.
Remember: 165°F (74°C) in the thigh is the safety benchmark, but pulling the chicken at 160°F (71°C) and letting it rest ensures the best texture. Watch for visual cues like golden skin and clear juices, but don’t rely on them alone. And always, always let your chicken rest before carving.
Roast chicken is more than just a meal—it’s a ritual, a comfort, and a chance to bring people together. With these tips, you’ll turn that ritual into a reliable, delicious success every single time.
🎥 Related Video: No thermometer? No problem – here is how to tell your chicken is cooked through #chickenhack #short
📺 ShiftPixy Labs
No thermometer? No problem – here is how to tell your chicken is cooked through Chef JP shares an easy tip for when you are …
Frequently Asked Questions
How do you know if roast chicken is done without a thermometer?
You can check if the juices run clear when pierced, the legs move freely, and the skin is golden brown. However, these methods are less reliable than using a thermometer.
Why is my roast chicken dry?
Dry chicken is usually caused by overcooking. Use a thermometer, avoid high heat for too long, and consider brining the chicken beforehand to retain moisture.
Can you overcook roast chicken?
Yes. Overcooked chicken becomes tough and dry. Monitor the internal temperature and remove the chicken at 160°F (71°C) to account for carryover cooking.
Should I cover roast chicken while cooking?
No, covering traps steam and prevents the skin from crisping. Roast uncovered for the best texture and browning.
How long does it take to roast a 4-pound chicken?
A 4-pound chicken typically takes 1 hour 15 minutes to 1 hour 30 minutes at 375°F (190°C), depending on your oven and whether it’s stuffed.
What’s the best way to store leftover roast chicken?
Store in an airtight container in the refrigerator for up to 3–4 days. Reheat gently in the oven or microwave to preserve moisture.