

Roast chicken turning tough is frustrating, but it’s usually avoidable. The most common causes are overcooking, high heat, or poor brining. With the right techniques—like proper temperature control and resting—you can serve tender, juicy chicken every time.
You’ve done everything right—seasoned well, preheated the oven, maybe even basted it—but when you carve into your roast chicken, it’s tough, dry, and chewy. Sound familiar? You’re not alone. Tough roast chicken is one of the most common kitchen disappointments, especially for home cooks who want that golden, crispy skin with tender, juicy meat underneath. The good news? It’s almost always fixable.
Understanding why your roast chicken turned out tough is the first step toward never experiencing it again. It’s not about bad luck or a flawed recipe—it’s usually a combination of technique, timing, and temperature. Whether you’re roasting a whole bird or just the breasts, the principles of moisture retention and even heat distribution apply. In this guide, we’ll break down the top reasons your chicken came out tough, explain the science behind each issue, and give you practical, actionable fixes you can use tonight.
Key Takeaways
- Overcooking is the #1 cause: Chicken breast meat dries out quickly above 165°F (74°C). Use a meat thermometer to avoid this.
- High oven heat toughens skin and meat: Roast at 375°F (190°C) or lower for even cooking and moisture retention.
- Skipping brining leads to dryness: Wet or dry brining adds moisture and flavor, especially for lean breast meat.
- Not resting the chicken causes juice loss: Let it rest 15–20 minutes after roasting so juices redistribute.
- Using a cold bird straight from the fridge: Bring chicken to room temperature before roasting for even cooking.
- Improper trussing can cause uneven cooking: Truss loosely to allow heat circulation while keeping legs close to the body.
- Choosing the wrong cut matters: Whole chickens vary in tenderness—opt for younger birds or spatchcock for faster, even roasting.
Quick Answers to Common Questions
Why is my roast chicken tough even though I followed the recipe?
Recipes often rely on time estimates, not temperature. Your oven may run hot or cold, or your chicken may have been colder than expected. Always use a meat thermometer to check doneness.
Can I fix tough roast chicken after it’s cooked?
Not really—once meat is overcooked, it can’t be “un-dried.” But you can serve it with a rich sauce, gravy, or broth to add moisture and flavor.
Is it safe to eat chicken that’s a little pink near the bone?
Yes, if the internal temperature has reached 165°F (74°C). Bone discoloration can cause pinkness, but it’s not undercooked meat.
Should I cover my roast chicken while it rests?
Yes, but loosely with foil. Tenting prevents the skin from getting soggy while allowing steam to escape.
Can I brine a frozen chicken?
No. Always thaw chicken completely before brining. Frozen meat won’t absorb the brine properly.
📑 Table of Contents
- 1. Overcooking: The Silent Killer of Juicy Chicken
- 2. High Oven Temperature: Crispy Skin vs. Tender Meat
- 3. Skipping Brining: The Moisture Booster You’re Missing
- 4. Not Resting the Chicken: Juice Loss in Action
- 5. Starting with a Cold Chicken
- 6. Poor Trussing and Uneven Shape
- 7. Choosing the Right Chicken
- Putting It All Together: The Perfect Roast Chicken Method
- Conclusion
1. Overcooking: The Silent Killer of Juicy Chicken
Let’s start with the biggest culprit: overcooking. It’s easy to assume that “cooked through” means “well done,” but with chicken, that’s a recipe for rubbery, dry meat. Chicken, especially the breast, is a lean protein with very little fat. Once it hits around 165°F (74°C), the proteins begin to tighten and squeeze out moisture like a sponge. Go beyond that—say, to 175°F (80°C)—and you’ve essentially turned your chicken into a dry, fibrous block.
Why Temperature Matters More Than Time
Many recipes give roasting times based on weight (e.g., “20 minutes per pound”), but oven variances, chicken size, and starting temperature make this unreliable. A chicken straight from the fridge will cook slower than one at room temperature. A dark roasting pan absorbs more heat than a light one. Even altitude can affect cooking time.
Instead of relying on a timer, use a reliable instant-read meat thermometer. Insert it into the thickest part of the thigh, avoiding the bone. The USDA recommends cooking chicken to 165°F (74°C) for safety, but many chefs prefer pulling it at 160°F (71°C), then letting carryover cooking bring it to 165°F during resting. This small buffer prevents overcooking.
Example: The Difference 5 Degrees Makes
Imagine two identical chickens roasted side by side. One is pulled at 160°F, the other at 170°F. The first will be moist and tender. The second? Dry and stringy. That 10-degree difference is the line between success and disappointment.
Pro Tip: Use a Probe Thermometer with an Alarm
Invest in a dual-probe thermometer like the ThermoPro or MEATER. Set one probe in the breast, one in the thigh. When either hits your target temp, the alarm goes off. No more guessing, no more overcooking.
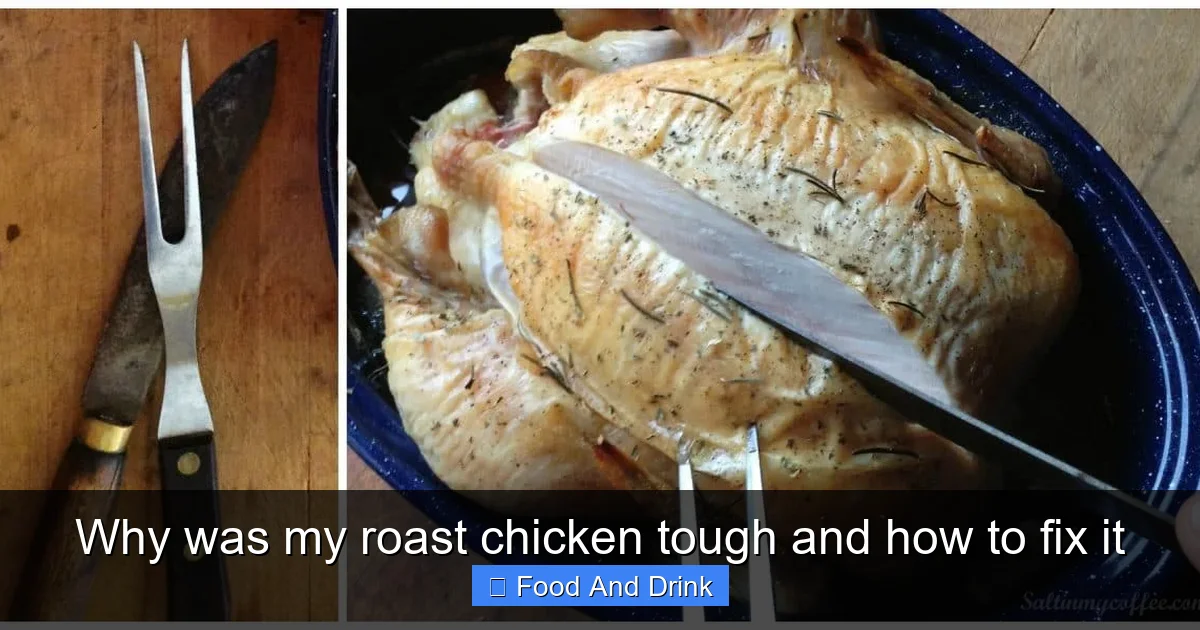
2. High Oven Temperature: Crispy Skin vs. Tender Meat

Visual guide about Why was my roast chicken tough and how to fix it
Image source: saltinmycoffee.com
We all love crispy, golden skin—but high heat can sabotage the meat underneath. Roasting at 450°F (230°C) or higher may give you that Instagram-worthy crust, but it cooks the outside too fast, leaving the inside underdone or, worse, causing the breast to dry out before the legs are fully cooked.
The Science of Heat and Moisture
High heat causes rapid evaporation of surface moisture. While this helps crisp the skin, it also draws moisture from the meat. Additionally, the breast—being leaner—cooks faster than the dark meat in the thighs. If the oven is too hot, the breast can hit 170°F while the thighs are still at 150°F. You’re forced to either undercook the legs or overcook the breast.
Best Roasting Temperature: 375°F (190°C)
For most home ovens, 375°F (190°C) is the sweet spot. It’s hot enough to render fat and crisp skin, but gentle enough to cook the meat evenly. If you want extra crispy skin, try a two-stage method: roast at 375°F until nearly done, then crank the heat to 425°F (220°C) for the last 10–15 minutes. This gives you the best of both worlds.
Alternative: Spatchcocking for Even Cooking
Spatchcocking—removing the backbone and flattening the chicken—is a game-changer. It exposes more surface area to heat, allowing the breast and thighs to cook at the same rate. Plus, it reduces roasting time by up to 30%. Simply flip the chicken breast-side down, use kitchen shears to cut along both sides of the spine, then flip and press down to flatten. Roast at 425°F (220°C) for 40–50 minutes. The result? Crispy skin and juicy meat, no overcooking.
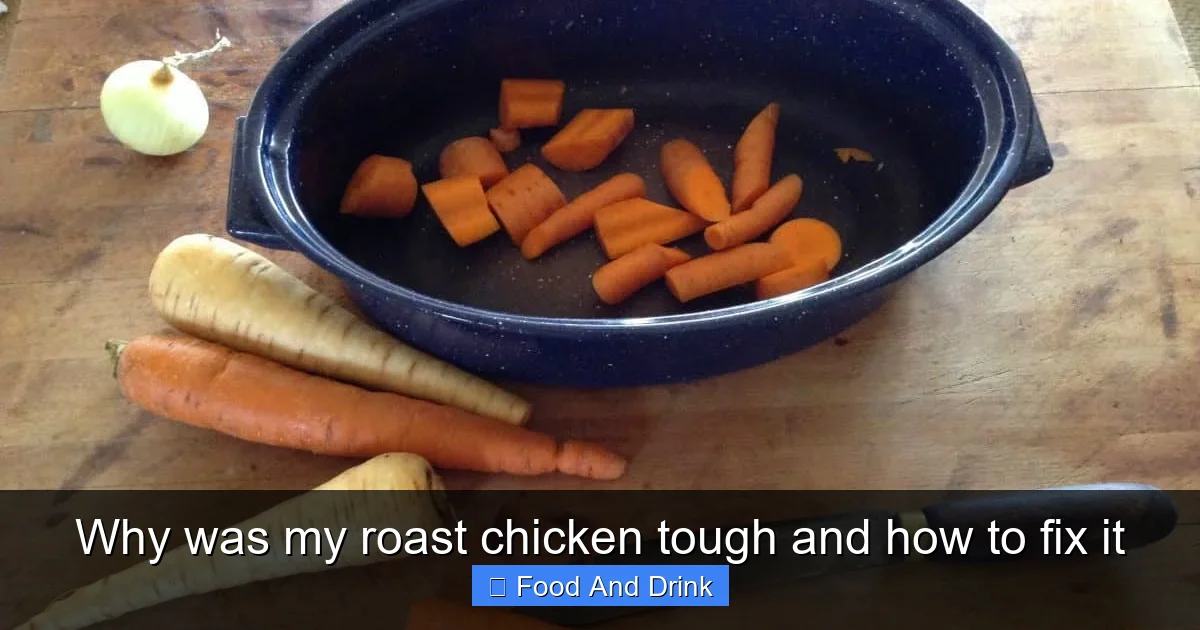
3. Skipping Brining: The Moisture Booster You’re Missing
Visual guide about Why was my roast chicken tough and how to fix it
Image source: saltinmycoffee.com
If your chicken is consistently dry, you might be skipping one of the simplest yet most effective steps: brining. Brining—soaking the chicken in salted water, often with sugar and aromatics—does more than just add flavor. It fundamentally changes the meat’s ability to retain moisture.
How Brining Works
Salt in the brine breaks down muscle proteins, allowing the meat to absorb and hold onto more water. This means even if you slightly overcook the chicken, it will still be juicier than an unbrined bird. There are two main types:
– **Wet brining:** Submerging the chicken in a saltwater solution (usually 1/4 cup salt per quart of water) for 1–2 hours (up to 12 hours for a whole bird).
– **Dry brining:** Rubbing salt (and optionally herbs/spices) directly onto the chicken and letting it sit uncovered in the fridge for 1–24 hours.
Wet Brining: Simple and Effective
For a 4–5 lb chicken, dissolve 1/2 cup kosher salt and 1/4 cup sugar in 2 quarts of water. Add herbs like thyme, bay leaves, or garlic if desired. Submerge the chicken, cover, and refrigerate for 1–2 hours. Rinse and pat dry before roasting. The result? A noticeably juicier, more flavorful bird.
Dry Brining: Less Mess, Same Results
Dry brining is even easier. Just salt the chicken generously (about 1 teaspoon per pound), place it on a rack over a tray, and refrigerate uncovered for at least 1 hour (up to 24 hours). The salt draws out moisture, which then reabsorbs into the meat, seasoning it deeply. Plus, the skin dries out, leading to better browning.
Pro Tip: Brine Even if You’re Short on Time
Even a 30-minute wet brine or 1-hour dry brine makes a difference. Don’t skip it—your taste buds will thank you.
4. Not Resting the Chicken: Juice Loss in Action
Visual guide about Why was my roast chicken tough and how to fix it
Image source: saltinmycoffee.com
You’ve roasted your chicken to perfection, and the moment it comes out of the oven, you’re ready to carve. But wait—don’t do it yet. Resting is non-negotiable.
Why Resting Matters
When meat cooks, the juices are pushed toward the center. If you cut into it immediately, those juices flood out onto the cutting board, leaving the meat dry. Resting allows the fibers to relax and the juices to redistribute evenly.
How Long to Rest
Let a whole roast chicken rest for 15–20 minutes, tented loosely with foil. This is enough time for the internal temperature to stabilize and the juices to settle. For chicken parts (like breasts or thighs), 5–10 minutes is sufficient.
Example: The Juice Test
Try this experiment: Roast two identical chickens. Carve one immediately, the other after 20 minutes of resting. The first will lose a pool of juice. The second will retain most of its moisture. The difference is dramatic.
Pro Tip: Use the Resting Time Wisely
While the chicken rests, make a quick pan sauce with the drippings. Deglaze the roasting pan with chicken stock, wine, or lemon juice, scrape up the browned bits, and simmer. Pour it over the carved chicken for extra flavor and moisture.
5. Starting with a Cold Chicken
Pulling your chicken straight from the fridge and tossing it in the oven might seem efficient, but it leads to uneven cooking. The outside cooks faster than the inside, increasing the risk of overcooking the breast while the thighs are still underdone.
The Case for Room Temperature
Letting the chicken sit at room temperature for 30–60 minutes before roasting evens out the internal temperature. This ensures more uniform cooking and reduces the chance of dry spots.
How to Do It Safely
Place the chicken on a wire rack over a tray to allow air circulation. Don’t leave it out longer than 2 hours, and never at temperatures above 40°F (4°C) for extended periods. If you’re short on time, pat it dry and let it sit for at least 15 minutes.
Bonus: Dry Skin = Crispier Skin
A room-temperature chicken also has drier skin, which crisps up better in the oven. Wet skin steams instead of browning, leading to soggy results.
6. Poor Trussing and Uneven Shape
Trussing—tying the legs together with kitchen twine—is often seen as optional, but it plays a key role in even cooking. Without it, the legs can flare out, cooking faster than the breast. The wings may burn. The result? A lopsided roast with dry breast and undercooked legs.
How to Truss Properly
Use about 3 feet of kitchen twine. Slide it under the chicken, cross it over the legs, pull tight to bring them together, then tie securely. Tuck the wings behind the shoulders to prevent burning.
Loose Trussing Is Better
Don’t tie too tightly. You want the legs close to the body, but not compressed. This allows heat to circulate while keeping the shape compact.
Alternative: Skip Trussing with Spatchcocking
If you spatchcock the chicken, trussing isn’t necessary. The flattened shape ensures even exposure to heat, and the legs naturally stay close to the breast.
7. Choosing the Right Chicken
Not all chickens are created equal. The age, breed, and farming method affect texture and tenderness.
Young vs. Older Birds
Young broiler chickens (6–8 weeks old) are tender and ideal for roasting. Older roasters or stewing hens are tougher and better suited for slow-cooking methods like braising.
Organic and Free-Range Options
While not always necessary, free-range or pasture-raised chickens often have better flavor and texture due to their diet and activity level. They may also have more fat, which helps keep the meat moist.
Size Matters
A 3–4 lb chicken is ideal for home roasting. Larger birds (5+ lbs) take longer to cook and are more prone to drying out. If you must roast a big bird, consider spatchcocking or breaking it down into parts.
Putting It All Together: The Perfect Roast Chicken Method
Now that you know the common pitfalls, here’s a foolproof method for juicy, tender roast chicken every time:
1. **Choose a 3–4 lb chicken.** Younger birds work best.
2. **Dry brine overnight.** Salt the chicken and refrigerate uncovered for 12–24 hours.
3. **Bring to room temperature.** Let it sit for 30–60 minutes before roasting.
4. **Preheat oven to 375°F (190°C).** Use a rack in the center.
5. **Truss loosely or spatchcock.** Flattening speeds up cooking and ensures evenness.
6. **Roast until thighs hit 160°F (71°C).** About 1 hour for a whole bird.
7. **Optional: Crisp the skin.** Increase heat to 425°F (220°C) for the last 10 minutes.
8. **Rest for 15–20 minutes.** Tent with foil.
9. **Carve and serve.** Drizzle with pan juices.
Conclusion
Tough roast chicken doesn’t have to be a recurring nightmare. By understanding the science behind cooking—temperature, moisture, timing, and technique—you can transform your results. Overcooking, high heat, skipping brining, and not resting are the usual suspects, but each has a simple fix. Use a thermometer, brine your bird, roast at the right temperature, and let it rest. With these steps, you’ll serve a roast chicken that’s not just safe to eat, but truly delicious—crispy on the outside, juicy on the inside, and tender with every bite.
Frequently Asked Questions
Why does my chicken breast dry out but the thighs stay juicy?
Chicken breast is lean with little fat, so it dries out faster than dark meat. Thighs have more fat and collagen, which keep them moist even when slightly overcooked.
Can I roast a chicken at 400°F without it getting tough?
Yes, but monitor it closely. Use a thermometer and consider spatchcocking to ensure even cooking. High heat works better with flattened birds.
Does basting help keep roast chicken moist?
Not really. Basting cools the skin and interrupts browning. It’s better to rely on brining and proper temperature control for moisture.
How long can I dry brine a chicken?
Up to 24 hours in the fridge. Longer brining can make the meat too salty or give it a “ham-like” texture.
Is it better to roast chicken covered or uncovered?
Always uncovered. Covering traps steam, which prevents crispy skin and can make the meat soggy.
Can I use a roasting bag to keep chicken moist?
Yes, but the skin won’t crisp. Roasting bags retain moisture but prevent browning. For crispy skin, roast uncovered.


