

Grilled chicken often turns out dry because of overcooking, lack of marination, or poor temperature control. By understanding the science behind moisture loss and applying simple techniques like brining, marinating, and using a meat thermometer, you can transform dry, rubbery chicken into a tender, flavorful centerpiece for any meal.
Have you ever fired up the grill, excited for a juicy, smoky chicken dinner, only to end up with dry, stringy meat that’s more fit for a shoe than your plate? You’re not alone. Dry grilled chicken is one of the most common grilling mistakes—even seasoned home cooks fall into this trap. It’s frustrating, especially when you’ve spent time prepping and seasoning your chicken, only to watch it turn tough and tasteless over the flames.
But here’s the good news: dry grilled chicken is almost always preventable. The issue isn’t your grill—it’s usually a combination of technique, timing, and understanding how chicken behaves under high heat. Chicken, especially lean cuts like breasts, has very little fat compared to beef or pork. That means it dries out quickly if not handled properly. Once the proteins contract too much and squeeze out the natural moisture, there’s no going back. The key is to cook it just enough to be safe—without pushing it into dry territory.
In this guide, we’ll break down exactly why your grilled chicken turns dry, from overcooking to poor prep methods. More importantly, we’ll show you how to fix it with simple, science-backed strategies. Whether you’re a weekend griller or a backyard BBQ pro, these tips will help you serve up tender, juicy chicken every single time. So grab your tongs, fire up the grill, and let’s get cooking—without the dryness.
Key Takeaways
- Overcooking is the #1 cause: Chicken loses moisture rapidly above 165°F (74°C), so precise cooking is essential.
- Marinate for moisture and flavor: Acidic or oil-based marinades help break down proteins and lock in juices.
- Brining works wonders: Soaking chicken in saltwater before grilling boosts moisture retention significantly.
- Use a meat thermometer: Visual cues are unreliable—target 165°F (74°C) internal temp for safe, juicy results.
- Rest your chicken: Letting it rest 5–10 minutes after grilling redistributes juices and improves texture.
- Choose the right cut: Bone-in, skin-on thighs stay juicier than boneless breasts during grilling.
- Control grill heat: Use two-zone grilling to sear safely without drying out the meat.
Quick Answers to Common Questions
Why is my grilled chicken dry even though I didn’t overcook it?
It could be due to lack of marination or brining. Even if cooked to the right temperature, chicken without moisture-enhancing prep can still turn out dry, especially lean cuts like breasts.
Can I fix dry grilled chicken after it’s cooked?
Not really—once moisture is lost, it’s gone. But you can serve it with sauces like chimichurri, pesto, or a yogurt-based dip to add moisture and flavor.
How long should I marinate chicken before grilling?
30 minutes to 4 hours is ideal. Longer than 24 hours can make the texture mushy, especially with acidic marinades.
Is brining necessary for grilled chicken?
Not necessary, but highly recommended. Brining significantly improves juiciness and can even save slightly overcooked chicken.
Should I grill chicken over direct or indirect heat?
Use both: direct heat for searing, then indirect heat to finish cooking. This prevents burning and ensures even doneness.
📑 Table of Contents
- Why Does Grilled Chicken Turn Dry? The Science Behind the Problem
- Overcooking: The #1 Culprit Behind Dry Grilled Chicken
- The Power of Marination: Locking in Moisture and Flavor
- Brining: The Secret to Ultra-Juicy Grilled Chicken
- Choosing the Right Cut: Not All Chicken Is Created Equal
- Mastering Grill Technique: Heat, Timing, and Resting
- Conclusion: Juicy Grilled Chicken Is Within Reach
Why Does Grilled Chicken Turn Dry? The Science Behind the Problem
To fix a problem, you first need to understand it. So why does grilled chicken turn dry? It all comes down to how heat affects the proteins and moisture in chicken meat. When chicken is exposed to high temperatures—like those on a hot grill—the muscle fibers begin to contract. As they tighten, they push out the water trapped inside the cells. This process starts around 140°F (60°C) and accelerates rapidly as the temperature climbs.
By the time chicken reaches 165°F (74°C)—the USDA-recommended safe internal temperature—much of its natural moisture has been expelled. If you cook it beyond that point, say to 170°F (77°C) or higher, the fibers continue to shrink, squeezing out even more liquid. The result? Dry, tough, chewy meat that’s hard to enjoy. This is especially true for boneless, skinless chicken breasts, which have very little fat to keep them moist.
Another factor is evaporation. Grilling exposes the surface of the chicken directly to heat and airflow, which causes moisture to evaporate quickly. Unlike baking or roasting in a closed oven, grilling doesn’t trap steam, so the surface dries out faster. Combine that with overcooking, and you’ve got a recipe for disappointment.
It’s also worth noting that chicken breast is naturally leaner than other cuts. A chicken thigh, for example, has more fat and connective tissue, which helps it stay juicy even when cooked a bit longer. But breasts? They’re the marathon runners of the chicken world—lean, fast, and prone to drying out if you push them too hard.
Understanding this science is the first step to better grilling. Once you know that moisture loss is inevitable but manageable, you can take steps to slow it down and preserve as much juiciness as possible. The goal isn’t to avoid cooking—it’s to cook smart.
Overcooking: The #1 Culprit Behind Dry Grilled Chicken
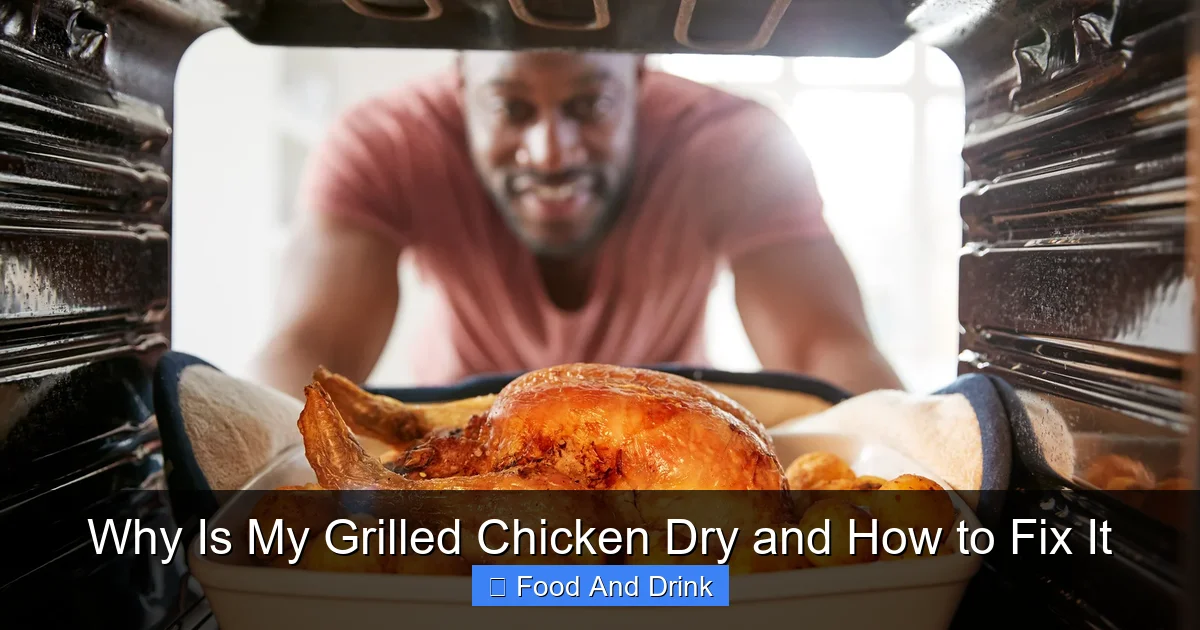
Visual guide about Why Is My Grilled Chicken Dry and How to Fix It
Image source: thedailymeal.com
Let’s be honest: most of us have been guilty of overcooking chicken at some point. We worry about undercooking and foodborne illness, so we leave it on the grill a little too long—just to be safe. But that extra minute or two can be the difference between juicy and dry. Overcooking is, without a doubt, the number one reason grilled chicken turns out tough and tasteless.
Chicken breast, in particular, is a delicate cut. It cooks quickly—usually in 6 to 8 minutes per side over medium-high heat—but it doesn’t have a lot of wiggle room. Once it hits 165°F (74°C), it’s safe to eat. But if you let it climb to 170°F (77°C) or higher, the proteins tighten like a fist, squeezing out moisture and leaving you with a dry, rubbery texture. It’s not just about safety—it’s about timing.
One common mistake is relying on visual cues. Many people judge doneness by color—waiting for the chicken to turn white all the way through. But chicken can look fully cooked long before it’s actually done, or worse, it can appear done but still be undercooked inside. Conversely, it can look perfectly white but be overcooked and dry. Color is not a reliable indicator.
Another issue is inconsistent heat. If your grill runs hotter than expected, chicken can cook faster on the outside while the inside lags behind. This leads to uneven cooking—charred edges and a dry center. Or, if you’re using direct high heat the entire time, the outside can burn before the inside reaches the right temperature.
The solution? Use a meat thermometer. It’s the only way to know for sure when your chicken is done. Insert the probe into the thickest part of the breast, avoiding the bone if there is one. Stop cooking when it hits 165°F (74°C). And remember: carryover cooking will add a few more degrees after you take it off the grill, so you can actually pull it off at 160°F (71°C) if you’re careful.
How to Avoid Overcooking: Timing and Temperature Tips
To prevent overcooking, start by knowing your grill’s heat zones. Use a two-zone setup: one side hot for searing, one side cooler for gentle cooking. Sear the chicken over direct heat for 2–3 minutes per side to develop a nice crust, then move it to the cooler side to finish cooking indirectly. This gives you more control and reduces the risk of burning or drying out.
Also, consider pounding the chicken breasts to an even thickness. Uneven cuts cook unevenly—thin parts dry out while thick parts stay undercooked. Place the breast between two sheets of plastic wrap and gently pound it with a meat mallet or rolling pin until it’s uniform, about ½ inch thick. This ensures even cooking and reduces overall cook time.
Another pro tip: brine your chicken before grilling. A simple saltwater brine (or even a dry brine with salt) helps the meat retain moisture during cooking. We’ll dive deeper into brining later, but for now, just know that it makes a huge difference in juiciness—even if you slightly overcook the chicken.
Finally, don’t skip the rest. After grilling, let the chicken rest for 5–10 minutes. This allows the juices to redistribute throughout the meat, making each bite more flavorful and moist. Cutting into it immediately lets all those precious juices spill out onto the cutting board—wasted.
The Power of Marination: Locking in Moisture and Flavor
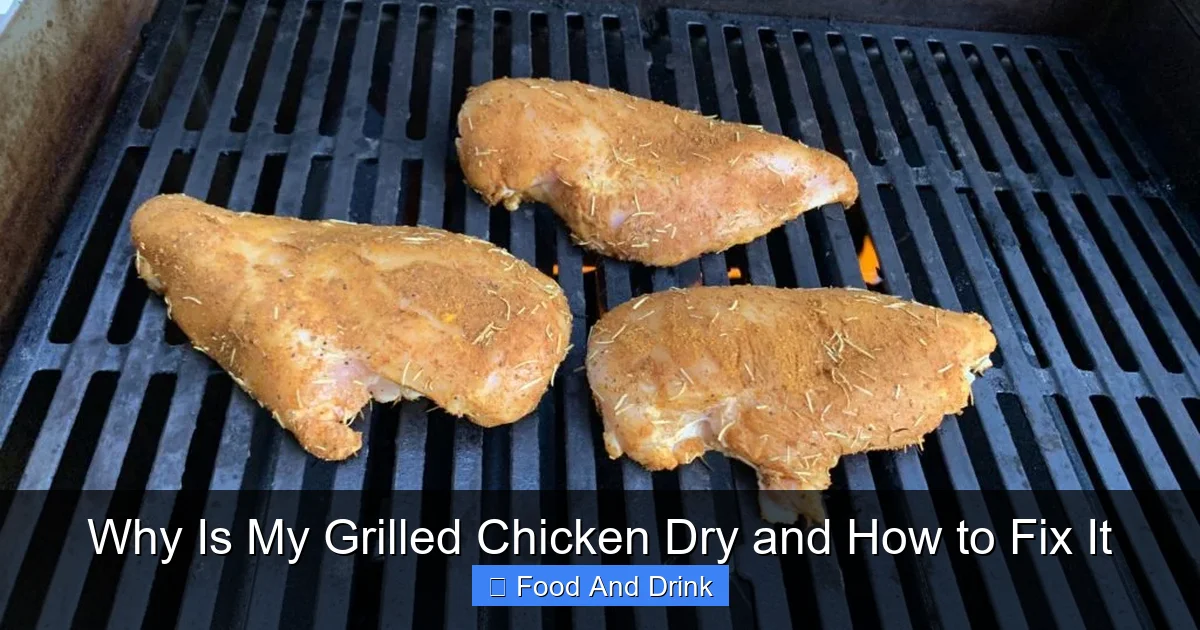
Visual guide about Why Is My Grilled Chicken Dry and How to Fix It
Image source: thebodybulletin.com
If overcooking is the enemy, marination is your secret weapon. A good marinade does more than just add flavor—it helps keep chicken moist during the high-heat grilling process. But not all marinades are created equal, and understanding how they work can make or break your grilled chicken.
At its core, a marinade is a liquid mixture that typically includes an acid (like lemon juice, vinegar, or yogurt), oil, and seasonings. The acid helps break down the surface proteins of the chicken, allowing flavors to penetrate deeper. It also slightly tenderizes the meat, making it more receptive to moisture. The oil, on the other hand, coats the surface and helps prevent excessive drying by creating a barrier against heat and evaporation.
But here’s a common misconception: marinating doesn’t “inject” moisture into the chicken. It doesn’t work like a brine. Instead, it helps the meat retain its natural juices and enhances flavor absorption. Think of it as a protective layer that slows down moisture loss and adds complexity to every bite.
For best results, marinate chicken for at least 30 minutes, but no more than 24 hours. Over-marinating, especially with strong acids like vinegar or citrus, can actually make the meat mushy or chalky. Chicken is delicate—too much acid breaks down the proteins too much, leading to a weird texture.
Best Marinade Ingredients for Juicy Grilled Chicken
Let’s talk ingredients. A great marinade starts with a balance of acid, fat, and flavor.
– **Acid:** Lemon juice, lime juice, apple cider vinegar, or plain yogurt. These tenderize and add brightness.
– **Oil:** Olive oil, avocado oil, or sesame oil. They coat the meat and help conduct heat evenly.
– **Aromatics:** Garlic, ginger, onions, or shallots. These add depth and fragrance.
– **Herbs and Spices:** Rosemary, thyme, paprika, cumin, or black pepper. Use fresh or dried, depending on your preference.
– **Sweeteners (optional):** Honey, maple syrup, or brown sugar. They help with browning and balance acidity.
A simple go-to marinade might include:
– ¼ cup olive oil
– 2 tablespoons lemon juice
– 2 cloves minced garlic
– 1 teaspoon dried oregano
– Salt and pepper to taste
Whisk it together, pour it over chicken in a resealable bag, and refrigerate for 1–4 hours. Flip the bag once halfway through to ensure even coating.
Marinating Tips for Maximum Impact
– Always marinate in the refrigerator, never at room temperature.
– Use a non-reactive container—glass, ceramic, or food-safe plastic. Avoid metal, which can react with acids.
– Don’t reuse marinade that’s touched raw chicken unless you boil it first to kill bacteria.
– Pat the chicken dry before grilling. Excess marinade can cause flare-ups and prevent a good sear.
Marination won’t save severely overcooked chicken, but it’s a powerful tool for keeping your grilled chicken juicy and flavorful—especially when combined with proper cooking techniques.
Brining: The Secret to Ultra-Juicy Grilled Chicken
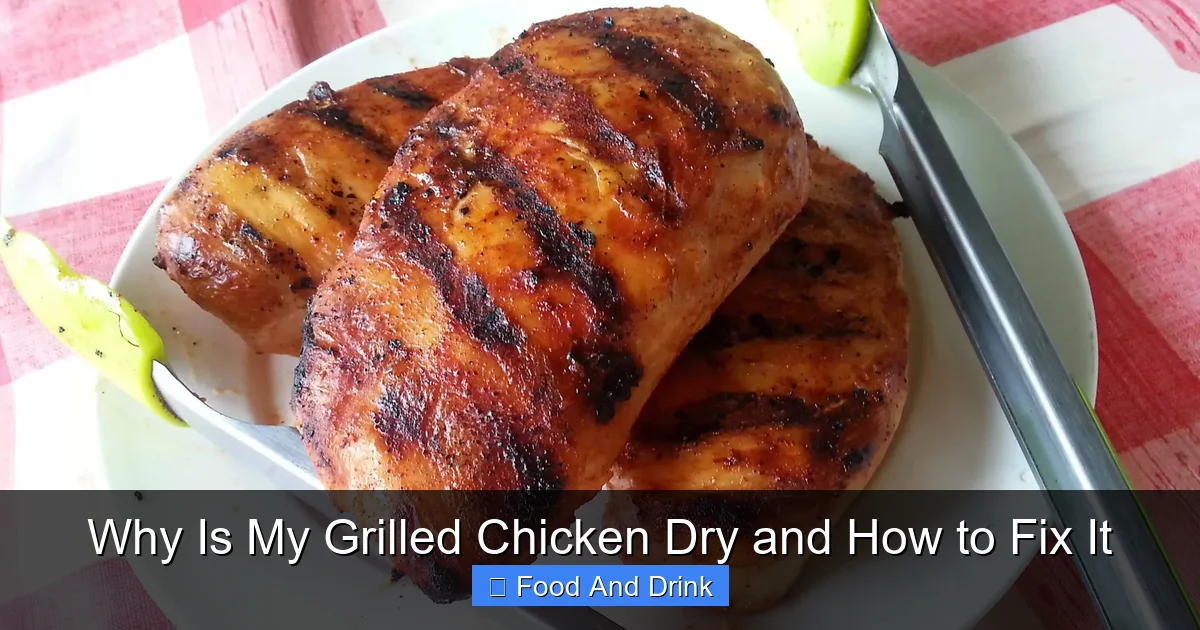
Visual guide about Why Is My Grilled Chicken Dry and How to Fix It
Image source: i0.wp.com
If marination is a helpful ally, brining is the superhero of moisture retention. While marinades add flavor and slight tenderness, brining actually changes the structure of the chicken at a molecular level, allowing it to hold onto more water during cooking. The result? Chicken that stays juicy even if you slightly overcook it.
Brining works through osmosis and protein denaturation. When chicken is soaked in a saltwater solution, the salt disrupts the protein structure, creating spaces that can trap extra water. As the chicken sits in the brine, it absorbs moisture, becoming plumper and more succulent. Even after grilling, that extra water stays locked in, preventing dryness.
There are two main types of brining: wet brining and dry brining.
Wet Brining: The Classic Method
Wet brining involves submerging the chicken in a saltwater solution, often with added sugar and aromatics. A basic wet brine includes:
– 4 cups water (hot to dissolve salt, then cooled)
– ¼ cup kosher salt
– 2 tablespoons sugar (optional, for balance)
– Optional: herbs, garlic, peppercorns, or citrus slices
Dissolve the salt and sugar in hot water, then cool the mixture completely (you can add ice to speed this up). Submerge the chicken and refrigerate for 1–2 hours for breasts, up to 4 hours for larger cuts. Don’t go longer than 12 hours, or the meat can become too salty or mushy.
After brining, rinse the chicken lightly and pat it dry before seasoning or marinating. The salt has already done its job—no need to add extra salt unless you’re using a dry rub.
Dry Brining: Simpler and Just as Effective
Dry brining is even easier. Simply coat the chicken generously with kosher salt (about ½ teaspoon per pound) and let it sit uncovered in the fridge for 1–24 hours. The salt draws out moisture initially, but then the chicken reabsorbs it along with the salt, seasoning it from the inside out. This method also dries the surface, which helps create a better sear on the grill.
Dry brining is perfect if you’re short on time or don’t want to deal with liquid. It’s especially great for boneless breasts, which benefit from the extra moisture and flavor penetration.
Why Brining Works Better Than You Think
Brining isn’t just for Thanksgiving turkey. It’s a game-changer for grilled chicken. Studies have shown that brined chicken retains up to 10% more moisture during cooking compared to unbrined chicken. That might not sound like much, but on the plate, it’s the difference between dry and delightfully juicy.
And here’s a bonus: brined chicken browns better. The surface dries out slightly during the brining process (especially with dry brining), which allows for a crispier, more flavorful crust when grilled.
Choosing the Right Cut: Not All Chicken Is Created Equal
Let’s talk about cuts. If you’re consistently struggling with dry grilled chicken, it might be time to rethink the cut you’re using. Not all chicken parts are suited for high-heat grilling, and choosing the right one can make a world of difference.
Boneless, skinless chicken breasts are the most popular choice—but they’re also the most prone to drying out. They’re lean, cook quickly, and have very little fat to keep them moist. If you love chicken breast, that’s fine—just treat it with care. Use brining, marination, and precise temperature control.
But if you’re open to alternatives, consider bone-in, skin-on chicken thighs or drumsticks. These cuts have more fat and connective tissue, which melt during cooking and baste the meat from within. They’re more forgiving—you can cook them a bit longer without sacrificing juiciness. Plus, the skin crisps up beautifully on the grill, adding texture and flavor.
Best Cuts for Grilling
– **Chicken Thighs (bone-in, skin-on):** Juicy, flavorful, and hard to overcook. Ideal for beginners.
– **Chicken Drumsticks:** Similar to thighs, with great texture and grill marks.
– **Chicken Breasts (boneless, skinless):** Lean and quick-cooking, but require careful handling.
– **Chicken Tenders:** Small and fast-cooking, great for skewers or quick grilling.
– **Whole Chicken (spatchcocked):** Split and flattened for even cooking. Impressive presentation.
If you’re set on chicken breasts, consider leaving the skin on or using a butterflied cut (split horizontally but not fully apart). This increases surface area for browning and helps retain moisture.
How to Grill Different Cuts
– **Thighs and drumsticks:** Grill over medium heat for 12–15 minutes, turning occasionally, until internal temp reaches 165°F (74°C).
– **Boneless breasts:** Use two-zone grilling. Sear 2–3 minutes per side over high heat, then move to cooler side to finish.
– **Whole chicken (spatchcocked):** Grill over indirect heat for 45–60 minutes, skin-side up, until thighs reach 165°F.
Choosing the right cut isn’t about giving up on your favorite—it’s about matching the meat to the method. And when it comes to grilling, fattier, slower-cooking cuts often win.
Mastering Grill Technique: Heat, Timing, and Resting
Even with the best marinade and brine, poor grilling technique can still lead to dry chicken. The key is controlling heat, timing, and knowing when to step back.
Use Two-Zone Grilling
Set up your grill with two heat zones: one side hot (direct heat), one side cooler (indirect heat). This gives you flexibility. Sear the chicken over direct heat to develop a flavorful crust, then move it to the indirect side to finish cooking gently. This prevents the outside from burning while the inside cooks through.
For gas grills, turn one burner to high and leave the other off. For charcoal, pile the coals on one side and leave the other side empty.
Don’t Flip Too Often
Resist the urge to constantly flip your chicken. Flipping too soon can tear the skin and prevent a good sear. Flip once, halfway through cooking, unless you’re using a method like butterflying or skewering.
Rest Your Chicken
This can’t be stressed enough: always let your chicken rest. After grilling, transfer it to a cutting board and tent it loosely with foil for 5–10 minutes. During this time, the juices redistribute, and the internal temperature stabilizes. Cutting too soon means losing all that hard-earned moisture.
Use a Meat Thermometer
We’ve said it before, but it’s worth repeating: a meat thermometer is non-negotiable. It takes the guesswork out of grilling and ensures your chicken is safe and juicy. Aim for 165°F (74°C), but pull it off at 160°F (71°C) if you’re careful—carryover cooking will finish the job.
Conclusion: Juicy Grilled Chicken Is Within Reach
Dry grilled chicken doesn’t have to be a rite of passage. With the right knowledge and a few simple techniques, you can consistently serve up tender, flavorful, and juicy chicken that everyone will love. It starts with understanding why chicken dries out—overcooking, lack of moisture retention, and poor heat control—and then applying solutions like brining, marinating, and precise temperature monitoring.
Remember: chicken is delicate. It doesn’t need to be cooked to death to be safe. A meat thermometer is your best friend. Brining and marinating add layers of protection and flavor. And choosing the right cut—or adjusting your method for lean cuts—can make all the difference.
So the next time you fire up the grill, don’t just throw on the chicken and hope for the best. Plan ahead. Brine it. Marinate it. Watch the heat. And most importantly, trust the thermometer. Your taste buds—and your dinner guests—will thank you.
Grilled chicken doesn’t have to be dry. It can be the star of your summer cookouts, the hero of your weeknight dinners, and the proof that great food doesn’t need to be complicated. Just needs to be done right.
Frequently Asked Questions
What temperature should grilled chicken reach?
Grilled chicken should reach an internal temperature of 165°F (74°C) to be safe to eat. Use a meat thermometer to check the thickest part of the meat.
Can I brine frozen chicken?
No, always thaw chicken completely before brining. Frozen chicken won’t absorb the brine properly and could lead to uneven seasoning.
Does brining make chicken salty?
Not if done correctly. A proper brine uses the right salt-to-water ratio, and rinsing after brining removes excess surface salt.
Why does my chicken stick to the grill?
This usually happens when the grill isn’t hot enough or the chicken isn’t patted dry. Preheat the grill and dry the chicken thoroughly before placing it on the grates.
Can I grill chicken straight from the fridge?
It’s better to let it sit at room temperature for 15–20 minutes before grilling. Cold chicken can cook unevenly and increase the risk of overcooking.
How do I know when chicken is done without a thermometer?
It’s not recommended, but you can check by cutting into the thickest part—juices should run clear, not pink. However, a thermometer is far more accurate and safer.

