

Choosing the best roast chicken comes down to breed, preparation, and cooking technique. This guide breaks down everything you need to know—from brining and seasoning to oven temps and resting—so your bird turns out tender, juicy, and packed with flavor every time.
Roast chicken is one of those timeless dishes that feels both humble and luxurious. It’s the centerpiece of family dinners, holiday feasts, and lazy Sunday suppers. But not all roast chickens are created equal. Some turn out dry and bland, while others are so succulent and flavorful they disappear from the plate in minutes. So, which roast chicken is best for flavor and juiciness?
The answer isn’t just about the recipe—it’s about understanding the bird itself. From the breed and age of the chicken to how it’s raised, prepared, and cooked, every detail matters. A truly great roast chicken starts long before it hits the oven. It begins with choosing the right chicken, treating it with care, and applying smart cooking techniques that maximize both taste and texture.
In this guide, we’ll walk you through everything you need to know to roast the perfect chicken—one that’s golden, crispy-skinned, juicy inside, and bursting with savory depth. Whether you’re a weeknight cook or a weekend warrior in the kitchen, these tips will help you master the art of roast chicken and impress everyone at the table.
Key Takeaways
- Heritage breeds like Cornish Cross and Freedom Rangers offer richer flavor and better texture than conventional broilers.
- Brining (wet or dry) dramatically improves juiciness by helping the meat retain moisture during roasting.
- Roasting at high heat (425°F–450°F) initially, then lowering to 350°F, creates crispy skin and evenly cooked meat.
- Butterflying (spatchcocking) the chicken reduces cooking time and ensures even doneness from breast to thigh.
- Resting the chicken for 15–20 minutes after roasting lets juices redistribute, preventing dryness when carved.
- Seasoning under the skin—not just on top—delivers deeper, more complex flavor throughout the meat.
- Using a meat thermometer ensures perfect doneness: 165°F in the thickest part of the thigh, away from the bone.
Quick Answers to Common Questions
What’s the best temperature to roast a chicken?
Start at 425°F–450°F for 20–30 minutes to crisp the skin, then reduce to 350°F until the internal temperature reaches 165°F in the thigh.
Should I brine my chicken before roasting?
Yes—brining (wet or dry) significantly improves juiciness. Dry brining with salt in the fridge overnight is especially effective.
Is spatchcocking better than trussing?
Spatchcocking cooks the chicken more evenly and reduces roasting time, making it ideal for home cooks who want crispy skin and juicy meat.
How long should I let my roast chicken rest?
Rest for 15–20 minutes, loosely tented with foil, to allow juices to redistribute and prevent dryness when carving.
Can I use a meat thermometer to check doneness?
Absolutely. Insert it into the thickest part of the thigh, avoiding the bone. 165°F is the safe and ideal temperature.
📑 Table of Contents
Choosing the Right Chicken: Breed and Quality Matter
Not all chickens are bred the same—and that makes a huge difference when it comes to flavor and texture. Most grocery stores carry what’s known as “broiler” chickens, typically Cornish Cross hybrids. These birds are bred for rapid growth and high breast meat yield, which makes them economical for mass production. But speed comes at a cost: they often lack the depth of flavor and firm texture found in slower-growing, heritage breeds.
Heritage Breeds vs. Conventional Broilers
Heritage chickens, such as Freedom Rangers, Red Rangers, or even older breeds like Plymouth Rock or Rhode Island Red, are raised more slowly and often on pasture. This extended growth period allows their muscles to develop more fully, resulting in meat that’s richer, more complex, and slightly firmer—similar to what you’d find in high-quality pork or beef. The fat is also more evenly distributed, which contributes to juiciness during roasting.
For example, a Freedom Ranger chicken might take 10–12 weeks to reach maturity, compared to just 6–7 weeks for a Cornish Cross. That extra time means more developed flavor compounds and better texture. When roasted, heritage birds tend to have a deeper golden color, a more pronounced poultry aroma, and a satisfying chew that’s missing from many store-bought birds.
Of course, heritage chickens are usually more expensive and may not be available at every supermarket. But if you’re serious about flavor, they’re worth seeking out at farmers markets, butcher shops, or online meat purveyors. Even a well-raised organic or free-range Cornish Cross will outperform a conventionally raised one, so look for labels that indicate humane treatment, outdoor access, and no antibiotics.
Size and Age: Finding the Sweet Spot
Chicken size also plays a role in roasting success. A bird that’s too small (under 3 pounds) can dry out quickly, while one that’s too large (over 5 pounds) may cook unevenly, with the breast drying before the thighs are done. The ideal roast chicken weighs between 3.5 and 4.5 pounds—big enough to feed a family, but small enough to cook evenly in a standard home oven.
Younger chickens (often labeled “fryers” or “roasters”) have more tender meat and thinner skin, which crisps up beautifully. Older birds, like stewing hens, have tougher meat but much more flavor—great for soups, but less ideal for roasting unless you use slow, low-temperature methods.
When shopping, look for chickens with plump breasts, smooth skin, and a fresh (not sour or metallic) smell. Avoid birds with loose skin or visible bruises. If possible, buy whole chickens rather than pre-cut parts—they retain moisture better and give you more control over the cooking process.
Preparation Techniques That Boost Flavor and Juiciness
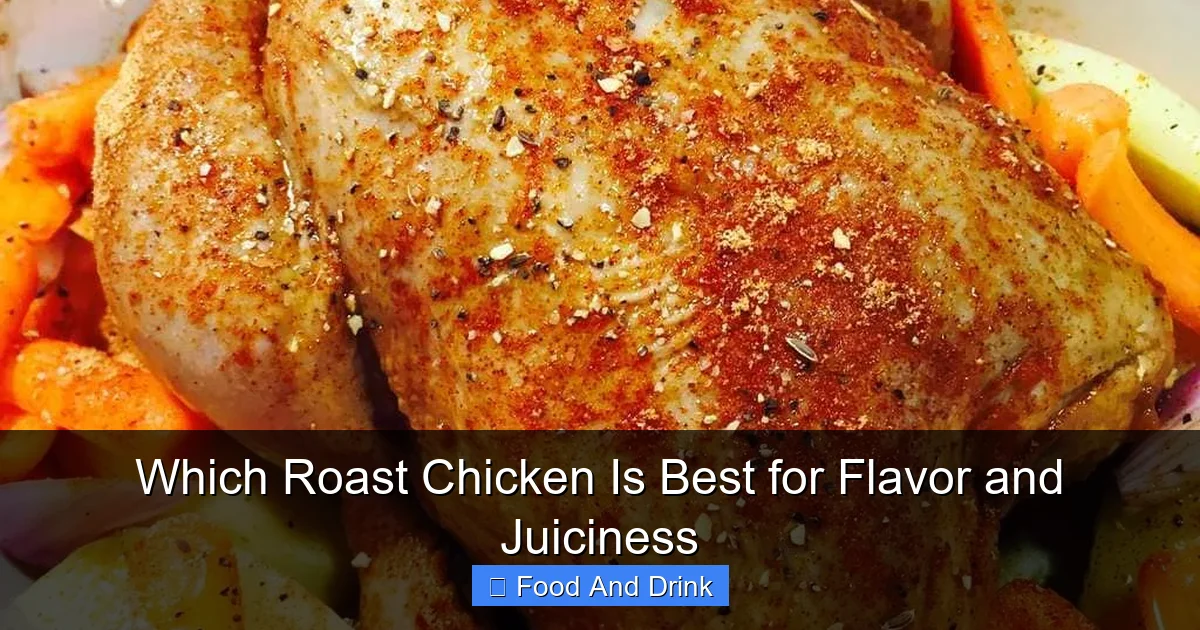
Visual guide about Which Roast Chicken Is Best for Flavor and Juiciness
Image source: twocupsofhealth.com
Once you’ve chosen your chicken, the real magic happens in the prep. A few simple techniques can transform an average bird into something extraordinary. The key is to focus on moisture retention and flavor infusion—two things that go hand in hand when roasting.
Brining: The Juiciness Secret Weapon
Brining is one of the most effective ways to ensure your roast chicken stays juicy, even if you slightly overcook it. There are two main types: wet brining and dry brining (also called salting).
Wet brining involves soaking the chicken in a saltwater solution—usually 1/4 to 1/2 cup of salt per quart of water—for several hours or overnight. The salt helps the meat proteins retain water, so when heat is applied, the chicken doesn’t lose as much moisture. You can enhance the brine with sugar, herbs, garlic, or citrus for extra flavor.
Dry brining, on the other hand, involves rubbing salt (and sometimes other seasonings) directly onto the chicken and letting it sit uncovered in the fridge for 12–24 hours. This method draws out moisture initially, then reabsorbs it along with the salt, seasoning the meat deeply. It also dries out the skin, which leads to better browning and crispiness.
For most home cooks, dry brining is easier and just as effective. Simply pat the chicken dry, sprinkle generously with kosher salt (about 1 teaspoon per pound), and place it on a rack in the fridge, uncovered. The next day, you’ll notice the skin is tighter and drier—perfect for roasting.
Seasoning Under the Skin
Most people season roast chicken by rubbing spices and herbs on the outside. But to really infuse flavor, you need to get seasoning *under* the skin, where it can penetrate the meat directly.
Gently loosen the skin over the breast and thighs by sliding your fingers between the skin and meat. Be careful not to tear it. Then, rub a mixture of softened butter, minced garlic, fresh herbs (like thyme, rosemary, or sage), salt, and pepper directly onto the meat. This creates a flavorful barrier that bastes the chicken from within as it roasts.
You can also add lemon slices, garlic cloves, or onion wedges to the cavity for aromatic steam, but don’t overstuff—it can interfere with even cooking.
Trussing vs. Spatchcocking: Which Method Wins?
Trussing—tying the legs together with kitchen twine—has long been the traditional way to roast a chicken. It helps the bird cook evenly and keeps the shape neat. But it has a downside: the breast can dry out before the thighs are fully cooked.
Spatchcocking (or butterflying) solves this problem. By removing the backbone with kitchen shears and flattening the chicken, you expose more surface area to direct heat. This reduces cooking time by 25–30% and ensures the breast and thighs finish at the same time. The skin also crisps up more evenly.
To spatchcock, place the chicken breast-side down and cut along both sides of the backbone. Flip it over, press down firmly on the breastbone to flatten, and tuck the wings under. It might look a little odd at first, but the results are worth it.
Mastering the Roasting Process

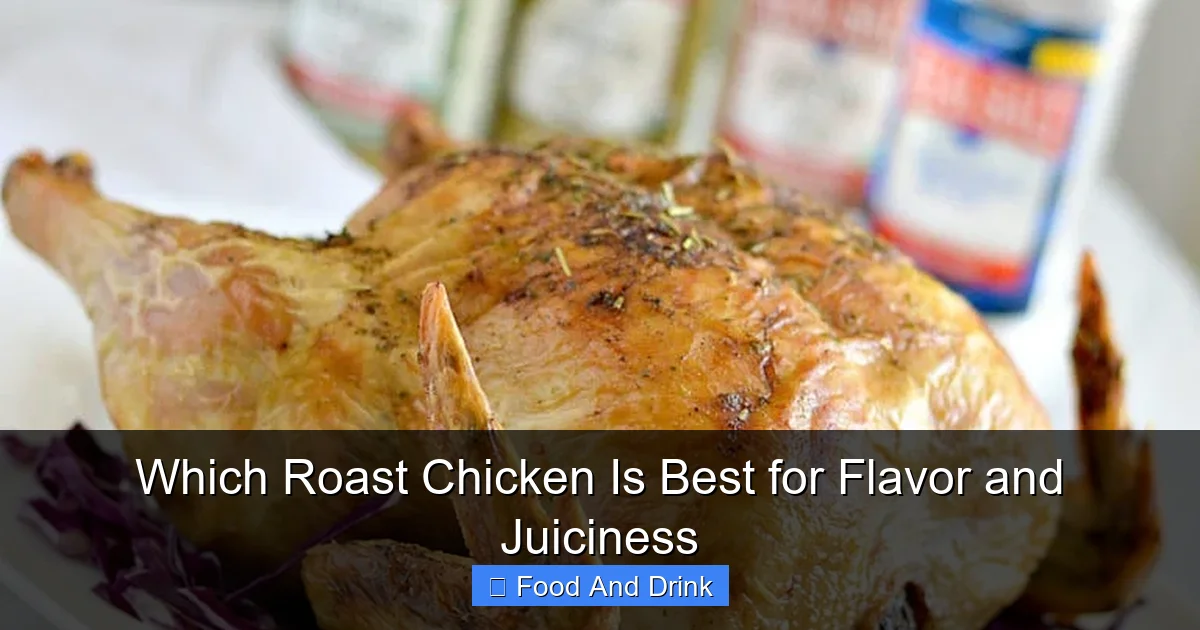
Visual guide about Which Roast Chicken Is Best for Flavor and Juiciness
Image source: allrecipes.com
Even with the best chicken and prep, roasting technique is what makes or breaks the final dish. Temperature, timing, and equipment all play crucial roles.
Oven Temperature: High Heat for Crispy Skin, Low Heat for Even Cooking
The classic mistake is roasting chicken at a steady 350°F the whole time. While this works, it often leads to dry breast meat and undercooked thighs.
A better approach is to start high and finish low. Begin by roasting at 425°F–450°F for the first 20–30 minutes. This high heat jump-starts the Maillard reaction—the chemical process that browns the skin and develops deep, savory flavors. It also renders fat quickly, helping the skin crisp up.
Then, reduce the oven to 350°F and continue roasting until the internal temperature reaches 165°F in the thickest part of the thigh (not touching the bone). This two-stage method gives you the best of both worlds: crispy skin and juicy meat.
Using a Rack and Roasting Pan
Always roast your chicken on a rack placed inside a roasting pan. This allows hot air to circulate underneath, preventing the bottom from steaming and staying soggy. If you don’t have a rack, you can improvise with chopped vegetables (like carrots, onions, and celery) to lift the chicken off the pan bottom.
Avoid overcrowding the pan—leave space around the chicken for proper airflow. And don’t add water or broth to the pan unless you’re doing a braised roast. For a dry roast, the chicken’s own juices are enough.
Basting: Helpful or Harmful?
Basting—spooning pan juices over the chicken during roasting—is a common practice, but it’s not always beneficial. Every time you open the oven door, you lose heat, which can延长 cooking time and lead to uneven results. Plus, basting doesn’t significantly increase moisture if the chicken is already well-brined or seasoned under the skin.
That said, a light baste with melted butter or herb-infused oil during the last 15 minutes can enhance browning and add shine. Just do it quickly and sparingly.
Resting and Carving: The Final Steps to Perfection
Visual guide about Which Roast Chicken Is Best for Flavor and Juiciness
Image source: thisvivaciouslife.com
Many cooks skip this step, but resting is just as important as roasting. When meat is removed from the oven, the juices are still moving. If you carve immediately, those juices spill out, leaving the meat dry.
Why Resting Matters
Let your roast chicken rest, loosely tented with foil, for 15–20 minutes before carving. During this time, the internal temperature will continue to rise slightly (a phenomenon called carryover cooking), and the juices will redistribute throughout the meat. This ensures every bite is moist and flavorful.
Place the chicken on a cutting board or platter, cover gently with foil (don’t wrap tightly—this can steam the skin and make it soggy), and let it sit. Use this time to make a quick pan sauce with the drippings, or warm up sides.
Carving Like a Pro
Carving a roast chicken doesn’t have to be intimidating. Start by removing the legs: pull one leg away from the body, press down to pop the joint, and cut through. Repeat on the other side. Then, slice the breast meat against the grain into even portions.
For spatchcocked chickens, simply cut along the breastbone to separate the two halves, then slice each side into pieces. Serve with the crispy skin intact—it’s the best part!
Serving Suggestions and Pairings
A perfectly roasted chicken deserves equally thoughtful sides. Classic pairings include roasted potatoes, honey-glazed carrots, garlic mashed potatoes, or a fresh green salad. For a heartier meal, serve with stuffing, roasted root vegetables, or a grain like farro or quinoa.
Don’t forget the pan sauce! Deglaze the roasting pan with chicken stock, white wine, or lemon juice, scrape up the browned bits (fond), and simmer with a knob of butter for a rich, savory sauce that ties everything together.
Common Mistakes to Avoid
Even experienced cooks make these errors:
- Not salting enough: Underseasoned chicken tastes bland. Salt early and often.
- Overcooking: Use a meat thermometer—don’t guess. 165°F is safe and juicy.
- Skipping the rest: Carving too soon = dry chicken.
- Using a cold chicken: Let the bird come to room temperature for 30–60 minutes before roasting for even cooking.
- Ignoring the skin: Crispy skin is a sign of a well-roasted bird. Dry-brine and high heat are your friends.
With the right chicken, smart prep, and careful cooking, roast chicken can be simple, satisfying, and absolutely delicious. It’s not just a meal—it’s a ritual. And once you master it, you’ll never look back.
Frequently Asked Questions
What makes a roast chicken juicy?
Juiciness comes from proper brining, even cooking, and resting. Brining helps the meat retain moisture, while resting allows juices to redistribute after roasting.
Is organic chicken better for roasting?
Organic chickens are often raised with better welfare standards and may have more flavor, but the biggest factor is breed and preparation method.
Can I roast a frozen chicken?
It’s not recommended. Frozen chickens cook unevenly and can lead to food safety issues. Always thaw in the fridge before roasting.
How do I get crispy skin on roast chicken?
Dry the skin thoroughly, use dry brining, and roast at high heat initially. Avoid covering the chicken while it roasts.
What’s the difference between a roaster and a broiler?
A broiler is a young chicken (6–8 weeks) bred for quick growth, while a roaster is slightly older (8–12 weeks) with more developed flavor and texture.
Can I reuse the roasting pan drippings?
Yes! Use them to make a pan sauce by deglazing with stock or wine, scraping up the browned bits, and finishing with butter.


