

Knowing when roast chicken is cooked perfectly ensures juicy meat, crispy skin, and food safety. By using a meat thermometer, checking internal temperatures, and understanding visual cues, you can roast chicken flawlessly every single time.
There’s something deeply satisfying about pulling a golden, fragrant roast chicken from the oven. The aroma fills the kitchen, the skin crackles under the fork, and the meat falls off the bone—juicy, tender, and full of flavor. But achieving that perfect roast chicken isn’t just about following a recipe. It’s about understanding the science and art of cooking poultry to perfection. One of the biggest challenges home cooks face is knowing exactly when roast chicken is cooked. Undercook it, and you risk foodborne illness. Overcook it, and you’re left with dry, stringy meat that no amount of gravy can save.
The good news? You don’t need to be a professional chef to nail it every time. With the right tools, techniques, and a little know-how, you can consistently roast a chicken that’s safe to eat, incredibly moist, and bursting with flavor. Whether you’re roasting a whole bird for Sunday dinner, preparing a weekday meal, or impressing guests at a dinner party, mastering the doneness of roast chicken is a game-changer. In this guide, we’ll walk you through everything you need to know—from internal temperatures and visual cues to resting times and common mistakes to avoid.
Key Takeaways
- Use a meat thermometer: The most reliable way to check doneness is by measuring the internal temperature—165°F (74°C) in the thickest part of the thigh.
- Check multiple spots: Insert the thermometer into the breast, thigh, and wing joint to ensure even cooking.
- Rest the chicken: Let it rest for 15–20 minutes after roasting to allow juices to redistribute for maximum flavor and moisture.
- Look for clear juices: When pierced, the juices should run clear, not pink or bloody.
- Observe visual cues: The skin should be golden brown and crispy, and the legs should move easily in their joints.
- Account for carryover cooking: The internal temperature rises 5–10°F after removal from the oven, so pull it out at 160°F (71°C) if needed.
- Choose the right roasting method: Spatchcocking or trussing can affect cooking time and evenness—adjust accordingly.
Quick Answers to Common Questions
What temperature should roast chicken reach?
The internal temperature should reach 165°F (74°C) in the thickest part of the thigh, avoiding the bone.
Can I check doneness without a thermometer?
Yes, but it’s less reliable. Look for clear juices, golden skin, and legs that move freely in the joint.
How long should I rest roast chicken?
Rest for 15–20 minutes to allow juices to redistribute and carryover cooking to complete.
Is it safe to eat chicken if the juices are pink?
Pink juices near the bone don’t always mean undercooked. Use a thermometer to confirm safety.
Should I truss my roast chicken?
Yes, trussing helps the chicken cook evenly and maintains a compact shape for better browning.
📑 Table of Contents
Why Knowing When Roast Chicken Is Cooked Matters
Cooking chicken safely isn’t just about taste—it’s about health. Chicken can harbor harmful bacteria like Salmonella and Campylobacter, which are destroyed only when the meat reaches a high enough internal temperature. Undercooked chicken poses serious health risks, including food poisoning, which can lead to nausea, vomiting, diarrhea, and in severe cases, hospitalization. That’s why understanding when roast chicken is cooked is not optional—it’s essential.
But safety is only half the story. Overcooking chicken is just as problematic. Poultry, especially white meat like the breast, dries out quickly when exposed to high heat for too long. The proteins tighten, squeezing out moisture and leaving you with a tough, unappetizing texture. A perfectly cooked roast chicken strikes the ideal balance: safe to eat, with juicy, tender meat and crispy, flavorful skin.
Many home cooks rely on timing alone—“Roast for 20 minutes per pound”—but this method is unreliable. Oven temperatures vary, chicken sizes differ, and even the type of roasting pan can affect cooking time. A chicken roasted in a dark pan will cook faster than one in a light-colored pan. Similarly, a bird stuffed with aromatics will take longer to cook through than an unstuffed one. Relying solely on time is like driving without a speedometer—you might get there, but you won’t know when you’ve arrived.
That’s why the best way to determine when roast chicken is cooked is by using a combination of temperature, visual cues, and timing. This multi-sensory approach ensures you’re not just guessing—you’re making informed decisions based on what’s actually happening inside the bird.
The Gold Standard: Using a Meat Thermometer
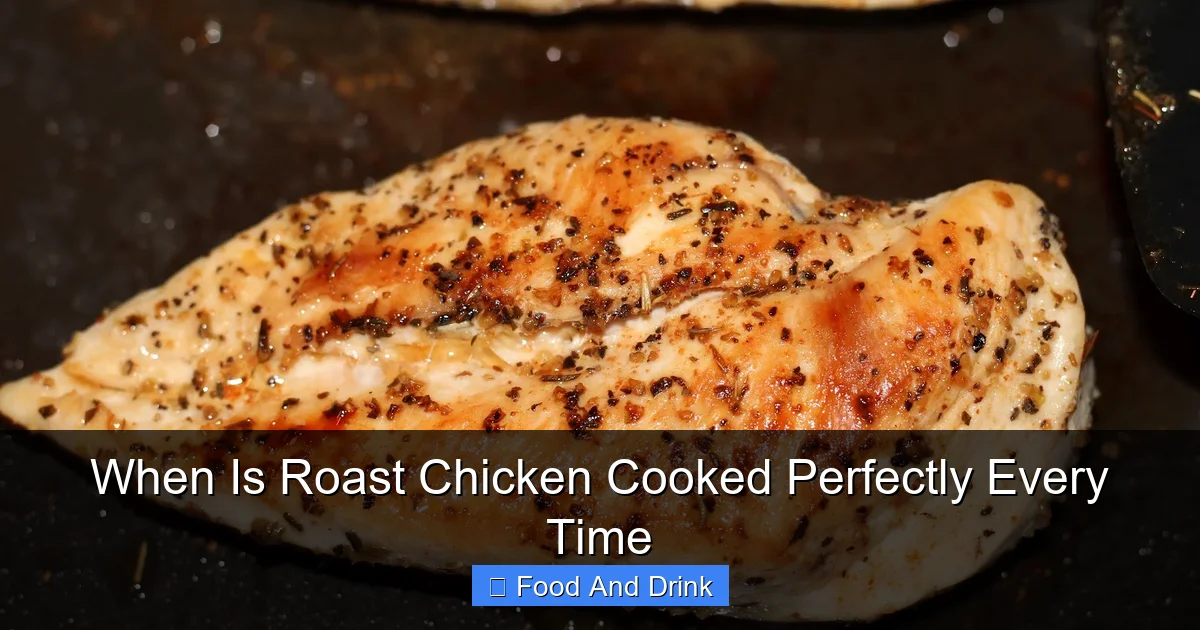
Visual guide about When Is Roast Chicken Cooked Perfectly Every Time
Image source: 2.bp.blogspot.com
If there’s one tool that will revolutionize your roast chicken game, it’s a reliable meat thermometer. This small, inexpensive device takes the guesswork out of cooking and gives you precise, real-time data about the internal temperature of your chicken. No more poking, prodding, or cutting into the meat to check—just insert the probe and read the number.
The USDA recommends cooking all poultry to a minimum internal temperature of 165°F (74°C) to ensure safety. This temperature is sufficient to kill harmful bacteria without overcooking the meat, especially if you account for carryover cooking (more on that later). But where should you insert the thermometer?
Where to Take the Temperature
The most accurate spot to measure temperature is the thickest part of the thigh, avoiding the bone. The thigh is one of the last parts of the chicken to cook, so if it’s done, the rest of the bird is almost certainly safe. Insert the probe horizontally into the meat, making sure it doesn’t touch the bone, which can give a false reading.
You should also check the breast, especially if you’re concerned about dryness. The breast cooks faster than the thighs, so it’s possible for the breast to reach 165°F while the thighs are still undercooked—or vice versa. For even cooking, many chefs recommend trussing the chicken or using a roasting rack to promote airflow.
Some thermometers come with dual probes, allowing you to monitor both the breast and thigh simultaneously. This is especially helpful for larger birds or when roasting multiple chickens at once.
Types of Meat Thermometers
Not all thermometers are created equal. Here are the most common types and their pros and cons:
– **Instant-read thermometers:** These are handheld devices that give a reading in 2–5 seconds. They’re perfect for spot-checking doneness but must be removed from the oven while reading. Popular brands include Thermapen and ThermoPop.
– **Oven-safe thermometers:** These stay in the chicken while it roasts, allowing you to monitor temperature without opening the oven door. They’re great for hands-off cooking but may be less accurate than instant-read models.
– **Probe thermometers with alarms:** These connect to a base unit outside the oven and beep when the chicken reaches a set temperature. Ideal for busy cooks who don’t want to hover over the oven.
For most home cooks, an instant-read thermometer is the best choice. It’s affordable, accurate, and easy to use. Just make sure to clean it with soap and water after each use to prevent cross-contamination.
Understanding Carryover Cooking
One of the most overlooked aspects of roasting chicken is carryover cooking. This is the phenomenon where the internal temperature of the meat continues to rise after it’s removed from the oven. Heat from the surface and center of the bird slowly migrates inward, increasing the temperature by 5–10°F (3–6°C) during the resting period.
Because of this, many chefs recommend pulling the chicken from the oven when the internal temperature reaches 160°F (71°C). By the time it rests, it will climb to the safe 165°F (74°C) threshold. This technique helps prevent overcooking, especially in the breast, which is prone to drying out.
To take advantage of carryover cooking, insert the thermometer toward the end of the estimated roasting time. When the thigh reads 160°F, remove the chicken from the oven, tent it loosely with foil, and let it rest. The temperature will continue to rise, and the juices will redistribute, resulting in a more evenly cooked bird.
Visual and Physical Cues for Doneness
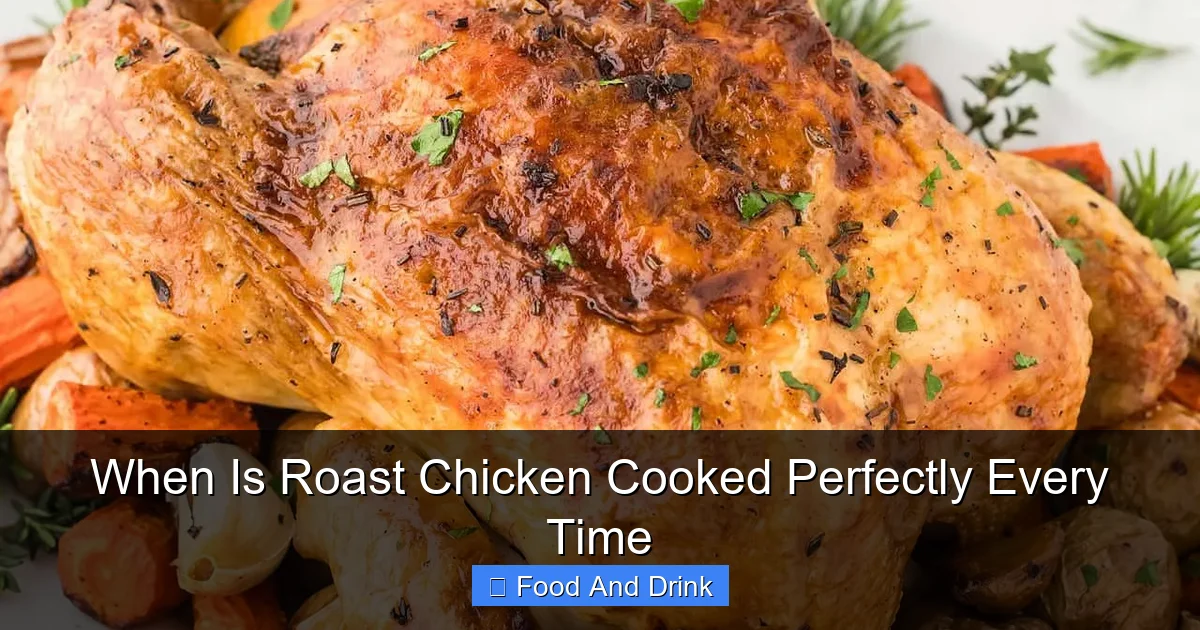
Visual guide about When Is Roast Chicken Cooked Perfectly Every Time
Image source: cheerfulcook.com
While a thermometer is the most accurate tool, visual and physical cues can also help you determine when roast chicken is cooked. These methods are especially useful if you don’t have a thermometer on hand or want to double-check your readings.
Golden, Crispy Skin
A well-roasted chicken should have skin that’s deep golden brown and crispy. The color indicates that the skin has rendered its fat and developed a rich, savory flavor through the Maillard reaction—a chemical process that occurs when proteins and sugars brown under high heat. If the skin is pale or soggy, the chicken likely needs more time in the oven.
To achieve crispy skin, pat the chicken dry with paper towels before seasoning. Moisture on the skin prevents browning, so drying it thoroughly is a crucial step. You can also rub the skin with a little oil or butter to promote even browning.
Juices Run Clear
Another classic test is to pierce the chicken with a knife or fork and observe the juices. If they run clear—not pink or bloody—the chicken is likely done. Pink juices can indicate undercooking, especially near the bone, which takes longer to heat through.
However, this method isn’t foolproof. Sometimes, even when the chicken is fully cooked, juices near the bone may still appear slightly pink due to myoglobin, a protein in the meat. This doesn’t mean the chicken is unsafe—it’s just a visual quirk. That’s why relying solely on juice color can be misleading.
Legs Move Freely
Gently wiggle the leg of the chicken. If it moves easily in the joint, the meat is likely tender and fully cooked. Resistance or stiffness suggests the connective tissues haven’t broken down yet, meaning the chicken needs more time.
This test works best with larger birds, where the leg joint is more pronounced. For smaller chickens, the difference may be subtle, so use it in combination with other methods.
Meat Pulls Away from the Bone
As the chicken cooks, the meat shrinks and pulls away from the bones, especially around the thighs and wings. If you can easily separate the meat from the bone with a fork, it’s a good sign that the chicken is done.
This cue is particularly useful when carving. If the meat clings tightly to the bone, it may need a few more minutes in the oven.
Resting: The Secret to Juicy Chicken
Visual guide about When Is Roast Chicken Cooked Perfectly Every Time
Image source: img.wonderhowto.com
One of the most important—and often skipped—steps in roasting chicken is resting. After the chicken comes out of the oven, it needs time to relax. During cooking, the muscle fibers contract and push moisture toward the center of the bird. If you carve it immediately, those juices will spill out, leaving the meat dry.
Resting allows the juices to redistribute evenly throughout the meat. As the chicken cools slightly, the proteins relax and reabsorb the moisture, resulting in a more succulent bite.
How Long to Rest
Most experts recommend resting roast chicken for 15–20 minutes. This gives enough time for the internal temperature to stabilize and the juices to settle. Larger birds (over 5 pounds) may benefit from a longer rest—up to 30 minutes.
To rest the chicken, transfer it from the roasting pan to a cutting board or platter. Tent it loosely with aluminum foil to keep it warm, but don’t wrap it tightly—this can trap steam and make the skin soggy.
What to Do While It Rests
Use the resting time wisely. This is the perfect moment to make gravy, toss a salad, or reheat side dishes. You can also prepare your carving tools and set the table. By the time the chicken is ready to carve, everything else will be ready too.
Some chefs like to baste the chicken with pan juices during the rest, which adds flavor and keeps the skin moist. Just be careful not to overdo it—too much liquid can soften the crispy skin.
Common Mistakes and How to Avoid Them
Even experienced cooks make mistakes when roasting chicken. Here are some of the most common pitfalls and how to avoid them.
Not Using a Thermometer
Relying on time alone is risky. Ovens vary, chicken sizes differ, and environmental factors like altitude can affect cooking. Always use a thermometer to confirm doneness.
Overcrowding the Pan
If you’re roasting vegetables alongside the chicken, make sure they’re spread out in a single layer. Overcrowding traps steam, which prevents the skin from crisping and can lead to uneven cooking.
Skipping the Dry Brine
Salting the chicken a few hours (or overnight) before roasting—known as dry brining—draws out moisture, which is then reabsorbed along with the salt. This seasons the meat deeply and helps keep it moist during cooking. It also dries the skin, promoting crispiness.
Opening the Oven Too Often
Every time you open the oven door, heat escapes, which can延长 cooking time and cause temperature fluctuations. Use the oven light and window to check progress instead.
Carving Too Soon
As mentioned earlier, carving immediately after roasting leads to dry meat. Always let the chicken rest before slicing.
Tips for Perfect Roast Chicken Every Time
Now that you know how to tell when roast chicken is cooked, here are some bonus tips to elevate your roasting game:
– **Truss the chicken:** Tying the legs together with kitchen twine helps the bird cook evenly and keeps the shape compact.
– **Use a roasting rack:** Elevating the chicken allows hot air to circulate underneath, promoting even browning.
– **Baste with butter or oil:** This adds flavor and helps crisp the skin.
– **Add aromatics:** Stuff the cavity with lemon halves, garlic, onions, or fresh herbs like thyme and rosemary for extra flavor.
– **Roast breast-side up:** This ensures the breast gets direct heat and stays juicy.
– **Let the chicken come to room temperature:** Take it out of the fridge 30–60 minutes before roasting for more even cooking.
Conclusion
Roasting a perfect chicken doesn’t have to be intimidating. By understanding when roast chicken is cooked—using a thermometer, observing visual cues, and allowing proper resting time—you can consistently produce a bird that’s safe, juicy, and delicious. It’s not about following a rigid recipe, but about mastering the fundamentals and adapting to your kitchen’s unique conditions.
With practice, you’ll develop an intuition for roasting chicken that goes beyond timers and temperatures. You’ll learn how your oven behaves, how different seasonings affect flavor, and how to adjust for size and shape. And each time you pull a golden, fragrant chicken from the oven, you’ll know—without a doubt—that it’s cooked perfectly.
So the next time you’re planning a family dinner or hosting friends, remember: the secret to great roast chicken isn’t just in the roasting—it’s in knowing exactly when to stop.
Frequently Asked Questions
How do I know if my roast chicken is undercooked?
If the internal temperature is below 165°F (74°C), the chicken is undercooked. Juices may run pink, and the meat will feel rubbery or raw.
Can I roast a frozen chicken?
It’s not recommended. Frozen chicken cooks unevenly and increases the risk of undercooked spots. Always thaw in the refrigerator before roasting.
Why is my roast chicken dry?
Dryness is usually caused by overcooking. Use a thermometer, rest the chicken, and consider brining or basting to retain moisture.
How long does it take to roast a 4-pound chicken?
At 375°F (190°C), a 4-pound chicken typically takes 1 hour and 15 minutes to 1 hour and 30 minutes, but always check with a thermometer.
Can I stuff my roast chicken?
Yes, but stuffing increases cooking time. Ensure the stuffing reaches 165°F (74°C) as well, or cook it separately for safety.
What’s the best way to crisp chicken skin?
Pat the skin dry, rub with oil or butter, and roast at a high temperature (425°F/220°C) for the first 20 minutes to kickstart browning.


