
Timing is everything when cooking chicken breast. Cook it too long, and it turns dry and rubbery; too short, and it’s unsafe to eat. The best time to cook chicken breast depends on the method, thickness, and temperature—but mastering these factors guarantees tender, juicy meat every time.
Key Takeaways
- Use a meat thermometer: The safest and most reliable way to know when chicken is done is by checking its internal temperature—165°F (74°C) is the magic number.
- Adjust time based on thickness: A thin cut (½ inch) cooks in 6–8 minutes, while a thick breast (1½ inches) may take 15–20 minutes.
- Sear first, then finish gently: Start with high heat to lock in juices, then reduce heat to cook through without drying out.
- Rest your chicken: Let it sit for 5–10 minutes after cooking to redistribute juices and keep it moist.
- Brining boosts moisture: Soaking chicken in saltwater for 30 minutes to 2 hours before cooking helps retain juiciness.
- Don’t overcook: Chicken continues to cook slightly after removal from heat—remove it at 160°F (71°C) and let carryover cooking finish the job.
- Choose the right method: Pan-searing, baking, grilling, and sous vide each have ideal timing for perfect results.
Quick Answers to Common Questions
How long should I cook a 1-inch thick chicken breast in the oven?
Bake at 375°F (190°C) for 20–25 minutes, or until the internal temperature reaches 160°F. Let it rest for 5–10 minutes before serving.
Can I cook chicken breast from frozen?
Yes, but it takes longer. Add 50% more cooking time and use a thermometer to ensure it reaches 165°F internally.
Is it safe to eat chicken at 160°F?
Yes, if held at that temperature for at least 13 seconds. For best texture, remove at 160°F and let carryover cooking finish the job.
How do I prevent chicken breast from drying out?
Brine before cooking, use a thermometer, avoid overcooking, and let it rest. Also, cook with the right method for the thickness.
Should I cover chicken while baking?
Cover for the first half to retain moisture, then uncover to brown the surface. This balances juiciness and texture.
📑 Table of Contents
- Why Timing Matters When Cooking Chicken Breast
- Understanding Chicken Breast Thickness and Its Impact on Cooking Time
- The Role of Internal Temperature in Perfectly Cooked Chicken
- Cooking Methods and Their Ideal Timing
- Pre-Cooking Techniques That Improve Juiciness
- Resting: The Final Step for Juicy Results
- Common Mistakes to Avoid
- Conclusion: Master the Clock for Perfect Chicken
Why Timing Matters When Cooking Chicken Breast
Chicken breast is a staple in kitchens around the world—lean, versatile, and packed with protein. But despite its popularity, it’s also one of the most commonly overcooked proteins. The result? Dry, stringy, and disappointing meat that no amount of sauce can fully rescue. So what’s the secret to juicy, tender chicken breast every time? It all comes down to one critical factor: timing.
Unlike fattier cuts like thighs or wings, chicken breast has very little fat and connective tissue. This makes it quick to cook—but also quick to dry out. The moment it hits the right internal temperature, it’s safe to eat. But go just a few degrees beyond, and moisture starts to evaporate rapidly. That’s why understanding the best time to cook chicken breast isn’t just about safety—it’s about texture, flavor, and overall enjoyment. Whether you’re pan-frying, baking, grilling, or using a slow cooker, timing is the key to success.
In this guide, we’ll break down everything you need to know about cooking chicken breast with precision. From choosing the right thickness to mastering temperature control, you’ll learn how to turn this often-misunderstood cut into a juicy, flavorful centerpiece for any meal. Let’s dive in.
Understanding Chicken Breast Thickness and Its Impact on Cooking Time
One of the biggest mistakes home cooks make is assuming all chicken breasts cook the same way. In reality, thickness varies dramatically—even within the same package. A thin, pounded breast will cook in under 10 minutes, while a thick, bone-in cut can take nearly double that time. Ignoring this difference is a fast track to dry or undercooked chicken.

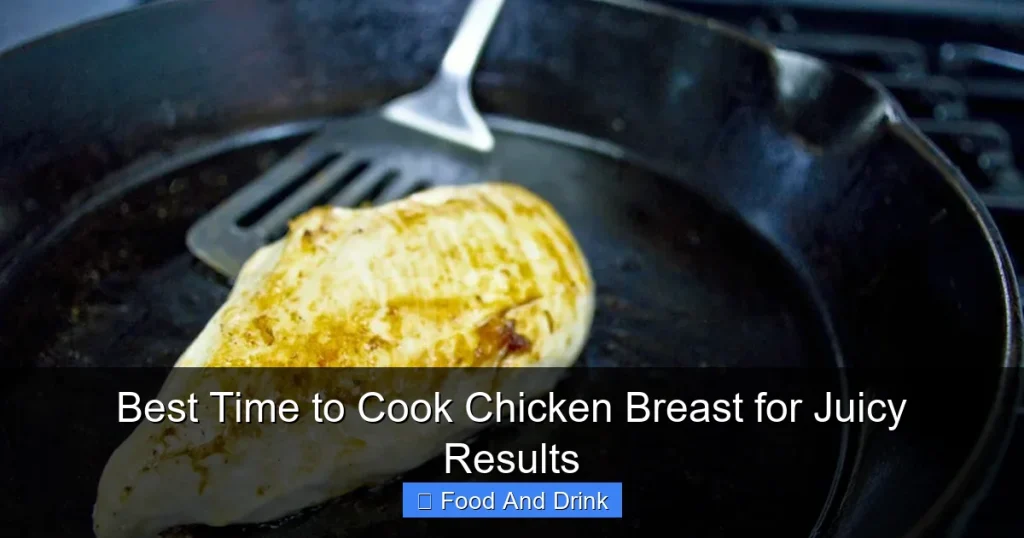
Visual guide about Best Time to Cook Chicken Breast for Juicy Results
Image source: hip2save.com
How Thickness Affects Cooking Time
Thin chicken breasts (about ½ inch thick) cook quickly because heat penetrates evenly and rapidly. These are ideal for quick-cooking methods like pan-searing or stir-frying. On the other hand, thick breasts (1 inch or more) require longer, gentler cooking to ensure the center reaches a safe temperature without the outside drying out.
For example, a ½-inch breast might take just 6–8 minutes total when pan-seared over medium-high heat. But a 1½-inch breast could need 15–20 minutes in the oven at 375°F (190°C), depending on whether it’s boneless or bone-in. Bone-in breasts take longer because the bone insulates the meat, slowing heat transfer.
Tips for Even Thickness
To ensure consistent cooking, consider pounding your chicken to an even thickness. Place the breast between two sheets of plastic wrap or parchment paper and gently pound it with a meat mallet or rolling pin until it’s uniformly about ¾ inch thick. This simple step reduces cooking time and prevents the thinner edges from drying out while the center catches up.
Alternatively, you can butterfly the breast by slicing it horizontally almost all the way through and opening it like a book. This creates a larger, thinner piece that cooks faster and more evenly. It’s a great technique for stuffing or grilling.
When to Choose Thick vs. Thin
Thick breasts are better for slow-cooking methods like braising or sous vide, where low, steady heat keeps them moist. Thin breasts shine in high-heat applications like sautéing, grilling, or adding to soups and salads. Match your cooking method to the thickness of your chicken for the best results.
The Role of Internal Temperature in Perfectly Cooked Chicken
While timing gives you a rough estimate, the only way to truly know when chicken is done is by checking its internal temperature. Relying solely on time can lead to guesswork—especially since oven temperatures vary, pans conduct heat differently, and chicken sizes differ.
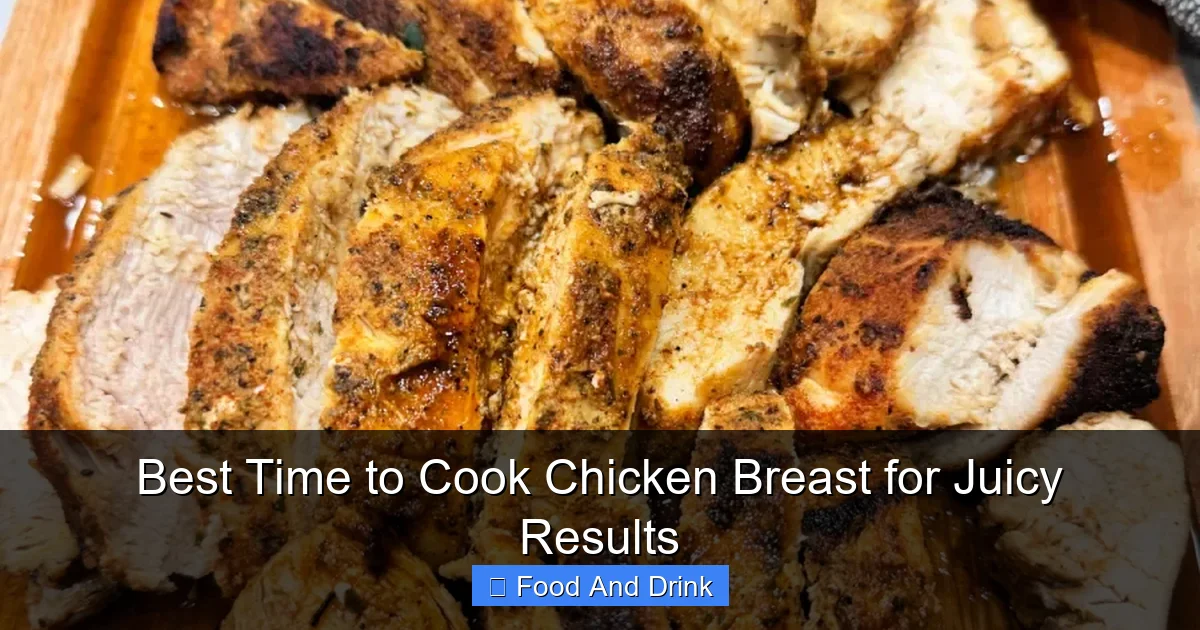
Visual guide about Best Time to Cook Chicken Breast for Juicy Results
Image source: hip2save.com
The Safe Minimum Temperature
The USDA recommends cooking chicken to an internal temperature of 165°F (74°C) to ensure food safety. At this point, harmful bacteria like salmonella are destroyed. However, this doesn’t mean you should cook chicken until it hits exactly 165°F and then serve it immediately. In fact, doing so can result in dry meat.
Carryover Cooking: The Secret to Juiciness
Here’s a pro tip: remove your chicken from the heat when it reaches 160°F (71°C). As it rests, the temperature will rise another 3–5 degrees due to carryover cooking—residual heat continuing to warm the center. This means your chicken will safely reach 165°F without overcooking.
For example, if you’re baking chicken at 375°F, take it out when the thermometer reads 160°F. Let it rest for 5–10 minutes, and it will climb to 165°F while redistributing its juices. This simple shift can make the difference between dry and delightfully moist.
Choosing the Right Thermometer
Invest in a good instant-read meat thermometer. Look for one that gives a reading in 2–3 seconds and has a thin probe for accuracy. Avoid leaving thermometers in the oven while cooking—they’re not designed for high heat. Instead, check the temperature toward the end of the estimated cooking time.
Insert the probe into the thickest part of the breast, avoiding bone or fat. For boneless breasts, aim for the center. For bone-in, insert the probe near the bone but not touching it. Clean the thermometer after each use to prevent cross-contamination.
Cooking Methods and Their Ideal Timing
Different cooking methods require different timing strategies. What works for pan-searing won’t work for baking or grilling. Let’s explore the best time to cook chicken breast for each popular method.
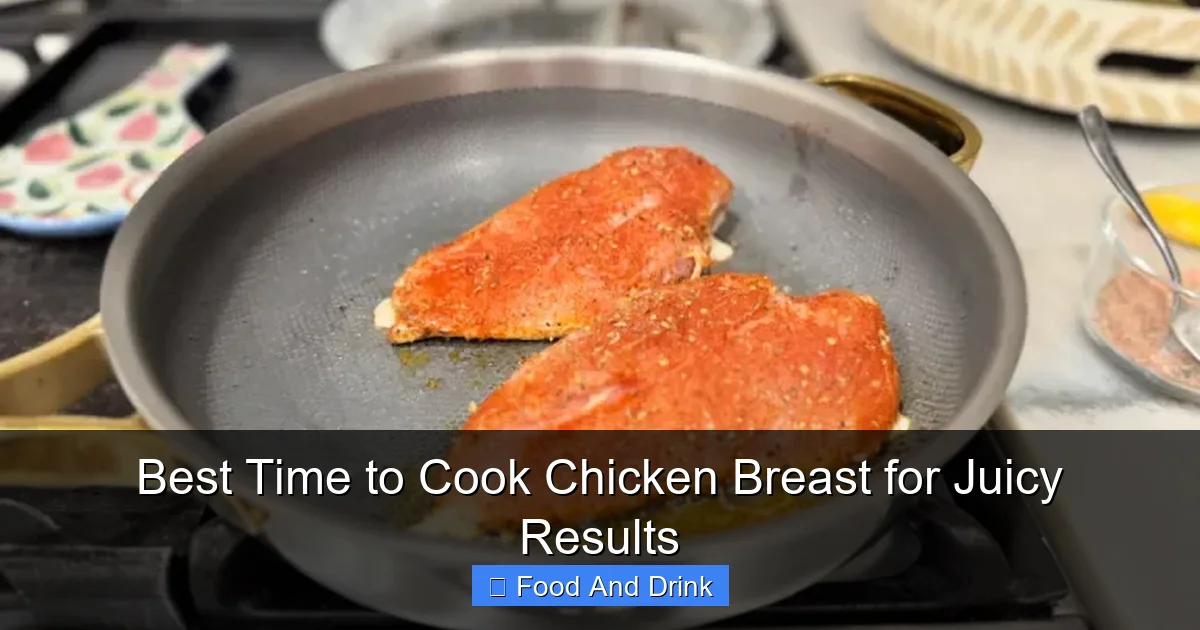
Visual guide about Best Time to Cook Chicken Breast for Juicy Results
Image source: hip2save.com
Pan-Searing: Quick and Flavorful
Pan-searing is one of the fastest ways to cook chicken breast. It creates a golden, crispy exterior while keeping the inside juicy—if timed correctly.
Start by heating a tablespoon of oil in a skillet over medium-high heat. Pat the chicken dry and season with salt and pepper. Once the oil shimmers, add the chicken and cook for 5–7 minutes on the first side without moving it. This allows a proper crust to form.
Flip and cook for another 5–7 minutes, depending on thickness. For a ¾-inch breast, 6 minutes per side is usually perfect. Use a thermometer to check—remove at 160°F. Let rest for 5 minutes before slicing.
Pro tip: Add butter, garlic, and herbs during the last minute of cooking. Baste the chicken with the melted butter for extra flavor and moisture.
Baking: Hands-Off and Consistent
Baking is ideal for cooking multiple breasts at once with minimal effort. Preheat your oven to 375°F (190°C). Place seasoned chicken on a baking sheet or in a baking dish.
For boneless, skinless breasts (¾ inch thick), bake for 20–25 minutes. Bone-in breasts may take 30–35 minutes. Again, use a thermometer—remove at 160°F.
To prevent drying, cover the dish with foil for the first 15 minutes, then uncover to allow browning. Alternatively, bake at 400°F (200°C) for 15–20 minutes for a crispier exterior.
Grilling: Smoky and Charred
Grilling adds fantastic flavor, but it requires attention to prevent flare-ups and uneven cooking. Preheat your grill to medium-high (about 375–400°F).
Oil the grates to prevent sticking. Place the chicken on the grill and cook for 6–8 minutes per side. Thicker breasts may need 10 minutes per side. Use a thermometer to check doneness.
For extra juiciness, use the two-zone method: sear over direct heat, then move to indirect heat to finish cooking. This prevents burning while ensuring the center cooks through.
Sous Vide: Precision Perfection
Sous vide is the ultimate method for juicy, evenly cooked chicken. Vacuum-seal the breast and cook it in a water bath at 145°F (63°C) for 1–2 hours. This low-temperature method keeps the meat incredibly moist.
After cooking, sear the breast in a hot pan for 1–2 minutes per side to develop a crust. The result? Tender, restaurant-quality chicken every time.
Slow Cooking: Tender and Shreddable
While not ideal for firm, sliced chicken, slow cooking works well for shredded dishes like soups or tacos. Cook on low for 4–6 hours or high for 2–3 hours. The chicken will be fall-apart tender but may lack texture for salads or sandwiches.
Pre-Cooking Techniques That Improve Juiciness
Timing isn’t the only factor in juicy chicken. What you do before cooking can make a big difference in moisture retention.
Brining: The Moisture Magnet
Brining involves soaking chicken in a saltwater solution (sometimes with sugar and herbs) for 30 minutes to 2 hours. Salt helps the meat retain water during cooking, resulting in juicier results.
For a basic brine, dissolve ¼ cup of salt in 4 cups of water. Add optional ingredients like garlic, peppercorns, or lemon slices. Submerge the chicken and refrigerate. Rinse and pat dry before cooking.
Even a quick 30-minute brine can make a noticeable difference. For busy cooks, a dry brine (rubbing salt on the chicken and letting it sit uncovered in the fridge) works too.
Marinating for Flavor and Tenderness
Marinating adds flavor and can tenderize the meat. Use acidic ingredients like lemon juice, vinegar, or yogurt, combined with oil and herbs. Marinate for at least 30 minutes, up to 24 hours.
Be cautious with acidic marinades—too long can make the meat mushy. For chicken breast, 2–4 hours is ideal.
Bringing Chicken to Room Temperature
Cold chicken straight from the fridge cooks unevenly. Let it sit at room temperature for 15–30 minutes before cooking. This ensures more even heat distribution and reduces cooking time.
Resting: The Final Step for Juicy Results
Many cooks skip resting, but it’s one of the most important steps. When you cut into hot chicken, juices rush out, leaving the meat dry. Resting allows those juices to redistribute.
Let chicken rest for 5–10 minutes after cooking. Cover loosely with foil to keep it warm. During this time, the internal temperature stabilizes, and moisture settles back into the fibers.
This simple pause can transform a good chicken breast into a great one. Don’t rush it—your taste buds will thank you.
Common Mistakes to Avoid
Even with the best intentions, mistakes happen. Here are the most common pitfalls and how to avoid them.
Overcooking
The number one mistake. Use a thermometer and remove chicken at 160°F. Remember, it will continue cooking as it rests.
Not Pounding to Even Thickness
Uneven thickness leads to dry edges and undercooked centers. Always pound or butterfly for consistency.
Skipping the Thermometer
Guessing based on time or color is unreliable. Invest in a thermometer—it’s a small cost for big results.
Cutting Too Soon
Resting is non-negotiable. Cutting immediately releases precious juices.
Using High Heat the Whole Time
Searing is great, but finishing on high heat dries out the meat. Use medium heat to cook through gently.
Conclusion: Master the Clock for Perfect Chicken
Cooking chicken breast doesn’t have to be a gamble. By understanding the best time to cook chicken breast based on thickness, method, and temperature, you can consistently achieve juicy, flavorful results. Use a thermometer, respect carryover cooking, and don’t skip the resting period. With these tips, your chicken will be the star of every meal.
Whether you’re searing, baking, grilling, or using sous vide, timing is your ally. Practice these techniques, and soon you’ll cook chicken breast with confidence—every single time.
🎥 Related Video: How to cook chicken breast perfectly every time (stovetop recipe)
📺 Olivia Yi
Frequently Asked Questions
What is the best way to check if chicken breast is done?
The most accurate method is using an instant-read meat thermometer. Insert it into the thickest part of the breast, avoiding bone, and check that it reads at least 165°F (74°C).
Can I cook chicken breast in a slow cooker?
Yes, but it’s best for shredded dishes. Cook on low for 4–6 hours or high for 2–3 hours. The texture will be tender but not ideal for slicing.
How long should I brine chicken breast?
A wet brine works well for 30 minutes to 2 hours. For a dry brine, salt the chicken and refrigerate uncovered for 1–24 hours before cooking.
Why is my chicken breast always dry?
Common causes include overcooking, uneven thickness, lack of brining, and cutting too soon. Use a thermometer and let it rest to improve results.
Is it better to bake or pan-sear chicken breast?
Pan-searing gives a better crust and faster cooking, while baking is more hands-off. Choose based on your time and desired texture.
Can I grill frozen chicken breast?
It’s not recommended. Frozen chicken cooks unevenly and may dry out. Thaw it in the refrigerator first for best results.
