
Baking chicken breast at the right temperature is the key to juicy, flavorful meat without dryness. This guide breaks down the ideal oven settings, timing, and pro tips to help you master perfectly baked chicken every time.
Key Takeaways
- 375°F (190°C) is the sweet spot: This temperature ensures even cooking, browning, and moisture retention.
- Use a meat thermometer: Chicken is safe and juicy at 165°F (74°C) internal temperature.
- Brining or marinating adds moisture: Soak chicken for 30 minutes to 2 hours before baking.
- Rest the chicken after baking: Let it sit for 5–10 minutes to redistribute juices.
- Pound to even thickness: Uniform pieces cook evenly and prevent dry edges.
- Use a baking rack: Elevating the chicken promotes airflow and crispier skin.
- Don’t overbake: Check doneness early—overcooked chicken becomes tough and dry.
Quick Answers to Common Questions
What is the best temperature to bake chicken breast?
The ideal temperature to bake chicken breast is 375°F (190°C). This ensures even cooking, moisture retention, and a lightly browned exterior.
How long do you bake chicken breast at 375°F?
Boneless, skinless chicken breasts typically take 20–25 minutes at 375°F. Always check with a meat thermometer—165°F (74°C) is safe.
Should I cover chicken breast when baking?
No, covering traps steam and prevents browning. Bake uncovered for a golden finish. Only cover if adding sauce late in cooking.
Can I bake frozen chicken breast?
Yes, but add 50% more time and check temperature carefully. Prefer thawing first for even cooking.
Why is my baked chicken breast dry?
Dryness is usually caused by overcooking. Use a thermometer, brine beforehand, and let the chicken rest after baking.
📑 Table of Contents
- What Bake Chicken Breast at Perfect Temp for Juicy Results
- Why Temperature Matters When Baking Chicken Breast
- The Ideal Baking Temperature: 375°F Explained
- Prep Techniques for Juicier Baked Chicken
- Baking Methods and Equipment
- How to Tell When Chicken Is Done
- Flavor Variations and Seasoning Ideas
- Troubleshooting Common Baking Problems
- Conclusion
What Bake Chicken Breast at Perfect Temp for Juicy Results
There’s nothing quite as disappointing as cutting into a chicken breast only to find it dry, tough, and flavorless. We’ve all been there—following a recipe to the letter, only to end up with rubbery meat that no amount of sauce can save. But here’s the good news: the secret to juicy, tender baked chicken breast isn’t complicated. It all comes down to one simple factor: temperature.
Yes, the oven temperature you choose when baking chicken breast makes all the difference. Too high, and the outside burns before the inside cooks through. Too low, and the chicken steams instead of bakes, losing that desirable golden crust. The key is finding that Goldilocks zone—just right—where the chicken cooks evenly, stays moist, and develops a beautiful exterior. And that magic number? 375°F (190°C).
In this guide, we’ll walk you through everything you need to know about baking chicken breast at the perfect temperature. From understanding why 375°F works so well to mastering timing, prep techniques, and troubleshooting common mistakes, you’ll walk away with the confidence to bake restaurant-quality chicken at home—every single time.
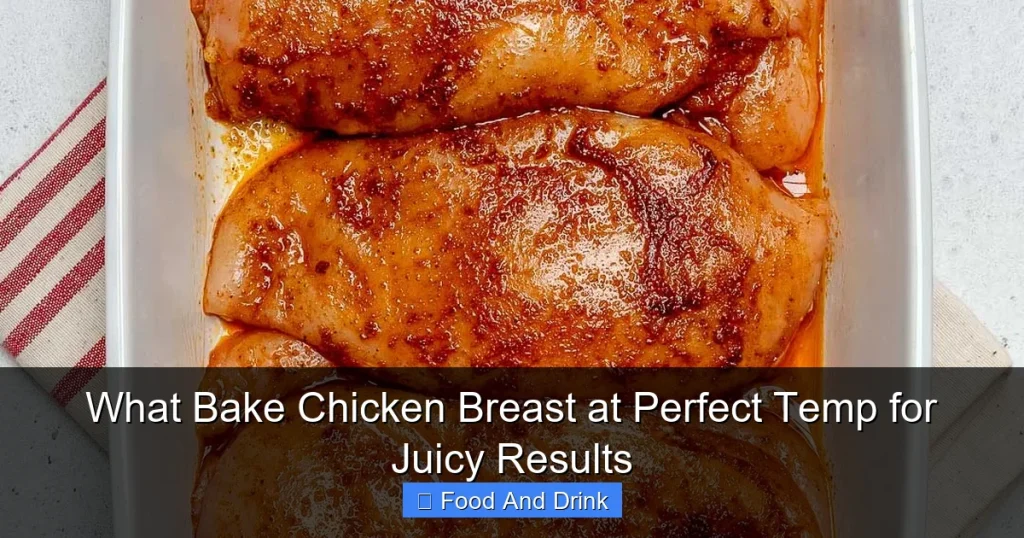
Why Temperature Matters When Baking Chicken Breast
Visual guide about What Bake Chicken Breast at Perfect Temp for Juicy Results
Image source: badbatchbaking.com
Chicken breast is a lean cut of meat, which means it has very little fat to keep it moist during cooking. Unlike fattier cuts like thighs or drumsticks, chicken breast can dry out quickly if not handled properly. That’s why controlling the cooking temperature is so crucial.
When you bake chicken breast at too high a temperature—say, 425°F (220°C)—the outside browns and cooks rapidly, but the inside may still be undercooked. To compensate, you might leave it in longer, which leads to overcooking and dryness. On the flip side, baking at too low a temperature—like 300°F (150°C)—can result in a rubbery texture and lack of browning, as the chicken essentially steams in its own juices.
At 375°F (190°C), the oven provides enough heat to cook the chicken thoroughly without rushing the process. This temperature allows the proteins in the meat to denature gradually, retaining moisture while developing a light golden crust. It’s the ideal balance between speed and tenderness.
The Science Behind Juicy Chicken
To understand why 375°F works so well, it helps to know a little about what happens to chicken during cooking. As the internal temperature rises, the proteins in the meat begin to unwind and tighten. This process, called denaturation, causes the meat to firm up and release moisture.
Chicken breast is considered safe to eat once it reaches an internal temperature of 165°F (74°C), according to the USDA. However, if you pull it from the oven at exactly 165°F, it may still be slightly underdone due to carryover cooking—the heat continues to rise inside the meat even after it’s removed from the oven. That’s why many chefs recommend pulling chicken at 160°F (71°C), allowing it to rest and reach the safe temperature naturally.
At 375°F, the chicken cooks evenly, giving you time to monitor the internal temperature without risking overcooking. The steady heat ensures that the center reaches the target temp without the edges drying out.
Common Mistakes That Lead to Dry Chicken
Even with the right temperature, a few common mistakes can sabotage your chicken. Here are the top culprits:
- Not using a meat thermometer: Guessing doneness by time alone is unreliable. Ovens vary, and chicken sizes differ. A thermometer takes the guesswork out.
- Overcooking: Leaving chicken in too long is the #1 cause of dryness. Remember, it keeps cooking after you take it out.
- Skipping the rest period: Cutting into chicken immediately after baking lets the juices run out. Letting it rest allows them to redistribute.
- Using cold chicken straight from the fridge: Cold chicken doesn’t cook evenly. Let it sit at room temperature for 15–20 minutes before baking.
- Not pounding to even thickness: Thick breasts cook unevenly—thin parts dry out while the center stays undercooked.
Avoiding these mistakes, combined with baking at the right temperature, sets you up for success every time.
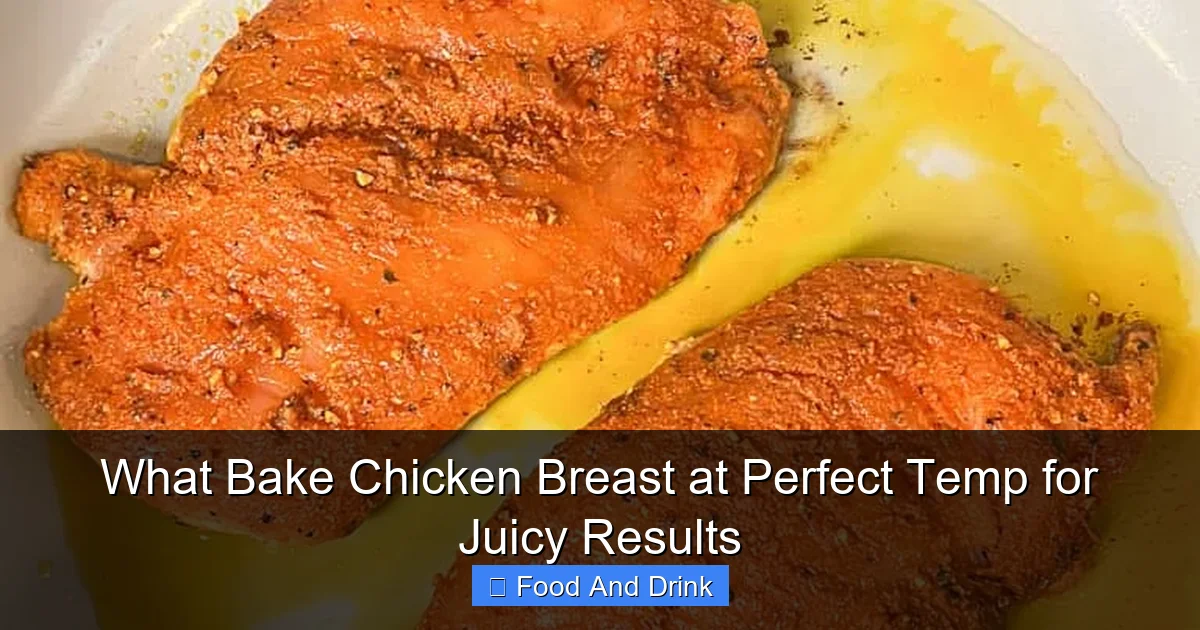
The Ideal Baking Temperature: 375°F Explained

Visual guide about What Bake Chicken Breast at Perfect Temp for Juicy Results
Image source: i.pinimg.com
So why is 375°F (190°C) the go-to temperature for baking chicken breast? It’s not arbitrary—this temperature has been tested and proven by home cooks and professional chefs alike. Here’s what makes it so effective.
Even Cooking and Moisture Retention
At 375°F, the heat is strong enough to create a slight sear on the outside of the chicken, which helps lock in juices and adds flavor. At the same time, it’s not so intense that it dries out the meat. The moderate heat allows the chicken to cook from the outside in, giving the center time to reach the safe internal temperature without overcooking the edges.
This temperature also works well with common baking methods. Whether you’re using a baking dish, sheet pan, or roasting rack, 375°F ensures consistent results. It’s versatile enough for seasoned chicken, marinated cuts, or stuffed breasts.
Baking Time at 375°F
The exact baking time depends on the size and thickness of your chicken breasts. Here’s a general guideline:
- Boneless, skinless chicken breasts (6–8 oz each): 20–25 minutes
- Bone-in, skin-on chicken breasts: 35–45 minutes
- Thin-cut or pounded breasts: 15–20 minutes
Always use a meat thermometer to check doneness. Insert it into the thickest part of the breast, avoiding the bone if present. The internal temperature should reach 165°F (74°C).
Tips for Perfect Results at 375°F
To get the most out of baking at this temperature, follow these tips:
- Preheat your oven: Always preheat to 375°F before placing the chicken inside. This ensures even cooking from the start.
- Use a baking rack: Placing chicken on a rack in a baking pan allows hot air to circulate underneath, promoting even browning and preventing soggy bottoms.
- Season generously: Salt, pepper, garlic powder, and herbs enhance flavor. For extra moisture, try a dry brine (salt and seasoning rubbed on and left for 30 minutes).
- Don’t overcrowd the pan: Leave space between pieces so steam doesn’t build up and prevent browning.
- Baste with butter or oil: Brushing the chicken with melted butter or olive oil halfway through baking adds richness and helps with browning.
Prep Techniques for Juicier Baked Chicken
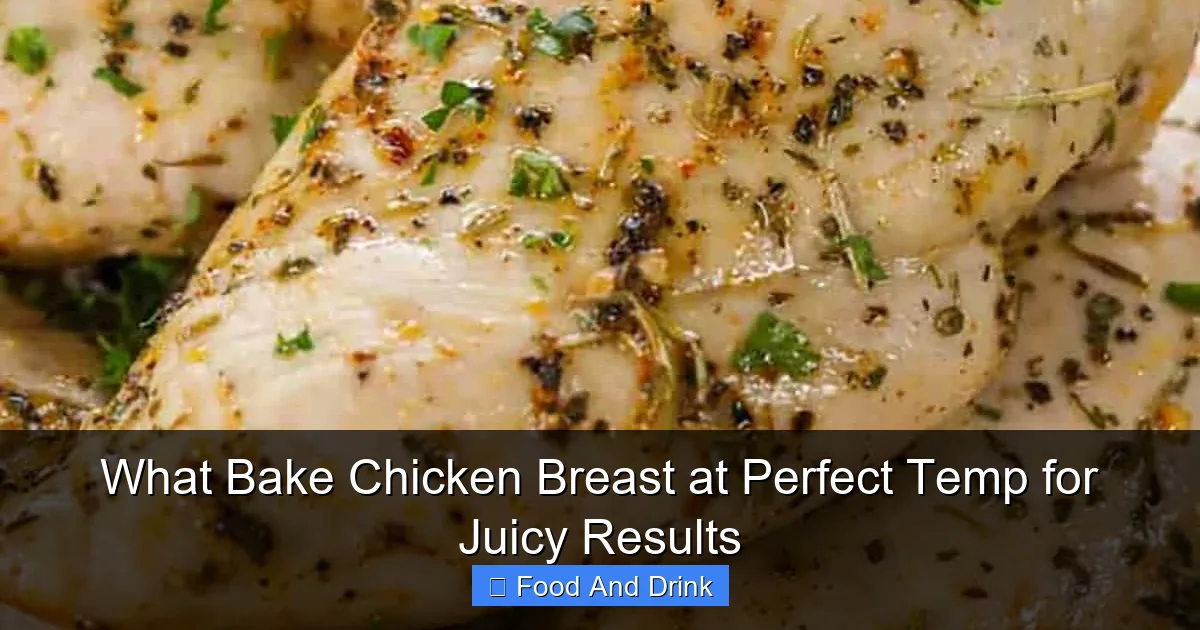
Visual guide about What Bake Chicken Breast at Perfect Temp for Juicy Results
Image source: spendwithpennies.com
Baking at the right temperature is only half the battle. How you prepare the chicken before it goes into the oven can make a huge difference in the final result. These prep techniques help lock in moisture and ensure even cooking.
Pounding to Even Thickness
One of the most effective ways to prevent dry chicken is to pound the breasts to an even thickness. Most chicken breasts are thicker at one end and taper off at the other. This uneven shape causes the thin parts to overcook while the thick center remains underdone.
To fix this, place the chicken breast between two sheets of plastic wrap or parchment paper. Use a meat mallet, rolling pin, or even a heavy skillet to gently pound the thick end until the entire breast is about ½ inch (1.25 cm) thick. This ensures uniform cooking and reduces overall baking time.
Brining for Moisture
Brining is a simple technique that dramatically improves juiciness. There are two types: wet brining and dry brining.
Wet brining involves soaking the chicken in a saltwater solution (usually ¼ cup salt per 4 cups water) for 30 minutes to 2 hours. The salt helps the meat retain moisture during cooking, resulting in tender, juicy chicken.
Dry brining is even easier—just rub the chicken with salt (and optional seasonings) and let it sit in the fridge, uncovered, for at least 30 minutes or up to 24 hours. The salt draws out moisture, which then gets reabsorbed, seasoning the meat deeply and improving texture.
Marinating for Flavor and Tenderness
Marinating isn’t just for flavor—it can also help tenderize the meat. Acidic ingredients like lemon juice, vinegar, or yogurt break down proteins, making the chicken more tender. Oil in the marinade helps keep the meat moist.
A simple marinade might include:
- 2 tablespoons olive oil
- 1 tablespoon lemon juice
- 1 teaspoon garlic powder
- 1 teaspoon dried herbs (like thyme or oregano)
- Salt and pepper to taste
Marinate for at least 30 minutes, or up to 4 hours in the fridge. Avoid over-marinating, as too much acid can make the chicken mushy.
Baking Methods and Equipment
The way you bake your chicken can influence the outcome just as much as the temperature. Choosing the right equipment and method ensures even heat distribution and better results.
Using a Baking Dish vs. Sheet Pan
Both baking dishes and sheet pans work well for chicken, but they have different advantages.
A baking dish (like a 9×13-inch glass or ceramic pan) is great for saucy recipes or when you want the chicken to cook in its own juices. It retains moisture and is ideal for casseroles or one-pan meals.
A sheet pan (rimmed baking sheet) is better for crispy skin and even browning. When paired with a baking rack, it allows air to circulate around the chicken, preventing soggy bottoms.
The Role of a Baking Rack
Using a baking rack is a game-changer. It elevates the chicken off the pan, allowing hot air to flow underneath. This promotes even cooking and helps achieve a golden, slightly crispy exterior—especially important for bone-in, skin-on breasts.
If you don’t have a rack, you can create a makeshift one by lining the pan with foil and placing the chicken on top of crumpled foil balls or even vegetables like carrots and onions.
Oven Rack Position
Where you place the pan in the oven matters. For most baking, the center rack is ideal. It provides even heat from top and bottom. If you’re broiling or want extra browning on top, move the rack to the upper third. For crispier skin on bone-in breasts, start on the lower rack and move up halfway through.
How to Tell When Chicken Is Done
Knowing when your chicken is done is crucial for juicy results. Relying solely on time can lead to overcooked or undercooked meat. Here’s how to tell it’s ready.
Using a Meat Thermometer
The most accurate way to check doneness is with a meat thermometer. Insert the probe into the thickest part of the breast, avoiding bone or fat. The internal temperature should read 165°F (74°C).
For best results, pull the chicken from the oven when it reaches 160°F (71°C). The temperature will rise 3–5 degrees during the resting period, hitting the safe mark without overcooking.
Visual and Texture Cues
While a thermometer is best, you can also use visual cues:
- Juices run clear: Pierce the chicken with a knife or fork. If the juices are clear (not pink), it’s likely done.
- Firm to the touch: Cooked chicken feels firm, not soft or squishy.
- No pink near the bone: For bone-in breasts, check near the bone—there should be no pinkness.
However, these methods are less reliable than a thermometer, especially with brined or marinated chicken, which can retain a pink hue even when fully cooked.
The Importance of Resting
After baking, let the chicken rest for 5–10 minutes before slicing or serving. This allows the juices to redistribute throughout the meat. Cutting too soon causes the juices to spill out, leaving the chicken dry.
Cover loosely with foil to keep it warm while resting. The residual heat will continue to cook the meat slightly, so plan accordingly.
Flavor Variations and Seasoning Ideas
Baked chicken breast doesn’t have to be boring. With the right seasonings and flavor combinations, you can turn this simple protein into a delicious meal.
Classic Seasonings
- Garlic and Herb: Salt, pepper, garlic powder, onion powder, dried thyme, and rosemary.
- Lemon Pepper: Lemon zest, black pepper, garlic, and a touch of paprika.
- Italian Style: Dried oregano, basil, garlic, salt, and a splash of balsamic vinegar.
Global Inspirations
- Mexican: Chili powder, cumin, smoked paprika, garlic, and lime juice.
- Asian-Inspired: Soy sauce, ginger, garlic, honey, and sesame oil.
- Indian-Spiced: Garam masala, turmeric, cumin, coriander, and yogurt marinade.
Sauces and Glazes
Add a finishing touch with a quick sauce:
- Honey Mustard: Mix 2 tbsp Dijon mustard, 1 tbsp honey, and 1 tbsp olive oil.
- Balsamic Glaze: Simmer balsamic vinegar until thick and syrupy, then drizzle over chicken.
- Herb Butter: Top with a pat of butter mixed with chopped parsley, chives, and lemon zest.
Troubleshooting Common Baking Problems
Even with the best intentions, things can go wrong. Here’s how to fix common issues.
Chicken Is Dry
- Cause: Overcooking or high oven temperature.
- Solution: Use a thermometer, bake at 375°F, and brine or marinate beforehand.
Chicken Is Undercooked
- Cause: Too short baking time or low oven temp.
- Solution: Increase baking time slightly and ensure oven is fully preheated.
Uneven Cooking
- Cause: Uneven thickness or overcrowded pan.
- Solution: Pound to even thickness and leave space between pieces.
Soggy Bottom
- Cause: No rack or too much liquid in the pan.
- Solution: Use a baking rack and pat chicken dry before seasoning.
Conclusion
Baking chicken breast at the perfect temperature—375°F (190°C)—is the foundation of juicy, flavorful results. Combined with proper prep, the right equipment, and a meat thermometer, this method takes the guesswork out of cooking chicken. Whether you’re meal prepping, feeding a family, or impressing guests, mastering this technique ensures tender, moist chicken every time.
Remember: don’t rush the process. Let the chicken come to room temperature, season well, bake at 375°F, and always rest before serving. With these tips, you’ll never have to suffer through dry chicken again.
So next time you’re wondering, “What bake chicken breast at?”—you’ll know the answer: 375°F, with confidence and delicious results.
Frequently Asked Questions
What temperature should chicken breast be cooked to?
Chicken breast is safe to eat at an internal temperature of 165°F (74°C). Use a meat thermometer to check the thickest part.
Can I bake chicken breast at 400°F?
Yes, but reduce baking time to 18–22 minutes and monitor closely. Higher heat can dry out the meat if overcooked.
Should I pound chicken breast before baking?
Pounding to even thickness helps prevent dry edges and ensures uniform cooking. It’s highly recommended for best results.
How do I keep baked chicken breast moist?
Brine or marinate before baking, use a baking rack, and let the chicken rest after cooking to retain juices.
Can I use a convection oven to bake chicken breast?
Yes, but reduce the temperature by 25°F (to 350°F) and check earlier. Convection cooks faster and can dry out meat if not monitored.
Is it safe to eat chicken breast at 160°F?
Yes, if held at 160°F (71°C) for at least 30 seconds. Many chefs pull chicken at this temp, as it will rise to 165°F during resting.


