
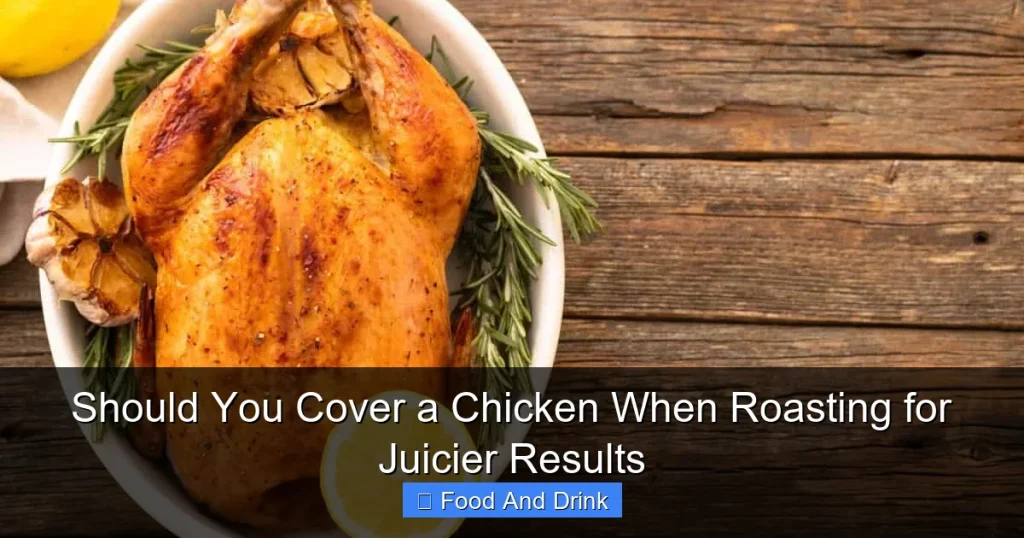
Covering a chicken while roasting can help retain moisture and cook it more evenly, but it may also prevent crispy skin—a key texture many home cooks crave. The best approach often depends on your goals: juicier meat or golden, crackling skin. This guide breaks down when, why, and how to cover (or not cover) your roast chicken for optimal results.
Roasting a whole chicken is one of the most rewarding cooking experiences—simple in concept, yet rich in flavor and tradition. Whether you’re preparing a Sunday family dinner or impressing guests with a centerpiece dish, the way you roast that bird can make all the difference. One of the most debated questions among home cooks and chefs alike is: *Should you cover a chicken when roasting?* It’s a question that touches on texture, moisture, browning, and even cooking science.
At first glance, covering a chicken might seem like a smart move. After all, if you’re worried about dry meat—especially in the lean breast—trapping steam sounds like a logical solution. But here’s the catch: while covering can help keep the meat juicy, it often comes at the cost of crispy, golden skin. And let’s be honest—crispy chicken skin is one of the best parts of a roast chicken. So, what’s the right answer? The truth lies somewhere in the middle. The decision to cover or not to cover depends on your priorities, your oven, your chicken, and even the time you have. In this guide, we’ll explore the science behind roasting, compare covered versus uncovered methods, and offer practical tips to help you achieve the juiciest, most flavorful roast chicken—whether you prefer tender, moist meat or that perfect crackle of skin.
Key Takeaways
- Covering helps retain moisture: A lid or foil tent traps steam, preventing the chicken from drying out, especially during longer roasts.
- Uncovered roasting yields crispier skin: Exposing the skin to dry heat allows it to brown and crisp up, enhancing flavor and texture.
- Use a two-stage method for balance: Start covered to cook gently, then uncover for the final 20–30 minutes to crisp the skin.
- Thermometer use is essential: Rely on internal temperature (165°F in the thigh) rather than time alone to ensure doneness without overcooking.
- Brining or dry-brining boosts juiciness: These pre-treatments help the meat retain moisture regardless of covering method.
- Oven type matters: Convection ovens may require adjustments—reduce temperature by 25°F if covering to avoid overcooking.
- Resting is non-negotiable: Let the chicken rest 15–20 minutes after roasting to redistribute juices before carving.
Quick Answers to Common Questions
Should I cover a chicken when roasting for the first time?
If you’re new to roasting, starting covered can help prevent dry meat. Use a lid or foil tent for the first 45–60 minutes, then uncover to crisp the skin.
Does covering a chicken make it more tender?
Yes, covering traps steam and slows cooking, which can help keep the meat moist and tender—especially in the lean breast.
Can I cover a chicken with foil the entire time?
You can, but the skin will likely be soft rather than crispy. For best texture, remove the foil in the final 20–30 minutes.
What’s the best temperature to roast a chicken uncovered?
Start at 425°F to brown the skin, then reduce to 375°F to finish cooking. Use a thermometer to check doneness.
How long should I let a roasted chicken rest?
Let it rest for 15–20 minutes, loosely tented with foil, to allow juices to redistribute before carving.
📑 Table of Contents
The Science of Roasting Chicken
Roasting is a dry-heat cooking method that uses hot air to cook food, typically in an oven. When applied to a whole chicken, this process transforms raw poultry into a golden, aromatic centerpiece with a complex interplay of textures and flavors. But what’s really happening inside that oven? Understanding the science behind roasting can help you make smarter decisions—like whether or not to cover your bird.
At its core, roasting relies on heat transfer. As the oven heats up, hot air circulates around the chicken, gradually raising its internal temperature. This heat causes several key changes: proteins denature and coagulate, fats render and baste the meat from within, and the Maillard reaction occurs on the surface, creating that deep brown color and rich, savory flavor we associate with perfectly roasted chicken. Moisture, meanwhile, is a double-edged sword. On one hand, you want enough to keep the meat tender and juicy. On the other, too much steam can prevent browning and lead to soggy skin.
This is where the decision to cover or not becomes critical. Covering the chicken—whether with a lid, foil, or a roasting pan with a tight-fitting top—traps moisture and creates a humid environment. This slows evaporation, which can help prevent the meat from drying out, especially during longer cooking times. However, it also limits the Maillard reaction and can result in steamed rather than roasted skin. Uncovered roasting, by contrast, allows moisture to escape, promoting browning and crispiness but increasing the risk of dry meat if not carefully monitored.
Another factor is carryover cooking. Once you remove the chicken from the oven, its internal temperature will continue to rise by 5–10°F as heat redistributes. This means you should aim to pull the bird out when it’s just shy of 165°F in the thickest part of the thigh—the USDA-recommended safe temperature. Overcooking, even by a few degrees, can turn juicy meat into dry, stringy disappointment.
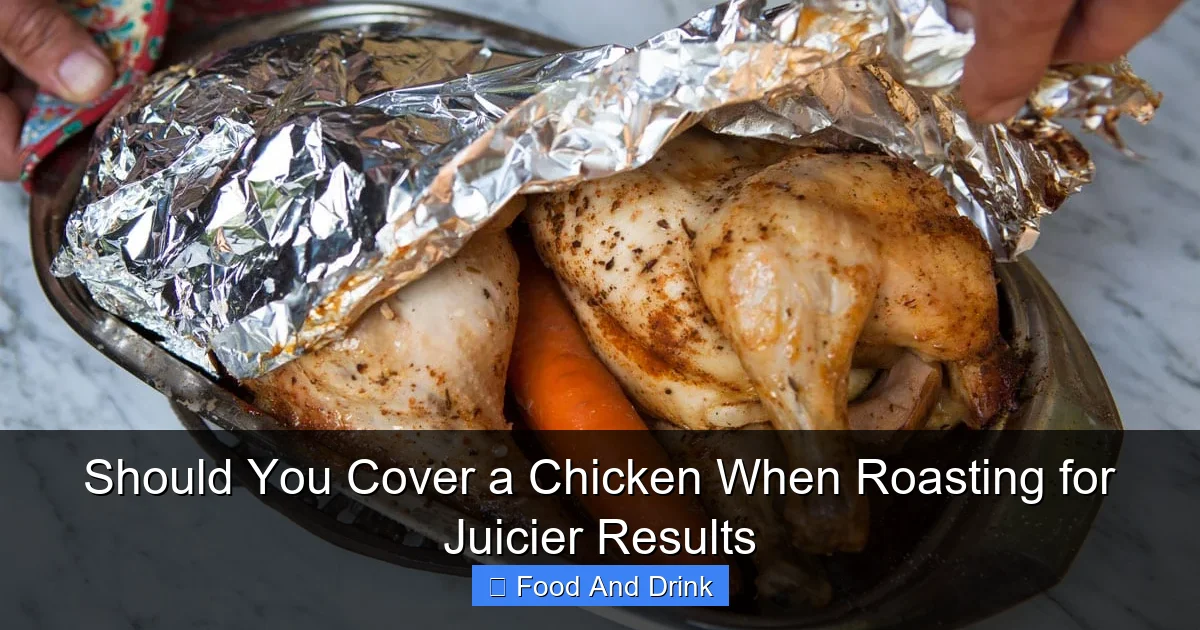
Covered Roasting: Pros and Cons
Visual guide about Should You Cover a Chicken When Roasting for Juicier Results
Image source: kitchenseer.com
Covering a chicken during roasting is a technique often used to protect delicate parts of the bird—especially the breast—from drying out. It’s a method favored by some traditional recipes and home cooks who prioritize moist, tender meat over crispy skin. But like any cooking approach, it comes with trade-offs.
Benefits of Covering
One of the biggest advantages of covering a chicken is moisture retention. By trapping steam, a covered roasting environment reduces evaporation, which helps keep the meat juicy. This is particularly helpful when roasting a whole bird, as the breast—being leaner and more prone to drying—can easily overcook before the darker meat in the thighs and legs reaches the proper temperature. Covering slows the cooking rate, allowing the entire bird to cook more evenly.
Another benefit is gentler heat. A covered pan or foil tent acts as a buffer, preventing the outside from browning too quickly while the inside slowly reaches doneness. This can be useful in ovens that run hot or when using a high-heat roasting method. It also reduces the risk of burning herbs, butter, or aromatics placed under or on top of the chicken.
Covering is also a practical choice for longer roasts. If you’re cooking a large chicken (5 pounds or more) or stuffing the cavity with ingredients like onions, garlic, and citrus, the added moisture from the stuffing combined with a covered environment can help prevent dryness. Some recipes even call for braising the chicken in liquid (like broth or wine) under a lid, which infuses flavor and ensures ultra-tender results.
Drawbacks of Covering
Despite its benefits, covering a chicken has notable downsides—chief among them, the loss of crispy skin. Roasting is all about that golden, crackling exterior, and covering traps moisture that prevents the skin from drying out and crisping up. Instead of a satisfying crunch, you may end up with soft, steamed skin that many find unappealing.
Another issue is uneven browning. Without direct exposure to dry heat, the chicken may cook through without developing a rich, caramelized crust. This not only affects texture but also flavor, as the Maillard reaction—responsible for deep, complex notes—is significantly reduced in a humid environment.
Additionally, covering can lead to overcooking if not monitored carefully. Because the chicken cooks more slowly and evenly, it’s easy to lose track of time and end up with meat that’s dry despite the moist environment. This is especially true if you’re relying on timing rather than a meat thermometer.
When to Use Covered Roasting
Despite these drawbacks, there are times when covering makes sense. If you’re roasting a chicken for a stew, soup, or shredded meat application—where texture is less critical—covering can help ensure the meat stays tender and moist. It’s also a good option if you’re cooking in a humid climate or using a convection oven, which can dry out meat more quickly.
Some chefs recommend a hybrid approach: start covered to gently cook the chicken, then remove the lid or foil for the final 20–30 minutes to allow the skin to crisp. This gives you the best of both worlds—juicy meat and golden skin.
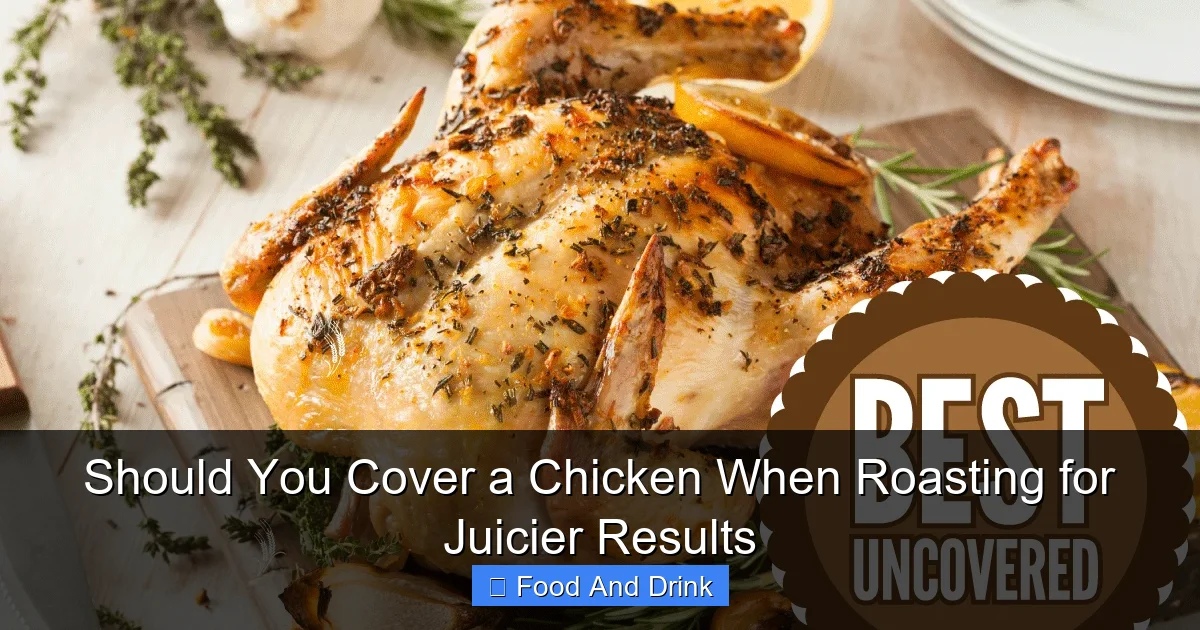
Uncovered Roasting: The Path to Crispy Skin
Visual guide about Should You Cover a Chicken When Roasting for Juicier Results
Image source: kitchenseer.com
If you’re after that iconic, golden-brown, crackling skin, uncovered roasting is the way to go. This method exposes the chicken to dry, circulating heat, allowing moisture to evaporate and the skin to crisp up beautifully. It’s the classic approach used in many traditional recipes and is favored by chefs and home cooks who value texture and flavor.
How Uncovered Roasting Works
When a chicken roasts uncovered, the hot air in the oven draws moisture from the surface of the skin. As the water evaporates, the skin begins to dry out and tighten. At the same time, the fat beneath the skin renders, basting the meat from within and contributing to flavor. As the temperature rises, the Maillard reaction kicks in, turning the skin a deep, appetizing brown and creating complex, savory flavors.
This process is enhanced by proper preparation. Trussing the chicken (tying the legs together with kitchen twine) helps it cook evenly and promotes even browning. Placing the chicken on a rack in a roasting pan allows hot air to circulate underneath, preventing the bottom from steaming and ensuring all sides crisp up.
Tips for Perfect Uncovered Roasting
To get the best results with uncovered roasting, start with a dry bird. Pat the chicken thoroughly with paper towels before seasoning—any moisture on the skin will slow down crisping. For extra insurance, consider dry-brining: sprinkle the chicken generously with salt (about 1 teaspoon per pound) and let it sit uncovered in the fridge for 12–24 hours. This not only seasons the meat deeply but also draws out moisture, which the salt then reabsorbs, leaving the skin drier and more prone to crisping.
Roasting at a high temperature (425°F to 450°F) for the first 20–30 minutes, then reducing to 375°F, helps jump-start browning while preventing the outside from burning before the inside is done. Basting with butter or pan drippings during the last 20 minutes adds richness and enhances color.
Potential Challenges
The main risk with uncovered roasting is drying out the breast meat. Because it’s lean and cooks faster than the thighs, the breast can easily overcook while you’re waiting for the darker meat to reach 165°F. To combat this, some cooks use the “spatchcocking” method—removing the backbone and flattening the chicken—which allows it to cook more evenly and quickly. Others place a small foil tent over the breast during the first half of cooking, then remove it to crisp the skin.
Another challenge is uneven cooking. If the chicken isn’t positioned properly or the oven has hot spots, one side may brown faster than the other. Rotating the pan halfway through can help, as can using an oven thermometer to ensure accurate temperature.
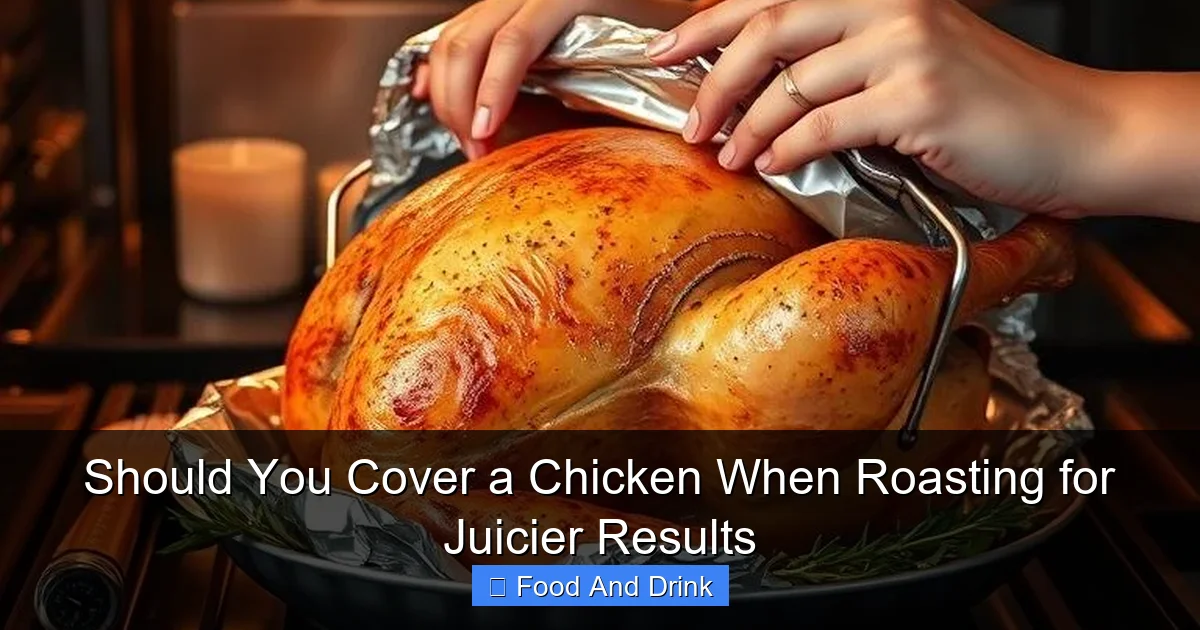
Hybrid Methods: Best of Both Worlds
Visual guide about Should You Cover a Chicken When Roasting for Juicier Results
Image source: testfoodkitchen.com
For many home cooks, the ideal roast chicken combines juicy, tender meat with crispy, golden skin. Achieving this balance often requires a hybrid approach—starting covered and finishing uncovered. This method leverages the benefits of both techniques while minimizing their drawbacks.
The Two-Stage Roasting Technique
Begin by roasting the chicken covered for the first 45–60 minutes. This allows the meat to cook gently and retain moisture, especially in the breast. Use a roasting pan with a lid, or loosely tent the chicken with aluminum foil—don’t wrap it tightly, as this can trap too much steam and lead to soggy skin.
After the initial covered phase, remove the lid or foil and increase the oven temperature to 425°F. Roast uncovered for the final 20–30 minutes, or until the skin is deeply browned and the internal temperature reaches 165°F in the thigh. This final burst of dry heat crisps the skin without overcooking the meat.
Alternative Hybrid Methods
Another popular technique is the “low and slow” method: roast the chicken uncovered at 300°F for 1.5 to 2 hours, then crank the heat to 450°F for the last 15–20 minutes. This slow start ensures even cooking and moisture retention, while the high-heat finish delivers crispy skin.
Some chefs also recommend basting the chicken with melted butter or olive oil during the uncovered phase. This not only adds flavor but also helps the skin crisp up by coating it in fat that renders and browns.
When to Use Hybrid Roasting
This method is ideal for whole chickens, especially larger ones (4–6 pounds), where the risk of dry breast meat is higher. It’s also a great choice if you’re roasting a chicken with stuffing, as the covered phase helps the stuffing cook through while the uncovered phase crisps the skin.
For best results, always use a meat thermometer. Insert it into the thickest part of the thigh, avoiding the bone, and remove the chicken when it reads 160°F—it will continue to rise to 165°F during resting.
Expert Tips for Juicier, Crispier Chicken
Regardless of whether you cover your chicken or not, a few expert techniques can elevate your roast from good to exceptional. These tips focus on preparation, cooking, and finishing to ensure maximum juiciness and crispiness.
Brining and Dry-Brining
Brining—soaking the chicken in a saltwater solution—is one of the most effective ways to ensure juicy meat. The salt helps the proteins retain moisture, so even if the chicken cooks a bit longer than intended, it stays tender. A basic brine consists of 1 cup of kosher salt per gallon of water, plus optional sugar, herbs, and spices. Submerge the chicken for 4–12 hours (depending on size), then rinse and pat dry before roasting.
Dry-brining is a simpler alternative: just salt the chicken generously and let it sit in the fridge, uncovered, for 12–24 hours. This method seasons the meat deeply and dries out the skin, making it ideal for crispy results.
Trussing and Positioning
Trussing the chicken—tying the legs together and tucking the wings under—helps it cook evenly and promotes uniform browning. It also keeps the breast from flopping open, which can lead to uneven cooking.
Place the chicken breast-side up on a rack in a roasting pan. The rack allows hot air to circulate underneath, preventing the bottom from steaming and ensuring all sides crisp up. If you don’t have a rack, you can use chopped vegetables (like onions, carrots, and celery) as a bed—they’ll add flavor to the drippings and prevent sticking.
Basting and Butter
Basting the chicken with melted butter, olive oil, or pan drippings during the last 20–30 minutes of roasting adds richness and helps the skin brown. Use a spoon or basting brush to coat the skin evenly. For extra flavor, infuse the butter with garlic, herbs, or lemon zest.
Some cooks also place cold butter under the skin of the breast before roasting. As it melts, it bastes the meat from within, keeping it moist and flavorful.
Resting the Chicken
Never skip the resting step. Once the chicken reaches the proper temperature, transfer it to a cutting board and let it rest, loosely tented with foil, for 15–20 minutes. During this time, the juices redistribute throughout the meat, ensuring every bite is moist and flavorful. Carving too soon will cause the juices to spill out, leaving the meat dry.
Common Mistakes to Avoid
Even experienced cooks can fall into traps that lead to less-than-perfect roast chicken. Here are some common mistakes and how to avoid them.
Overcooking
The number one cause of dry chicken is overcooking. Always use a meat thermometer and remove the chicken when the thigh reads 160°F. Remember, it will continue to cook as it rests.
Not Drying the Skin
Moisture is the enemy of crispy skin. Always pat the chicken dry with paper towels before seasoning. For even better results, dry-brine and refrigerate uncovered.
Using the Wrong Pan
A shallow roasting pan with a rack is ideal. Deep pans or casserole dishes trap steam and prevent browning. Avoid nonstick pans, as they don’t promote browning.
Ignoring Oven Temperature
Oven temperatures can vary. Use an oven thermometer to ensure accuracy. If your oven runs hot, reduce the temperature by 25°F.
Skipping the Rest
Resting is essential. Don’t carve the chicken immediately—let it rest to retain its juices.
Conclusion
So, should you cover a chicken when roasting? The answer isn’t a simple yes or no—it depends on what you’re looking for. If your priority is juicy, tender meat, covering can help retain moisture and prevent drying. But if you crave that golden, crackling skin, uncovered roasting is the way to go. For most home cooks, the best results come from a hybrid approach: start covered to cook gently, then uncover to crisp the skin.
Ultimately, the perfect roast chicken is a balance of science, technique, and personal preference. By understanding how heat, moisture, and time interact, you can tailor your method to suit your taste. Whether you’re roasting for a holiday feast or a weeknight dinner, these tips will help you achieve a bird that’s juicy, flavorful, and beautifully browned—every single time.
Frequently Asked Questions
Does covering a chicken prevent it from drying out?
Yes, covering traps moisture and reduces evaporation, which helps keep the meat juicy—especially during longer cooking times.
Will covering a chicken make the skin crispy?
No, covering prevents the skin from crisping because it traps steam. For crispy skin, roast uncovered or remove the cover in the final stage.
Can I use a roasting bag instead of foil?
Yes, roasting bags create a covered environment and can help keep the chicken moist. Just puncture a few holes for ventilation and follow package instructions.
Is it safe to roast a chicken covered with aluminum foil?
Yes, as long as the foil isn’t touching the chicken directly (which can cause uneven cooking) and the oven temperature is appropriate.
Should I baste a covered chicken?
Basting is less effective when covered, since the environment is already moist. Save basting for the uncovered phase to enhance browning.
What if my chicken is still pink near the bone?
Pinkness near the bone doesn’t always mean undercooked. Use a thermometer—if the thigh reads 165°F, it’s safe to eat, even if the bone looks pink.


