
If your roast chicken isn’t browning, don’t panic—this common issue has simple solutions. From oven temperature to prep techniques, a few tweaks can transform pale poultry into a golden, crispy masterpiece.
Key Takeaways
- Pat the chicken dry thoroughly: Moisture is the enemy of browning—dry skin crisps up better.
- Use high heat (425°F–450°F): Higher temperatures promote the Maillard reaction, essential for browning.
- Season with salt in advance: Salt draws out moisture and helps create a crispier, browner crust.
- Avoid overcrowding the pan: Steam builds up when chicken is too close, preventing browning.
- Brush with fat or oil: A light coating of oil or butter enhances heat transfer and browning.
- Roast breast-side up: This exposes the skin to direct heat for even browning.
- Finish under the broiler: A quick broil at the end can rescue under-browned skin.
Quick Answers to Common Questions
Why is my roast chicken skin pale and rubbery?
It’s likely due to excess moisture and low oven temperature. Dry the chicken thoroughly, salt it in advance, and roast at 425°F–450°F to crisp the skin.
Can I fix under-browned chicken after it’s cooked?
Yes! Place the cooked chicken under the broiler for 2–5 minutes, watching closely, until the skin turns golden brown.
Should I cover my roast chicken while cooking?
No—covering traps steam and prevents browning. Only use foil if the skin is browning too quickly and the meat needs more time.
Does brining help with browning?
Wet brining can add moisture, which may hinder browning. Dry brining (salting ahead of time) is better for crispy skin.
What’s the best oven temperature for browning chicken?
Start at 425°F–450°F for the first 20–30 minutes, then reduce to 350°F–375°F to finish cooking without burning.
📑 Table of Contents
- Why Is My Roast Chicken Not Browning? The Surprising Reasons
- The Science of Browning: Why Your Chicken Skin Matters
- Common Mistakes That Prevent Browning (And How to Fix Them)
- Proven Techniques to Achieve Golden, Crispy Skin
- Seasoning and Flavor Tips That Enhance Browning
- Troubleshooting: What to Do If Your Chicken Still Won’t Brown
- Conclusion: Master the Art of the Perfect Roast Chicken
Why Is My Roast Chicken Not Browning? The Surprising Reasons
You’ve seasoned your chicken, preheated the oven, and waited patiently—only to pull out a pale, sad-looking bird that looks more like a boiled chicken than a golden roast. Sound familiar? You’re not alone. A roast chicken not browning is one of the most common frustrations home cooks face, and it’s not because you’re doing everything wrong. In fact, it’s often due to small, easily fixable mistakes.
The good news? Achieving that perfect golden-brown, crispy skin is totally within reach. It all comes down to understanding what causes browning—and what prevents it. Browning isn’t just about looks; it’s a sign of flavor. That rich, deep color comes from the Maillard reaction, a chemical process that occurs when proteins and sugars in the skin react under high heat. Without it, your chicken may be tender and juicy, but it’ll lack that irresistible depth of flavor and texture.
So why does this happen? Moisture is the number one culprit. When chicken skin is wet, it steams instead of roasts, preventing browning. Other factors include low oven temperatures, overcrowded pans, and improper seasoning. But don’t worry—once you know the causes, you can fix them with simple, practical steps. In this guide, we’ll walk you through the most effective solutions to turn your pale poultry into a show-stopping roast.
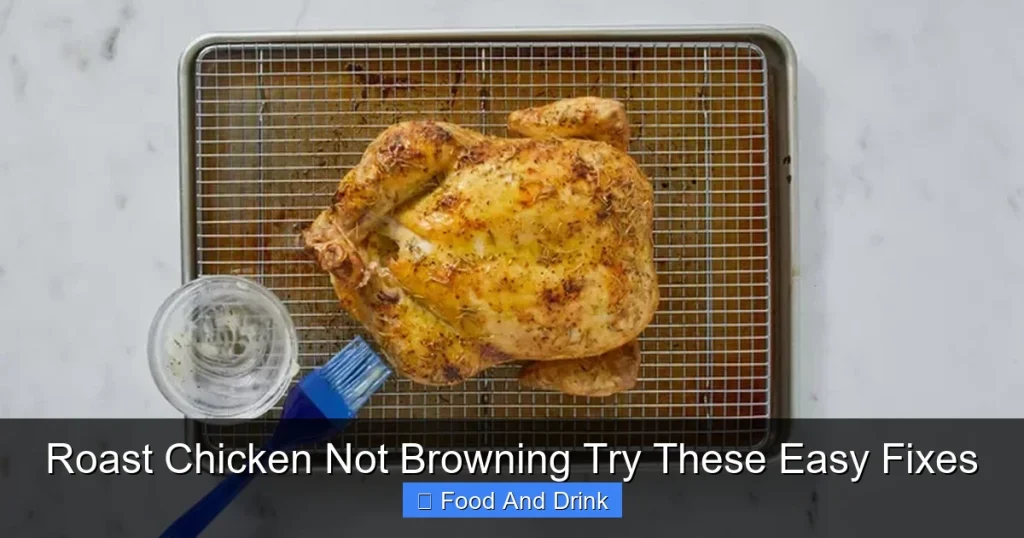
The Science of Browning: Why Your Chicken Skin Matters
Visual guide about Roast Chicken Not Browning Try These Easy Fixes
Image source: pamelasalzman.com
Before diving into fixes, it helps to understand what’s happening on a scientific level. Browning isn’t magic—it’s chemistry. The Maillard reaction kicks in around 285°F (140°C), transforming amino acids and reducing sugars into hundreds of new flavor compounds. This is what gives roasted chicken its rich, savory taste and appealing color. Without enough heat or dryness, this reaction can’t occur efficiently.
Another key player is caramelization, which happens when natural sugars in the skin break down under heat. While less impactful than Maillard, it still contributes to browning and sweetness. Both processes require dry surfaces and high temperatures. If your chicken is steaming in its own juices, these reactions are stalled.
Fat also plays a role. Chicken skin contains natural fats that render during roasting, helping crisp the skin and conduct heat. But if the skin is wet or the oven is too cool, the fat won’t render properly, leaving you with greasy, pale skin instead of crispy perfection.
Understanding this science helps you make smarter choices in the kitchen. For example, salting the chicken ahead of time draws out moisture through osmosis, creating a drier surface ideal for browning. Similarly, roasting at a higher temperature ensures the skin reaches the necessary heat threshold quickly. These small adjustments make a big difference in the final result.
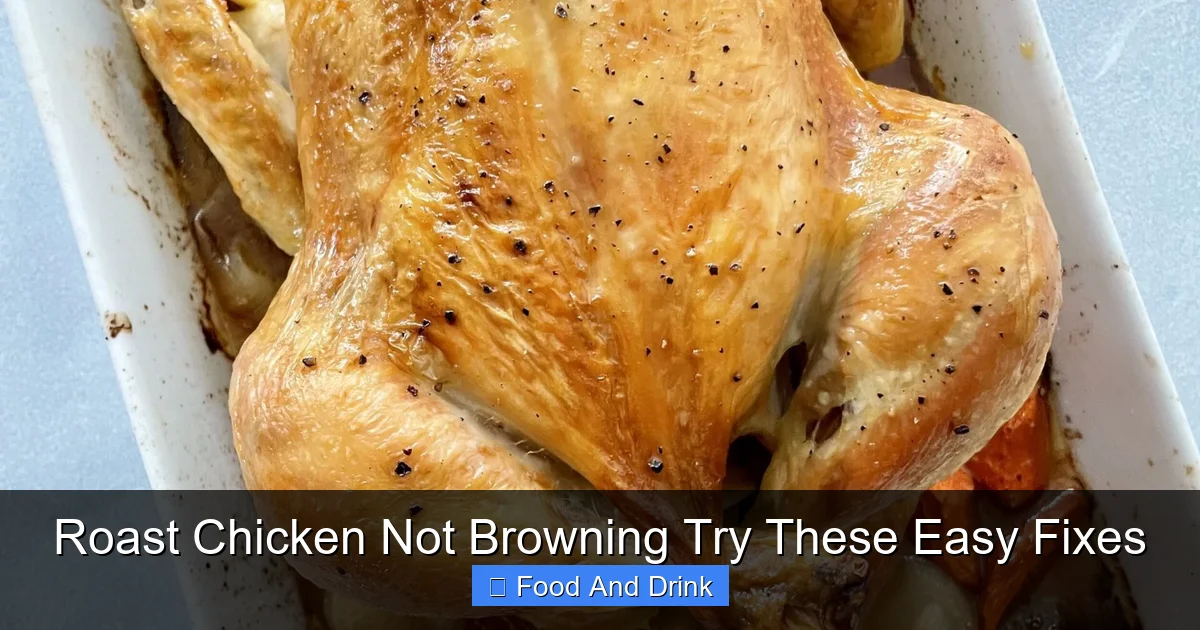
Common Mistakes That Prevent Browning (And How to Fix Them)

Visual guide about Roast Chicken Not Browning Try These Easy Fixes
Image source: lovefoodies.com
Even experienced cooks fall into traps that stop their roast chicken from browning. Let’s break down the most common mistakes and how to avoid them.
1. Not Drying the Chicken Enough
This is the #1 reason for pale roast chicken. Wet skin = steamed skin. No amount of seasoning or high heat can overcome excess moisture. After rinsing or thawing, many people pat the chicken dry with a paper towel and call it done. But that’s not enough.
Solution: Dry the chicken thoroughly—inside and out. Use paper towels to absorb as much moisture as possible. For even better results, leave the chicken uncovered in the fridge for a few hours or overnight. This allows air to circulate and evaporate surface moisture, resulting in much crispier skin.
2. Roasting at Too Low a Temperature
Many recipes call for roasting chicken at 350°F or 375°F. While this cooks the meat gently, it’s not hot enough to trigger strong browning. The skin may cook through but remain pale and rubbery.
Solution: Start roasting at 425°F to 450°F for the first 20–30 minutes. This high-heat blast jumpstarts the Maillard reaction and crisps the skin. Then, reduce the heat to 350°F–375°F to finish cooking the meat without burning. This two-stage method gives you the best of both worlds: crispy skin and juicy meat.
3. Overcrowding the Pan
If you’re roasting multiple chickens or stuffing the pan with vegetables, you’re creating a steam bath. Steam prevents browning by keeping the skin moist and lowering the effective cooking temperature.
Solution: Give your chicken space. Use a roasting pan large enough so the chicken isn’t touching the sides or other ingredients. If roasting vegetables, place them around—not under—the chicken. Better yet, roast veggies separately and add them in the last 20 minutes.
4. Skipping the Salt (or Adding It Too Late)
Salt isn’t just for flavor—it’s a browning booster. When applied hours before cooking, salt draws out moisture, which then reabsorbs into the meat, seasoning it deeply. The result? Drier skin that browns beautifully.
Solution: Salt the chicken at least 1 hour before roasting—or up to 24 hours ahead. Use about 1 teaspoon of kosher salt per pound of chicken. Rub it all over, including under the skin if possible. Let it rest uncovered in the fridge for maximum effect.
5. Not Using Enough Fat
While chicken skin has natural fat, sometimes it needs a little help. A dry surface won’t brown as well as one with a thin layer of oil or butter.
Solution: Brush the chicken with a light coating of olive oil, melted butter, or duck fat after salting. This helps conduct heat evenly and promotes browning. Avoid drenching the chicken—too much fat can cause splattering and uneven cooking.
Proven Techniques to Achieve Golden, Crispy Skin

Visual guide about Roast Chicken Not Browning Try These Easy Fixes
Image source: thereciperebel.com
Now that we’ve covered the mistakes, let’s focus on what works. These proven techniques will help you achieve that golden, crackling skin every time.
Pat Dry and Air-Dry
Start with a dry bird. After removing the chicken from packaging or thawing, pat it dry with paper towels. Don’t skip the cavity—moisture inside can steam the skin from within. Then, place the chicken on a wire rack set over a baking sheet and refrigerate uncovered for at least 1 hour, or ideally overnight. This step is a game-changer.
Salt in Advance
Dry brining (salting ahead of time) is one of the easiest ways to improve browning. Salt pulls moisture to the surface, where it evaporates, leaving the skin dry and ready to crisp. It also seasons the meat deeply, enhancing flavor.
Try this: Two hours before roasting, generously salt the chicken inside and out. Place it on a rack in the fridge, uncovered. When you’re ready to cook, rinse off any excess salt (optional) and pat dry again.
Use High Heat to Start
Crank up the oven to 425°F–450°F for the first 20–30 minutes. This high-heat burst ensures the skin starts browning immediately. Then, reduce the heat to 350°F–375°F to finish cooking without burning.
For example, roast a 4-pound chicken at 450°F for 30 minutes, then reduce to 375°F and continue roasting until the internal temperature reaches 165°F in the thickest part of the thigh.
Roast Breast-Side Up
Always roast chicken breast-side up. This exposes the skin to direct heat, promoting even browning. If you roast it breast-side down, the skin will steam and stay pale.
Add a Little Fat
After salting and drying, brush the chicken with a thin layer of oil or melted butter. This helps the skin crisp up and enhances browning. Use a pastry brush for even coverage.
Use a Wire Rack
Place the chicken on a wire rack inside the roasting pan. This allows hot air to circulate underneath, preventing the bottom from steaming and promoting even browning on all sides.
Finish Under the Broiler
If your chicken is cooked through but still pale, don’t despair. Turn on the broiler and place the chicken about 6 inches below the heating element. Broil for 2–5 minutes, watching closely, until the skin turns golden brown. This quick fix can save an otherwise underwhelming roast.
Seasoning and Flavor Tips That Enhance Browning
While browning is largely about technique, seasoning plays a supporting role. The right flavors can complement the Maillard reaction and make your roast chicken even more delicious.
Use Kosher Salt or Sea Salt
Avoid table salt, which can be too harsh and doesn’t dissolve as evenly. Kosher salt is ideal for dry brining because of its coarse texture and clean flavor.
Add Aromatics Inside the Cavity
Stuff the cavity with lemon halves, garlic cloves, onion wedges, and fresh herbs like thyme, rosemary, or sage. These add moisture and fragrance without affecting the skin’s browning. The steam from the aromatics helps keep the meat juicy.
Rub Under the Skin
Gently loosen the skin over the breast and thighs and rub a mixture of softened butter, garlic, and herbs underneath. This bastes the meat from within and helps the skin crisp up.
For example, mix 2 tablespoons of softened butter with 2 minced garlic cloves, 1 teaspoon of chopped rosemary, and a pinch of black pepper. Slide your fingers under the skin and spread the mixture over the meat.
Try a Spice Rub
A dry rub with paprika, garlic powder, onion powder, and black pepper can enhance browning. Paprika contains sugars that caramelize, adding color and smokiness.
Apply the rub after salting and drying, then let the chicken rest for 30 minutes before roasting. This allows the spices to adhere and the flavors to meld.
Avoid Sugar-Based Glazes Too Early
While honey, maple syrup, or brown sugar glazes add sweetness and shine, they can burn if applied too early. Save glazes for the last 10–15 minutes of roasting, or use them under the broiler for a quick caramelized finish.
Troubleshooting: What to Do If Your Chicken Still Won’t Brown
Even with the best techniques, sometimes roast chicken still doesn’t brown as expected. Here’s how to troubleshoot and rescue your meal.
Check Your Oven Temperature
Oven thermostats can be off by 25°F or more. Use an oven thermometer to verify the actual temperature. If your oven runs cool, increase the set temperature by 25°F to compensate.
Rotate the Pan
Ovens often have hot spots. Halfway through roasting, rotate the pan 180 degrees to ensure even browning. This is especially important if your oven has a strong top or bottom element.
Use a Darker Pan
Light-colored pans reflect heat, while dark pans absorb and radiate it. If you’re using a shiny aluminum pan, switch to a dark nonstick or enameled roasting pan for better browning.
Don’t Cover the Chicken
Some recipes call for covering the chicken with foil to prevent drying. While this keeps the meat moist, it traps steam and prevents browning. Only cover if the skin is browning too quickly—otherwise, leave it uncovered.
Try a Different Cut
Whole chickens can be tricky because the breast cooks faster than the thighs. If you’re struggling with browning, try spatchcocking (butterflying) the chicken. This flattens it, allowing even cooking and better skin exposure.
To spatchcock, remove the backbone with kitchen shears and press down on the breastbone to flatten. Roast at 425°F for 40–50 minutes, skin-side up.
Consider Your Chicken’s Age and Breed
Younger, factory-raised chickens often have thinner skin and less fat, making them harder to brown. Older, free-range, or heritage breeds tend to have thicker, more flavorful skin that crisps beautifully. If possible, choose a higher-quality bird for better results.
Conclusion: Master the Art of the Perfect Roast Chicken
A roast chicken not browning doesn’t mean you’ve failed—it means you’re ready to level up your cooking game. With the right techniques, you can transform any chicken into a golden, crispy, flavorful centerpiece. Remember: dry skin, high heat, and proper seasoning are your best friends.
Start by drying your chicken thoroughly and salting it in advance. Roast at a high temperature to kickstart browning, then reduce the heat to finish cooking. Use a wire rack, avoid overcrowding, and don’t be afraid to finish under the broiler if needed. Add flavor with herbs, aromatics, and a light coating of fat.
With practice, you’ll develop an instinct for what works. Soon, you’ll be pulling out perfectly browned roast chickens with confidence—and your family will be asking for seconds. So the next time your chicken comes out pale, don’t stress. Just try one of these easy fixes, and you’ll be back on track in no time.
Frequently Asked Questions
Why won’t my roast chicken brown even at high heat?
This usually happens when the skin is too moist or the pan is overcrowded. Pat the chicken dry, salt it in advance, and give it space in the pan to allow proper air circulation.
Can I use a roasting bag to get crispy skin?
Roasting bags trap steam, which prevents browning. They’re great for moist meat but not for crispy skin. Skip the bag if you want golden, crackling skin.
Is it safe to roast chicken at 450°F?
Yes, as long as you monitor the internal temperature. Use a meat thermometer to ensure the thickest part of the thigh reaches 165°F. High heat is safe and effective for browning.
Should I rinse my chicken before roasting?
No—rinsing spreads bacteria and adds moisture. Simply pat the chicken dry with paper towels and proceed with seasoning.
Can I roast chicken from frozen?
It’s not recommended. Frozen chicken cooks unevenly and retains too much moisture, preventing browning. Always thaw chicken in the fridge before roasting.
What’s the difference between dry brining and wet brining?
Dry brining uses salt to draw out and reabsorb moisture, drying the skin for better browning. Wet brining soaks the chicken in saltwater, which can make the skin softer and harder to crisp.


