A microwave does more than heat food; it also helps keep track of time in the kitchen. The clock on your Hamilton Beach microwave adds convenience by serving as a quick reference while you cook or manage your daily routine.
Many people skip setting the clock after plugging in their appliance, only to realize later how handy it is during meal prep. Setting the time takes just a few moments, and the process is simple once you know the steps.
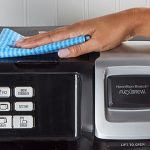
Each model may have slight variations, but the basic method remains straightforward across Hamilton Beach microwaves. A clear display makes your kitchen look organized and ensures you stay on schedule while preparing meals.
Instead of guessing cooking times or glancing around for another clock, you can rely on the one built into your microwave. With the right instructions, you can set it correctly and enjoy both precision and convenience.
How to Set Clock on Hamilton Beach Microwave?
A microwave is one of the most used appliances in the kitchen, and having the correct time displayed makes life easier.
From keeping track of cooking schedules to knowing the time at a glance, setting the clock is important. Hamilton Beach microwaves are popular for their simple design and easy controls.
The process of setting the clock may seem confusing at first, but it only takes a few seconds once you know the steps. This guide explains the process clearly, so you can set the clock without stress.
Step-by-Step Guide to Set the Clock
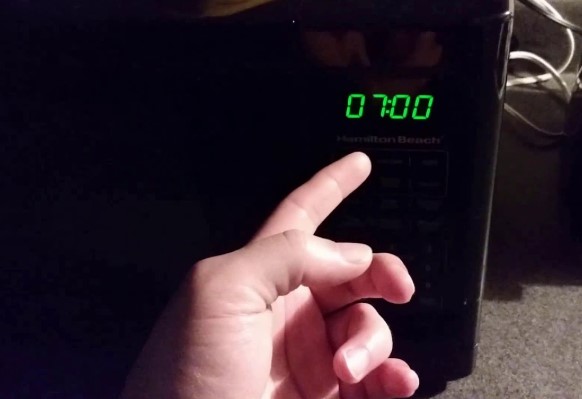
Step 1: Find the Clock Button
Most Hamilton Beach microwaves have a button labeled Clock on the control panel. This button is usually near the number pad or function keys.
Step 2: Press the Clock Button
Press the Clock button once. The display will either flash “0:00” or show a prompt to enter the time.
Step 3: Enter the Time
Use the number pad to enter the correct time. For example:
-
To set 3:30, press 3, 3, 0.
-
To set 9:15, press 9, 1, 5.
Step 4: Select AM or PM (if available)
Some models allow you to choose between AM and PM. Press the Clock button again or use another option key if your model supports this feature.
Step 5: Confirm the Time
Press the Clock button again to save the time. The display will now show the correct time.
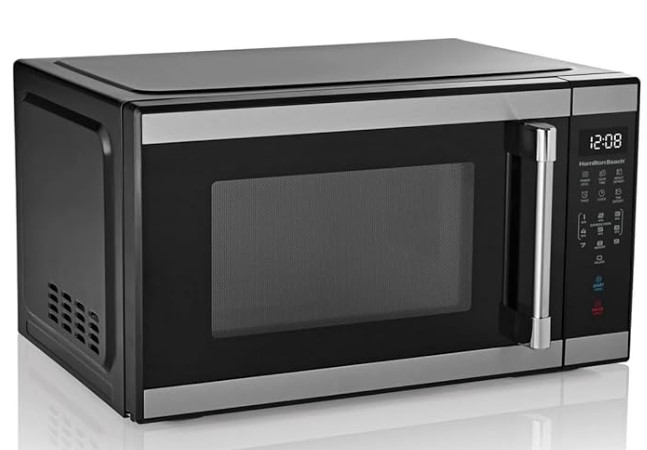
Hamiilton 1.1 Cu ft Countertop Microwave Oven
Tips for Easy Setup
-
Unplugging the microwave will reset the clock. You will need to set it again.
-
Double-check the model manual for extra features, as some microwaves may have a Time Cook button that also works for setting the clock.
-
Enter time in 12-hour or 24-hour format based on the model design.
Common Problems and Fixes
The Clock Button Does Not Respond
Check if the microwave is plugged in. If the power is on and the button does not work, hold it for 2–3 seconds.
Wrong Time Format
If the display shows military time (24-hour format), check the manual. Some models allow switching between 12-hour and 24-hour formats.
Display Resets Often
Frequent resets usually mean a loose plug or power issue. Ensure the cord is secure in the socket.
FAQs
Do all Hamilton Beach microwaves have a clock button?
Most models include it, but some compact versions may not.
Can I set the clock without a manual?
Yes. The steps are simple and similar across most models.
Will the clock stay after a power outage?
No. You need to reset the time after the power returns.
Does the clock affect cooking functions?
No. The clock is only for time display and does not change how the microwave cooks food.
Conclusion
Setting the clock on a Hamilton Beach microwave is a simple process that takes less than a minute.
By pressing the clock button, entering the correct time, and confirming, you can keep your microwave display accurate. A small step that makes daily cooking more convenient.