
Grilled chicken doesn’t have to be dry and tough. With the right techniques—like brining, marinating, and proper grilling—you can lock in moisture and deliver tender, flavorful results every time.
Grilling chicken should be one of life’s simple pleasures—crispy skin, smoky flavor, and tender, juicy meat that practically melts in your mouth. But too often, what comes off the grill is dry, stringy, and disappointing. You’ve probably been there: you spend time prepping, seasoning, and watching the flames, only to end up with chicken that’s more suited for a shoe sole than a summer barbecue. The good news? Dry grilled chicken is almost always preventable.
The secret lies not in fancy equipment or hard-to-find ingredients, but in understanding how heat affects chicken and using a few proven techniques to protect its natural moisture. Whether you’re grilling boneless breasts, juicy thighs, or whole chicken halves, the principles are the same: slow down the cooking process, add moisture from the outside, and avoid overcooking. With a little know-how, you can turn every grilled chicken dish into a crowd-pleasing success.
In this guide, we’ll walk you through everything you need to know to prevent grilled chicken from drying out. From pre-cooking prep like brining and marinating to mastering grill temps and resting times, we’ll cover the science and the practical tips that make all the difference. By the end, you’ll be grilling chicken like a pro—juicy, flavorful, and consistently delicious.
Key Takeaways
- Brining is a game-changer: Soaking chicken in a saltwater solution before grilling helps it retain moisture during high-heat cooking.
- Marinate for flavor and moisture: Acidic or oil-based marinades not only add taste but also help keep chicken juicy.
- Use a meat thermometer: Overcooking is the #1 cause of dry chicken—cook to 165°F (74°C) and remove immediately.
- Let it rest after grilling: Resting allows juices to redistribute, preventing them from spilling out when you cut.
- Choose the right cut: Bone-in, skin-on thighs and drumsticks stay juicier than boneless breasts.
- Control grill temperature: Use indirect heat for thicker cuts and avoid flare-ups that char and dry out meat.
- Butter or oil basting: Frequent basting during grilling adds moisture and enhances flavor.
Quick Answers to Common Questions
Can I brine frozen chicken?
No, always thaw chicken completely before brining. Frozen chicken won’t absorb the brine properly, and the texture can become uneven.
How do I know when grilled chicken is done?
Use a meat thermometer. Insert it into the thickest part without touching bone. Chicken is safe at 165°F (74°C), but remove it at 160°F (71°C) to account for carryover cooking.
Can I marinate chicken overnight?
Yes, but avoid highly acidic marinades for boneless cuts beyond 4 hours. Bone-in pieces can handle longer marinating times—up to 12 hours in the fridge.
Should I rinse brined chicken before grilling?
Yes, rinse wet-brined chicken and pat it dry. This removes excess salt and prevents overly salty skin. Dry-brined chicken doesn’t need rinsing.
Can I grill chicken from frozen?
It’s not recommended. Frozen chicken cooks unevenly and is more likely to dry out. Always thaw in the fridge before grilling.
📑 Table of Contents
Why Does Grilled Chicken Dry Out?
Before we dive into solutions, it helps to understand why grilled chicken dries out in the first place. Chicken, especially white meat like breasts, has less fat and connective tissue than red meat. That means it has fewer natural juices to begin with. When exposed to high heat—like the intense flames of a grill—the proteins in the meat contract rapidly. This squeezing action forces moisture out of the muscle fibers, leaving the chicken dry and tough.
Another major culprit is overcooking. Chicken is safe to eat at 165°F (74°C), but many people leave it on the grill too long, thinking “well-done” means better. In reality, every extra minute past that safe temperature pushes out more moisture. Even a few degrees over can turn tender meat into a dry, chalky texture.
Grill flare-ups also contribute. When fat drips onto hot coals or burners, it creates bursts of flame that char the surface of the chicken. While a little char adds flavor, too much burns away moisture and can make the meat taste bitter. Plus, inconsistent heat—like a grill that’s too hot on one side and too cool on the other—can lead to uneven cooking, with some parts drying out while others are undercooked.
Finally, the cut of chicken matters. Boneless, skinless breasts are the most prone to drying out because they lack the protective layer of skin and the extra fat found in thighs or drumsticks. Without that natural insulation, they lose moisture faster. Understanding these factors is the first step to fixing them.
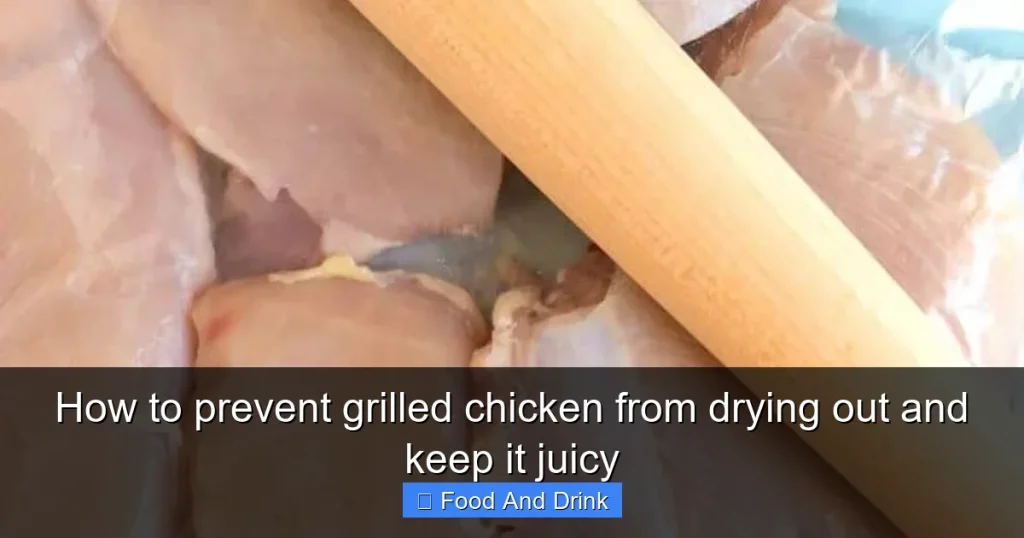
Brining: The Moisture-Locking Secret
Visual guide about How to prevent grilled chicken from drying out and keep it juicy
Image source: inspiredtaste.net
If you’ve ever wondered how restaurants serve grilled chicken that’s always juicy, brining is likely part of their secret. Brining is the process of soaking chicken in a saltwater solution before cooking. The salt helps the meat absorb and retain water, creating a buffer against drying out during grilling.
There are two main types of brining: wet brining and dry brining. Wet brining involves submerging the chicken in a mixture of water, salt, and often sugar and aromatics like garlic, herbs, or citrus. Dry brining, on the other hand, uses just salt rubbed directly onto the meat. Both methods work, but wet brining is especially effective for boneless cuts.
How Wet Brining Works
When chicken sits in a saltwater solution, osmosis and diffusion go to work. The salt breaks down some of the muscle proteins, allowing the meat to hold onto more water. Think of it like giving the chicken a drink before it hits the heat. Even if some moisture is lost during grilling, the extra water absorbed during brining keeps the meat from drying out.
A basic wet brine recipe includes 4 cups of water, ¼ cup of kosher salt, and 2 tablespoons of sugar. You can add flavor boosters like bay leaves, peppercorns, garlic cloves, or lemon slices. Stir until the salt and sugar dissolve, then submerge the chicken completely. For boneless breasts, 30 minutes to 1 hour is enough. For bone-in pieces or whole chickens, 2 to 4 hours is ideal. Don’t brine longer than 12 hours, or the meat can become too salty.
Dry Brining: Simpler and Just as Effective
Dry brining is faster and requires no containers or cleanup. Simply sprinkle kosher salt generously over the chicken—about ½ teaspoon per pound—and let it sit uncovered in the fridge for at least 1 hour, or up to 24 hours. The salt draws out moisture initially, but then the liquid reabsorbs back into the meat, seasoning it deeply and improving texture.
One advantage of dry brining is that it helps dry out the skin, which leads to better browning and crispiness when grilled. It’s a favorite among pitmasters and home cooks alike for its simplicity and results.
Tips for Successful Brining
– Always rinse and pat dry brined chicken before grilling to remove excess salt.
– Don’t add extra salt to dry-brined chicken when seasoning.
– Use kosher salt for even distribution—table salt can be too harsh.
– For extra flavor, add a splash of apple cider vinegar or soy sauce to your brine.
Brining might sound like an extra step, but once you taste the difference, you’ll never skip it again.
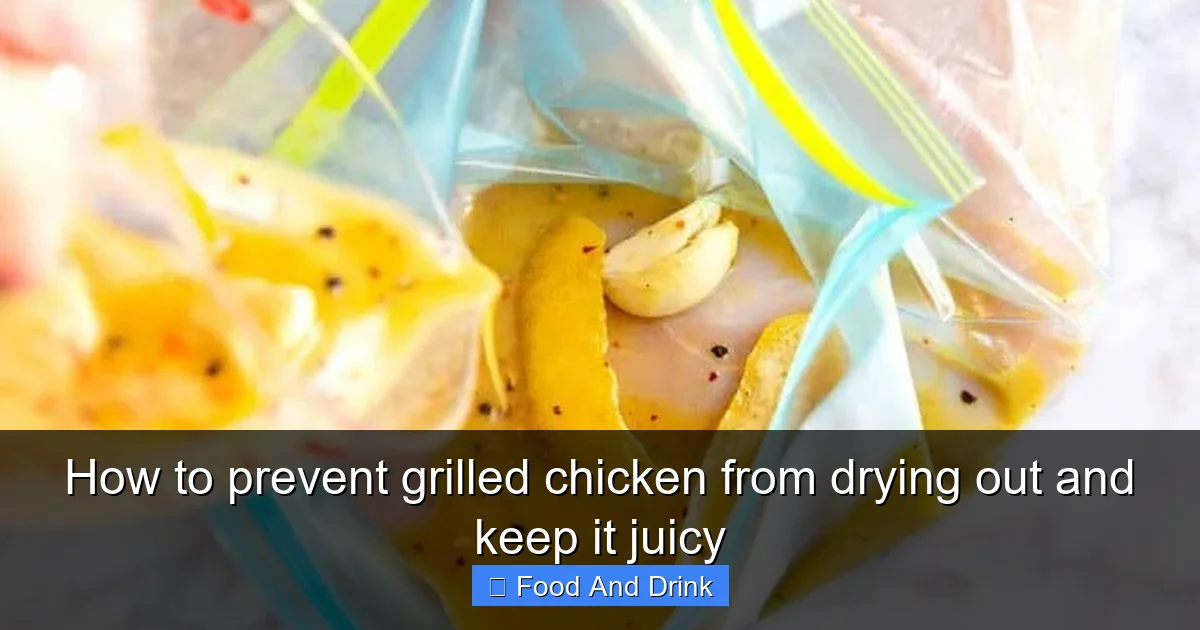
Marinating for Flavor and Moisture
Visual guide about How to prevent grilled chicken from drying out and keep it juicy
Image source: mashed.com
While brining focuses on moisture, marinating adds bold flavor and can also help keep chicken juicy. A good marinade typically includes three components: an acid (like lemon juice or vinegar), oil (like olive or avocado oil), and seasonings (herbs, spices, garlic, etc.).
The acid in the marinade tenderizes the outer layer of the meat, while the oil coats it, helping to seal in moisture during grilling. However, don’t rely solely on acid to “cook” the chicken—over-marinating in highly acidic solutions (like pure lemon juice) can actually make the meat mushy.
Best Marinade Ingredients
For a balanced marinade, mix:
– ½ cup oil (olive, canola, or vegetable)
– ¼ cup acid (lemon juice, lime juice, vinegar, or yogurt)
– 2–3 cloves minced garlic
– 1 tablespoon fresh herbs (rosemary, thyme, or oregano)
– 1 teaspoon salt
– ½ teaspoon black pepper
– Optional: 1 tablespoon honey or mustard for sweetness and depth
Yogurt-based marinades are especially effective. The lactic acid gently tenderizes, while the fat in the yogurt helps retain moisture. Mediterranean-style grilled chicken with yogurt, garlic, lemon, and oregano is a classic for a reason.
How Long to Marinate
Marinating time depends on the cut and the acidity of the marinade:
– Boneless breasts: 30 minutes to 2 hours
– Bone-in pieces: 2 to 4 hours
– Whole chickens: 4 to 12 hours (refrigerated)
Avoid marinating boneless chicken for more than 4 hours in a highly acidic marinade, as it can break down the proteins too much.
Marinating Tips
– Always marinate in the refrigerator, never at room temperature.
– Use a resealable plastic bag or airtight container to prevent leaks.
– Turn the chicken halfway through marinating for even coverage.
– Discard used marinade—don’t reuse it as a sauce unless boiled first.
Marinating not only adds flavor but also creates a protective layer that helps shield the meat from drying out on the grill.
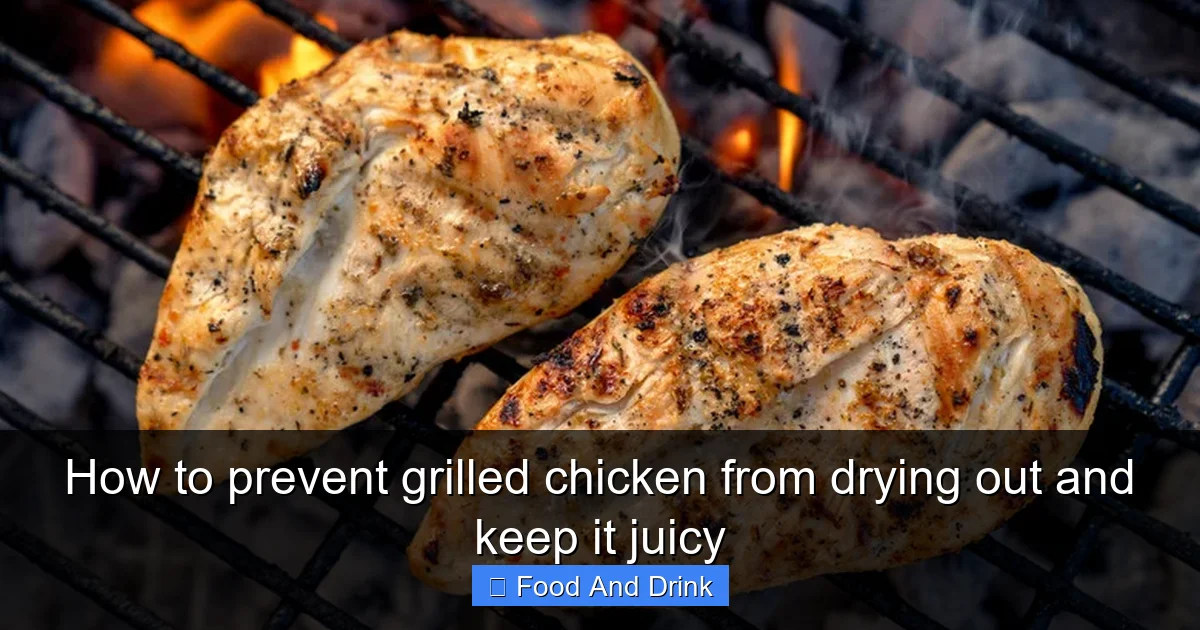
Choosing the Right Cut of Chicken

Visual guide about How to prevent grilled chicken from drying out and keep it juicy
Image source: cychicken.com
Not all chicken is created equal when it comes to grilling. Some cuts are naturally more forgiving and stay juicier than others. If you’re struggling with dry grilled chicken, consider switching up your cut.
Boneless, Skinless Breasts: The Tricky One
Boneless, skinless chicken breasts are lean, cook quickly, and are prone to drying out. They’re also the most common cut for grilling, which is why so many people end up with dry results. If you love chicken breasts, use them—but treat them with care. Brine them, marinate them, and monitor the temperature closely.
Bone-In, Skin-On Thighs and Drumsticks: The Juicy Winners
Dark meat cuts like thighs and drumsticks have more fat and collagen, which melt during cooking and baste the meat from within. The bone also conducts heat slowly, helping the meat cook evenly without drying out. Plus, the skin crisps up beautifully on the grill, adding texture and flavor.
For the juiciest grilled chicken, go for bone-in, skin-on thighs. They’re harder to overcook and deliver rich, satisfying flavor. If you’re feeding a crowd, consider a mix of cuts—breasts for the health-conscious, thighs for the flavor lovers.
Whole Chicken Halves or Spatchcocked Chicken
Grilling a whole chicken can be intimidating, but spatchcocking (removing the backbone and flattening the bird) makes it easier. This method ensures even cooking and allows the skin to crisp up all over. The dark and white meat cook at different rates, but with proper heat management, you can get juicy results throughout.
Ground Chicken Patties
Even ground chicken can be grilled successfully. Mix in breadcrumbs, egg, and a little olive oil to help retain moisture. Form into patties and grill over medium heat, flipping once. These are great for burgers or sliders.
Choosing the right cut is half the battle. Once you pick a forgiving cut, the rest of the process becomes much easier.
Mastering Grill Temperature and Technique
Grill temperature is one of the most important factors in preventing dry chicken. Too hot, and the outside burns before the inside cooks. Too cool, and the chicken steams instead of searing, losing flavor and moisture.
Use a Two-Zone Fire
The best way to grill chicken is with a two-zone fire: one side hot (direct heat) and one side cooler (indirect heat). Start by searing the chicken over direct heat to develop a nice crust and grill marks. Then, move it to the cooler side to finish cooking without burning.
This method is especially useful for thicker cuts like bone-in thighs or whole chickens. It allows the interior to cook through while protecting the exterior from charring.
Control the Heat
For gas grills, preheat on high, then reduce to medium (around 350–375°F or 175–190°C) before adding chicken. For charcoal grills, arrange coals so half the grill is hot and half is cool. Use a grill thermometer to monitor temperature if your grill doesn’t have one.
Avoid flare-ups by trimming excess fat from the chicken and keeping a spray bottle of water handy to tame flames.
Flip Once, Maybe Twice
Contrary to popular belief, you don’t need to flip chicken constantly. In fact, flipping too often can prevent a good sear and dry out the meat. For most cuts, flip once halfway through cooking. Use tongs—never a fork—to avoid piercing the meat and losing juices.
Use a Meat Thermometer
This cannot be stressed enough: always use a meat thermometer. Insert it into the thickest part of the chicken, avoiding bone. Remove the chicken from the grill when it reaches 160°F (71°C)—it will continue cooking to 165°F (74°C) as it rests. Overcooking by even 5 degrees can make a huge difference in juiciness.
Baste for Extra Moisture
Basting with butter, olive oil, or a flavored compound butter (like garlic-herb butter) during the last few minutes of grilling adds richness and helps keep the surface moist. Brush it on with a silicone brush every 2–3 minutes.
Resting: The Final Step for Juicy Chicken
After grilling, many people slice into the chicken immediately—only to watch all the juices run out onto the cutting board. That’s a missed opportunity. Resting allows the muscle fibers to relax and the juices to redistribute throughout the meat.
How Long to Rest
Let grilled chicken rest for at least 5–10 minutes before slicing or serving. Larger cuts like whole chickens or spatchcocked birds may need up to 15 minutes. Cover loosely with foil to keep warm, but don’t wrap tightly—this can steam the skin and make it soggy.
Why Resting Works
During cooking, the juices in the chicken are pushed toward the center by the heat. Resting gives them time to settle back into the muscle fibers. When you cut into rested chicken, the juices stay inside, keeping every bite moist.
Think of it like letting a steak rest—same principle, same result. Skipping this step is like building a beautiful sandcastle only to kick it over before anyone sees it.
Bonus Tips for Extra Juicy Grilled Chicken
Beyond the core techniques, a few extra tricks can take your grilled chicken to the next level.
Butterfly Boneless Breasts
To help boneless breasts cook evenly and stay juicy, butterfly them. Slice the breast horizontally almost all the way through, then open it like a book. This creates a thinner, more uniform piece that cooks faster and more evenly.
Use a Marinade Injection
For deep flavor and moisture, use a marinade injector to pump seasoned liquid directly into the meat. This is a favorite trick in competitive grilling and works especially well for large cuts.
Add a Pan of Water
Place a small pan of water on the cooler side of the grill. As it heats, it creates steam that helps keep the chicken moist, especially during long cooks.
Grill with Fruit or Vegetables
Grilling chicken alongside moisture-rich foods like pineapple, bell peppers, or zucchini can create a humid microclimate that protects the meat. Plus, the flavors meld beautifully.
Finish with a Sauce
Even the juiciest chicken can benefit from a finishing sauce. Try a drizzle of chimichurri, a spoonful of tzatziki, or a brush of honey mustard. These add moisture and complexity without overpowering the grilled flavor.
Conclusion
Grilled chicken doesn’t have to be a gamble. With the right approach—brining, marinating, choosing the right cut, controlling heat, and resting—you can serve juicy, flavorful chicken every single time. It’s not about complicated recipes or expensive tools. It’s about understanding how to work with the meat, not against it.
Start with a good brine or marinade to build moisture and flavor from the inside out. Pick cuts that are naturally more forgiving, like bone-in thighs. Use a two-zone fire to sear and then gently finish cooking. And always, always use a thermometer to avoid overcooking.
Once you master these techniques, you’ll wonder how you ever grilled chicken any other way. Your family and friends will notice the difference—and so will your taste buds. So fire up the grill, grab your tongs, and get ready to serve the juiciest grilled chicken of your life.
Frequently Asked Questions
What’s the difference between brining and marinating?
Brining uses saltwater to add moisture and improve texture, while marinating uses acid, oil, and seasonings to add flavor and tenderize. They can be used together for best results.
Can I use table salt for brining?
It’s better to use kosher salt, which dissolves evenly and doesn’t contain additives. If using table salt, reduce the amount by about 25% to avoid over-salting.
Why does my grilled chicken taste bland?
Bland chicken often results from under-seasoning or skipping brining/marinating. Always salt the chicken before grilling, and use bold spices or herbs in your marinade.
How do I prevent flare-ups on the grill?
Trim excess fat from the chicken, use a two-zone fire, and keep a spray bottle of water nearby. Clean your grill grates regularly to reduce grease buildup.
Can I grill chicken in advance and reheat it?
Yes, but reheat gently to avoid drying it out. Use a low oven (300°F) with a splash of broth or covered with foil to retain moisture.
Is it safe to eat slightly pink chicken?
Chicken is safe when it reaches 165°F (74°C), even if it looks slightly pink near the bone. Use a thermometer to confirm doneness, not color.

