Mastering the perfect roast chicken is easier than you think—just a few key techniques make all the difference. With the right preparation, seasoning, and roasting method, you can create a golden, crispy-skinned bird with tender, flavorful meat every time.
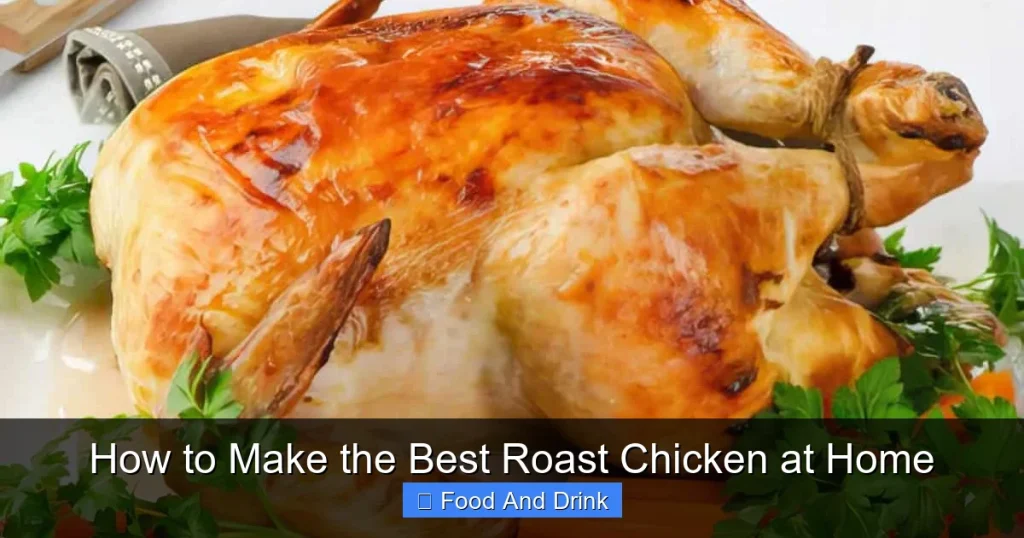
There’s something deeply satisfying about pulling a golden, fragrant roast chicken out of the oven. The aroma fills the kitchen, the skin crackles under the knife, and the meat falls off the bone—juicy, tender, and full of flavor. It’s a dish that feels both rustic and elegant, comforting and impressive. Whether you’re cooking for a weeknight dinner or a holiday feast, roast chicken is a timeless classic that never goes out of style.
But here’s the truth: not all roast chickens are created equal. Some turn out dry, others undercooked, and many lack that coveted crispy skin. The good news? With a few simple techniques and a little know-how, you can consistently make the best roast chicken at home—no fancy equipment or professional skills required. It’s not about complexity; it’s about understanding the fundamentals: moisture control, seasoning, heat management, and timing.
In this guide, we’ll walk you through every step of the process, from choosing the right bird to carving the perfect slice. You’ll learn how to achieve that golden, shatteringly crisp skin, keep the meat succulent, and infuse every bite with rich, savory flavor. Whether you’re a beginner or a seasoned home cook looking to refine your technique, these tips will help you master the art of roasting chicken—so you can serve a dish that’s not just good, but truly exceptional.
Key Takeaways
- Start with a quality chicken: Choose a fresh, preferably organic or free-range bird for better flavor and texture.
- Dry the skin thoroughly: Pat the chicken completely dry inside and out—this is essential for crispy skin.
- Season generously and in advance: Salt the chicken at least 1 hour (or up to 24 hours) before roasting for deeper flavor and juicier meat.
- Use high heat and a hot oven: Roast at 425°F (220°C) or higher to render fat and crisp the skin without drying out the meat.
- Truss the chicken properly: Tying the legs and wings close to the body ensures even cooking and a beautiful presentation.
- Let it rest before carving: Resting for 15–20 minutes allows juices to redistribute, keeping the meat moist.
- Use a meat thermometer: Cook to an internal temperature of 165°F (74°C) in the thickest part of the thigh for safe, juicy results.
Quick Answers to Common Questions
How long does it take to roast a 4-pound chicken?
A 4-pound chicken typically takes about 1 hour and 15 minutes to 1 hour and 30 minutes to roast at 425°F (220°C), depending on your oven. Always use a meat thermometer to check for doneness.
Can I roast a chicken without a rack?
Yes, you can roast a chicken without a rack by placing it on a bed of chopped vegetables like onions, carrots, and celery. This elevates the chicken slightly and prevents the bottom from steaming.
Should I cover the chicken while roasting?
No, do not cover the chicken while roasting. Covering traps steam, which prevents the skin from crisping. Only tent loosely with foil if one side is browning too quickly.
Can I use a frozen chicken for roasting?
Yes, but it must be completely thawed in the refrigerator first—allow 24 hours for every 5 pounds. Never roast a partially frozen chicken, as it will cook unevenly.
How do I make crispy skin on roast chicken?
Pat the chicken dry thoroughly, let it air-dry in the fridge uncovered for at least 1 hour, and roast at a high temperature (425°F or higher). Dry skin and high heat are essential for crispiness.
📑 Table of Contents
Choosing the Right Chicken
The foundation of a great roast chicken starts with the bird itself. Not all chickens are created equal, and the quality of your ingredients will directly impact the final result. While any whole chicken can be roasted, choosing the right one sets you up for success.
Fresh vs. Frozen
Whenever possible, opt for a fresh chicken over a frozen one. Fresh chickens tend to have better texture and flavor, and they don’t require thawing—which can affect moisture levels. If you must use a frozen chicken, make sure it’s completely thawed in the refrigerator (allow 24 hours for every 5 pounds) and patted dry before cooking.
Organic, Free-Range, or Conventional?
Free-range and organic chickens are often preferred for their richer flavor and more ethical farming practices. These birds typically have more active lifestyles, which can result in firmer, more flavorful meat. While they may cost a bit more, many home cooks find the difference in taste worth the investment. That said, a well-prepared conventional chicken can still yield excellent results—so don’t let budget concerns stop you from roasting.
Size Matters
A 3½- to 4½-pound (1.6–2 kg) chicken is ideal for most home ovens. It’s large enough to feed a family of four with leftovers, but small enough to roast evenly without drying out. Larger birds (5+ pounds) can be trickier to cook through without overcooking the breast, so adjust your cooking time and temperature accordingly.
Look for Quality Signs
When selecting a chicken, look for plump, firm flesh with smooth, unblemished skin. Avoid birds with strong odors, slimy texture, or excessive liquid in the packaging. A good chicken should feel heavy for its size—indicating good meat-to-bone ratio.
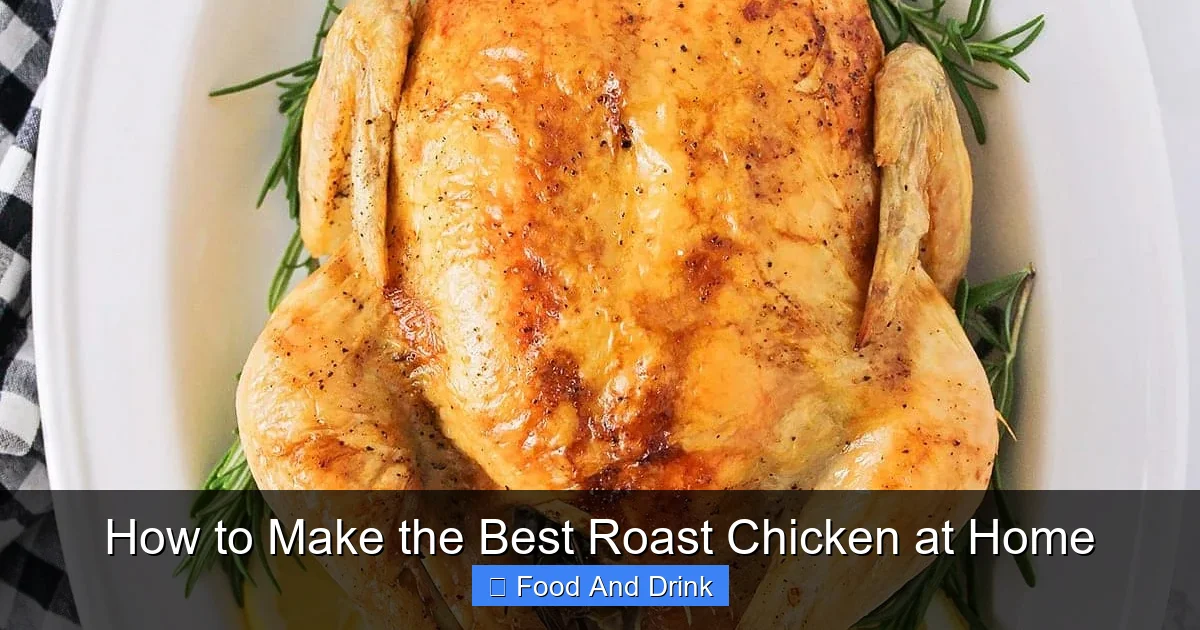
Preparing the Chicken for Roasting

Visual guide about How to Make the Best Roast Chicken at Home
Image source: simplyrecipes.com
Once you’ve chosen your chicken, proper preparation is key to achieving that perfect roast. This step is where many home cooks go wrong—skipping crucial steps like drying and seasoning can lead to soggy skin and bland meat.
Pat It Dry—Thoroughly
This cannot be overstated: dry skin = crispy skin. After removing the chicken from its packaging, place it on a clean cutting board or in a large bowl. Use paper towels to pat the entire surface dry—inside the cavity, under the wings, and especially on the breast and thighs. Moisture is the enemy of crispiness, so take your time. For even better results, let the chicken air-dry in the refrigerator, uncovered, for at least 1 hour (or up to 24 hours). This extra step allows the skin to dry out completely, resulting in that coveted crackle.
Season Generously and in Advance
Salt is your best friend when it comes to roast chicken. Not only does it enhance flavor, but it also helps break down proteins, resulting in more tender meat. Season the chicken inside and out with kosher salt (about 1 teaspoon per pound) at least 1 hour before roasting—or ideally, the night before. This dry-brining method draws out moisture, which then gets reabsorbed along with the salt, seasoning the meat deeply and keeping it juicy.
Add Flavor with Herbs and Aromatics
While salt is essential, don’t stop there. Stuff the cavity with aromatics like lemon halves, garlic cloves, onion wedges, and fresh herbs such as rosemary, thyme, or sage. These won’t directly flavor the meat, but they’ll infuse the steam inside the cavity with incredible aroma and subtle taste. You can also rub the skin with a mixture of olive oil, butter, or herb butter for added richness and browning.
Truss the Chicken
Trussing—tying the legs together and tucking the wings under the body—isn’t just for looks. It helps the chicken cook evenly by keeping the thinner parts (wings and legs) from overcooking while the breast reaches the right temperature. Use kitchen twine to tie the legs together, then loop the string around the tail and pull tight to secure. Tuck the wing tips behind the shoulders to prevent burning.
Seasoning and Flavoring Techniques
Visual guide about How to Make the Best Roast Chicken at Home
Image source: lilluna.com
Seasoning is where you can really make your roast chicken shine. While a simple salt-and-pepper approach can be delicious, a few extra touches can elevate your dish from good to unforgettable.
The Power of Dry Brining
As mentioned earlier, dry brining (salting the chicken in advance) is one of the most effective ways to improve flavor and texture. Salt penetrates the meat, breaking down muscle proteins and allowing the chicken to retain more moisture during cooking. For best results, salt the chicken 12–24 hours before roasting and let it rest uncovered in the fridge. This also dries the skin, ensuring maximum crispiness.
Herb Butter Under the Skin
For extra juiciness and flavor, gently loosen the skin over the breast and thighs with your fingers, being careful not to tear it. Slide pats of softened herb butter (made with butter, minced garlic, chopped herbs, and a pinch of salt) between the skin and meat. As the chicken roasts, the butter melts, basting the meat from within and infusing it with rich, aromatic flavor.
Spice Rubs and Marinades
If you prefer bold flavors, try a dry rub or marinade. A simple mix of smoked paprika, garlic powder, onion powder, black pepper, and a touch of brown sugar can create a delicious crust. For marinades, use acidic ingredients like lemon juice, vinegar, or yogurt to tenderize the meat—but don’t marinate for more than 4 hours, as prolonged exposure can make the texture mushy.
Infused Oils and Aromatics
Rubbing the chicken with infused oils (like garlic-infused olive oil or rosemary oil) adds depth without overwhelming the natural flavor. You can also place aromatics like garlic cloves, lemon slices, or fresh herbs directly under the skin or in the cavity for subtle, all-over flavor.
Roasting Methods and Techniques

Visual guide about How to Make the Best Roast Chicken at Home
Image source: thecountrycook.net
The way you roast your chicken has a huge impact on the final result. Temperature, pan choice, and roasting method all play a role in achieving that perfect balance of crispy skin and juicy meat.
High Heat for Crispy Skin
Start your roast chicken at a high temperature—425°F to 450°F (220°C to 230°C)—to quickly render fat and crisp the skin. After 20–30 minutes, reduce the heat to 375°F (190°C) to finish cooking gently. This two-stage method ensures the skin gets golden and crackly without burning, while the meat cooks through evenly.
Use a Roasting Pan or Baking Dish
A heavy-duty roasting pan with a rack is ideal, as it allows hot air to circulate around the chicken and prevents the bottom from steaming. If you don’t have a rack, place the chicken on a bed of chopped vegetables (like carrots, onions, and celery) to elevate it slightly. These veggies will also absorb drippings and make a delicious side dish.
Roast Breast-Side Up
Always roast the chicken breast-side up. This allows the fat to render down and baste the breast, keeping it moist. Some chefs recommend starting breast-side down for the first 20 minutes to render more fat, then flipping—but this is tricky and unnecessary for most home cooks. Stick with breast-up for simplicity and consistent results.
Baste for Extra Flavor (Optional)
Basting—spooning pan juices over the chicken—can add flavor and help keep the skin moist. However, opening the oven door frequently can cause temperature fluctuations, so baste sparingly (once or twice) and only after the first 20 minutes. Alternatively, use a kitchen brush to apply melted butter or herb oil during roasting.
Rotate for Even Browning
Ovens often have hot spots, so rotate the pan halfway through cooking to ensure even browning. If one side is browning too quickly, tent it loosely with foil.
Checking for Doneness and Resting
Knowing when your chicken is done is crucial. Overcooking leads to dry meat; undercooking is unsafe. The best way to ensure perfect doneness is to use a meat thermometer.
Use a Meat Thermometer
Insert an instant-read thermometer into the thickest part of the thigh, avoiding the bone. The internal temperature should reach 165°F (74°C). The breast will typically read a few degrees lower, which is fine—it’s more delicate and cooks faster. If you don’t have a thermometer, pierce the thigh with a knife; the juices should run clear, not pink.
Rest the Chicken
Once the chicken reaches the correct temperature, remove it from the oven and let it rest, loosely covered with foil, for 15–20 minutes. This allows the juices to redistribute throughout the meat, ensuring every bite is moist and flavorful. Skipping this step means you’ll lose precious juices when you carve.
Carve with Confidence
Use a sharp carving knife and kitchen shears to break down the chicken. Start by removing the legs and wings, then slice the breast meat against the grain. Serve immediately for the best texture and flavor.
Serving Suggestions and Leftovers
A perfectly roasted chicken deserves a worthy presentation and delicious accompaniments.
Classic Sides
Serve your roast chicken with traditional sides like roasted potatoes, steamed green beans, mashed potatoes, or a fresh garden salad. The pan drippings make an excellent base for gravy—just deglaze the pan with broth, add a slurry of cornstarch and water, and simmer until thickened.
Creative Twists
Try serving your chicken with grain bowls, tacos, or sandwiches the next day. Shred leftover meat for chicken salad, soup, or enchiladas. The possibilities are endless.
Storing and Reheating
Store leftover chicken in an airtight container in the refrigerator for up to 4 days. Reheat gently in the oven at 325°F (160°C) to preserve moisture, or use in cold dishes like salads. Freeze for up to 3 months for longer storage.
Troubleshooting Common Issues
Even with the best techniques, things can go wrong. Here’s how to fix common roast chicken problems.
Soggy Skin
Caused by excess moisture. Solution: Pat the chicken dry thoroughly and let it air-dry in the fridge before roasting.
Dry Breast Meat
Often due to overcooking. Solution: Use a meat thermometer and remove the chicken when the thigh reaches 165°F (74°C). Brining or butter under the skin can also help.
Uneven Cooking
Wings or legs burning before the breast is done. Solution: Truss the chicken properly and rotate the pan during roasting.
Bland Flavor
Not enough seasoning. Solution: Salt the chicken in advance and use aromatics in the cavity.
Burnt Skin
Oven too hot or chicken too close to the heating element. Solution: Use the middle rack and reduce temperature if needed.
Conclusion
Making the best roast chicken at home isn’t about fancy tricks or expensive ingredients—it’s about mastering a few key techniques and paying attention to the details. From choosing a quality bird to drying the skin, seasoning in advance, and roasting at the right temperature, each step contributes to a final dish that’s crispy, juicy, and full of flavor.
With practice, you’ll develop your own rhythm and style, perhaps adding your favorite herbs, experimenting with spice rubs, or serving it with seasonal sides. But the foundation remains the same: respect the process, trust your thermometer, and always let the chicken rest.
So the next time you’re planning a comforting dinner or impressing guests, remember: the secret to the best roast chicken is simplicity, patience, and a little love. Pull out your roasting pan, fire up the oven, and get ready to enjoy one of the most rewarding meals you can make at home.
Frequently Asked Questions
What temperature should I roast chicken at?
Start at 425°F to 450°F (220°C to 230°C) for the first 20–30 minutes to crisp the skin, then reduce to 375°F (190°C) to finish cooking. This two-stage method ensures even cooking and golden skin.
How do I know when my roast chicken is done?
Use a meat thermometer to check the internal temperature. Insert it into the thickest part of the thigh without touching the bone. The chicken is done when it reaches 165°F (74°C).
Can I stuff the chicken before roasting?
It’s not recommended to stuff the cavity with traditional stuffing, as it can prevent even cooking and pose food safety risks. Instead, use aromatics like lemon, garlic, and herbs for flavor.
Why is my roast chicken dry?
Dry chicken is usually caused by overcooking. Use a meat thermometer to avoid this, and consider brining or adding butter under the skin to keep the meat moist.
Can I roast a chicken in a slow cooker?
While possible, slow cookers don’t produce crispy skin. For the best texture and flavor, roasting in the oven is the preferred method.
What can I do with leftover roast chicken?
Use leftover chicken in soups, salads, sandwiches, tacos, or grain bowls. Store in the fridge for up to 4 days or freeze for longer storage.