Grilled chicken breast doesn’t have to be dry or bland. With the right techniques—like brining, marinating, and proper cooking temperatures—you can serve tender, juicy, and flavorful chicken every single time.
Grilled chicken breast is a staple in kitchens around the world. It’s healthy, versatile, and quick to cook—perfect for weeknight dinners, meal prep, or backyard barbecues. But let’s be honest: too often, it turns out dry, rubbery, or bland. That’s not the chicken’s fault. It’s usually a few small mistakes in preparation or cooking that ruin what could be a delicious, juicy meal.
The good news? Fixing grilled chicken breast isn’t hard. With a few simple techniques, you can transform this lean cut into something truly mouthwatering. Whether you’re a beginner or a seasoned griller, these tips will help you avoid the dreaded “sawdust” texture and serve chicken that’s tender, flavorful, and full of juicy goodness. From brining to resting, we’ll walk you through every step to make sure your next grilled chicken breast is a success.
Key Takeaways
- Brining is your secret weapon: Soaking chicken in saltwater (wet brine) or salt rub (dry brine) adds moisture and flavor deep into the meat.
- Marinate for at least 30 minutes: Acidic ingredients like lemon juice or vinegar tenderize, while oils and herbs infuse flavor—don’t skip this step.
- Use a meat thermometer: Cook to 160°F (71°C) and let it rest—it will rise to 165°F (74°C), the safe internal temperature.
- Don’t overcook: High heat and long cook times are the top causes of dry chicken—grill quickly and monitor closely.
- Rest your chicken: Letting it sit for 5–10 minutes after grilling allows juices to redistribute, keeping it moist.
- Pound for even thickness: Uniform pieces cook evenly, preventing thin ends from drying out before the center is done.
- Oil the grates, not the chicken: Prevents sticking and ensures clean grill marks without flare-ups.
Quick Answers to Common Questions
How long should I brine chicken breast?
For wet brining, 30 minutes to 2 hours is ideal. For dry brining, 1–24 hours in the fridge works well. Don’t exceed 2 hours for wet brining to avoid a mushy texture.
Can I marinate chicken breast overnight?
Yes, but limit marinating time to 8 hours maximum, especially with acidic ingredients. Over-marinating can break down the meat too much, making it mushy.
What’s the best way to prevent sticking on the grill?
Oil the grill grates, not the chicken. Use tongs and a paper towel dipped in oil to wipe the grates before heating.
Is it safe to eat chicken at 160°F?
Yes, if you let it rest. Chicken will rise to 165°F during resting, which is the safe internal temperature recommended by food safety experts.
Can I grill frozen chicken breast?
It’s not recommended. Frozen chicken cooks unevenly and takes much longer, increasing the risk of dryness. Always thaw in the fridge before grilling.
📑 Table of Contents
Why Grilled Chicken Breast Often Fails
Before we dive into the fixes, it’s important to understand why grilled chicken breast so often ends up dry or underwhelming. Chicken breast is a lean cut of meat—meaning it has very little fat. Fat adds flavor and moisture, so without it, chicken breast can easily become tough and dry when cooked, especially over high heat like on a grill.
One of the biggest culprits is overcooking. Chicken breast cooks quickly, and because it’s lean, it doesn’t have much buffer. Once it hits the safe internal temperature of 165°F (74°C), the proteins tighten and squeeze out moisture. Cook it even a minute too long, and you’ve got a dry, chalky texture.
Another common issue is uneven thickness. Most chicken breasts are thicker at one end and taper off at the other. If you throw them straight on the grill, the thin part will dry out long before the thick part is fully cooked. That’s why pounding or butterflying is so important.
Finally, many people skip marinating or brining, thinking it’s optional. But these steps aren’t just about flavor—they’re about moisture. Without them, the chicken has little defense against the intense heat of the grill.
The Science of Dry Chicken
To fix grilled chicken breast, it helps to understand what’s happening at a molecular level. When chicken is heated, the proteins in the muscle fibers begin to denature and contract. As they tighten, they push out the water trapped inside. This is why overcooked chicken feels dry—it’s literally losing its moisture.
Lean cuts like chicken breast have less intramuscular fat and connective tissue than darker meats like thighs. That means they have less built-in moisture and less ability to stay tender under high heat. The grill, with its direct flames and high temperatures, accelerates this process.
But here’s the good news: you can slow this down. Techniques like brining and marinating help the meat retain moisture. Brining, in particular, changes the protein structure so the meat can hold onto more water during cooking. This is why a well-brined chicken breast stays juicy even when grilled quickly.
Common Mistakes to Avoid
Let’s talk about the most frequent errors people make when grilling chicken breast:
- Skipping the prep: Not brining, marinating, or pounding the chicken leads to uneven cooking and dryness.
- Grilling straight from the fridge: Cold chicken takes longer to cook, increasing the risk of overcooking the outside before the inside is done.
- Using too high heat: High flames can char the outside while leaving the inside undercooked—or worse, dry out the whole piece.
- Not using a thermometer: Guessing when chicken is done is a recipe for disaster. Always use a meat thermometer.
- Cutting into it too soon: Resting allows juices to settle. Cutting too early lets all that moisture spill out onto the cutting board.
Avoiding these mistakes is the first step to fixing grilled chicken breast for good.
Step 1: Brining for Maximum Moisture
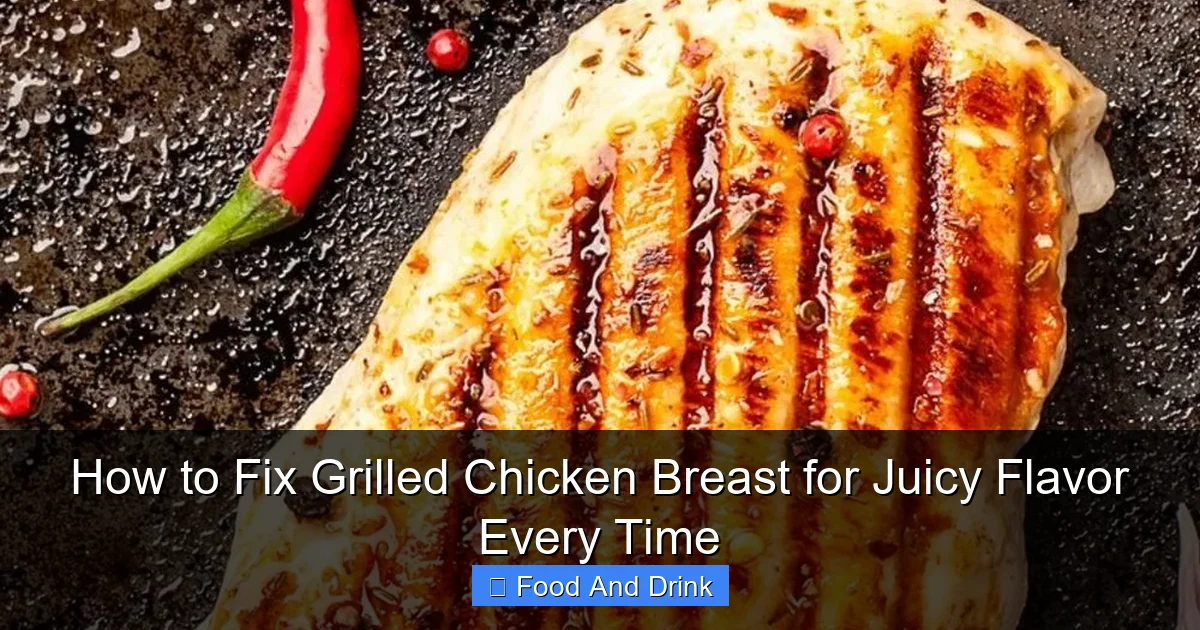
Visual guide about How to Fix Grilled Chicken Breast for Juicy Flavor Every Time
Image source: i.pinimg.com
If you want juicy grilled chicken breast every time, brining should be your go-to technique. Brining is the process of soaking meat in a saltwater solution (wet brine) or rubbing it with salt (dry brine) before cooking. It works by osmosis and diffusion—salt pulls moisture into the meat and helps the proteins retain it during cooking.
There are two main types of brining: wet and dry. Both are effective, but they work slightly differently and suit different schedules.
Wet Brining: The Classic Method
Wet brining involves submerging the chicken breast in a solution of water, salt, and sometimes sugar and aromatics. The standard ratio is 1/4 cup of salt per 4 cups of water. You can add sugar (1–2 tablespoons) to balance the saltiness and help with browning, plus herbs, garlic, or citrus for extra flavor.
To wet brine:
- Dissolve 1/4 cup kosher salt and 2 tablespoons sugar in 4 cups of warm water.
- Add 4 cups of cold water to cool the solution.
- Submerge 4–6 chicken breasts in the brine.
- Refrigerate for 30 minutes to 2 hours. Don’t go longer than 2 hours, or the texture can become mushy.
- Remove, pat dry, and proceed with marinating or grilling.
Wet brining is great for adding moisture quickly. It’s ideal if you’re short on time but still want juicy results.
Dry Brining: The Flavor Booster
Dry brining is simpler and doesn’t require any liquid. Just sprinkle salt (about 1/2 teaspoon per breast) evenly over the chicken, place it on a wire rack over a plate, and refrigerate uncovered for at least 1 hour—or up to 24 hours.
The salt draws out moisture, which then dissolves the salt and gets reabsorbed into the meat, seasoning it deeply. The uncovered fridge time also dries the surface, which helps with browning on the grill.
Dry brining is perfect if you want to enhance flavor and texture without adding extra liquid. It’s also great for meal prep—brine the chicken the night before and grill it fresh the next day.
Why Brining Works
Brining doesn’t just add water—it changes the meat’s structure. Salt breaks down some of the muscle proteins, allowing them to hold onto more moisture during cooking. This means even if you slightly overcook the chicken, it will still be juicy.
Think of brining like giving your chicken a hydration boost before it hits the heat. It’s one of the most effective ways to fix grilled chicken breast and ensure it stays tender.
Step 2: Marinating for Flavor and Tenderness

Visual guide about How to Fix Grilled Chicken Breast for Juicy Flavor Every Time
Image source: img.sunset02.com
While brining adds moisture, marinating adds flavor and can also help tenderize the meat. A good marinade typically has three components: acid, oil, and seasonings.
The acid—like lemon juice, vinegar, or yogurt—helps break down proteins on the surface, making the meat more tender. The oil coats the chicken, helping it retain moisture and carry fat-soluble flavors. Herbs, spices, garlic, and onions add depth and aroma.
Building the Perfect Marinade
Here’s a simple, versatile marinade recipe:
- 1/4 cup olive oil
- 2 tablespoons lemon juice or apple cider vinegar
- 2 cloves garlic, minced
- 1 teaspoon dried oregano or thyme
- 1/2 teaspoon black pepper
- 1/2 teaspoon salt (optional if already brined)
Mix everything in a bowl or zip-top bag, add the chicken, and marinate for at least 30 minutes. For deeper flavor, go up to 4 hours—but don’t exceed 8 hours, especially with strong acids, or the chicken can become mushy.
Marinating Tips
- Use a zip-top bag: It’s easy to seal, takes up less space, and ensures even coating.
- Flip halfway through: If marinating in a bowl, turn the chicken once to ensure both sides absorb flavor.
- Don’t reuse marinade: If you want to use it as a sauce, set some aside before adding raw chicken.
- Pat dry before grilling: Excess marinade can cause flare-ups and prevent proper browning.
Marinating isn’t just about taste—it’s a crucial step in fixing grilled chicken breast. It adds layers of flavor and helps keep the meat tender, especially when combined with brining.
Step 3: Preparing the Chicken for Even Cooking

Visual guide about How to Fix Grilled Chicken Breast for Juicy Flavor Every Time
Image source: myrecipeworld.com
Even the best brine and marinade won’t save chicken that’s cooked unevenly. That’s why proper preparation is key. The goal is to create uniform thickness so the entire piece cooks at the same rate.
Pounding to Even Thickness
Place the chicken breast between two sheets of plastic wrap or parchment paper. Use a meat mallet, rolling pin, or the bottom of a heavy skillet to gently pound the thick end until it’s the same thickness as the thin end—about 1/2 to 3/4 inch thick.
This simple step ensures that the chicken cooks evenly. Without it, the thin part will dry out while you wait for the thick part to reach temperature.
Butterflying for Thicker Breasts
If your chicken breasts are very thick (over 1 inch), consider butterflying them. Slice horizontally through the middle, stopping before you cut all the way through. Open it like a book and pound lightly to even it out.
Butterflying reduces cooking time and increases surface area for better grill marks and marinade absorption. It’s a great trick for fixing grilled chicken breast that’s prone to drying out.
Bringing to Room Temperature
Take the chicken out of the fridge 20–30 minutes before grilling. Cold meat cooks unevenly—the outside may burn before the inside is done. Letting it warm up slightly ensures more consistent results.
Step 4: Mastering the Grill
Now that your chicken is prepped, it’s time to grill. But not all grills are created equal, and technique matters just as much as heat.
Choosing the Right Heat
For chicken breast, use medium-high heat—around 375°F to 400°F (190°C to 200°C). This is hot enough to sear and create grill marks, but not so hot that it chars the outside before the inside cooks.
If using a gas grill, preheat on high for 10–15 minutes, then reduce to medium-high. For charcoal, arrange the coals for indirect heat—pile them on one side and leave the other side empty. This lets you sear over direct heat, then finish cooking over indirect heat to prevent burning.
Oil the Grates, Not the Chicken
To prevent sticking, oil the grill grates—not the chicken. Use tongs and a folded paper towel dipped in oil. Wipe the grates just before placing the chicken down.
Oiling the chicken can cause flare-ups and uneven browning. Plus, the marinade or brine already contains oil, so the chicken won’t stick if the grates are properly prepared.
Grilling Technique
Place the chicken on the grill and cook for 5–7 minutes per side, depending on thickness. Don’t move it too soon—let it develop a nice sear. Flip once, then continue cooking.
Use a meat thermometer to check doneness. Insert it into the thickest part, avoiding the bone. Remove the chicken when it reaches 160°F (71°C). It will continue to cook as it rests, rising to the safe 165°F (74°C).
Using a Grill Press
For even better contact and grill marks, use a grill press or a heavy cast-iron skillet. This ensures the entire surface touches the grates, promoting even browning and preventing curling.
Step 5: Resting and Serving
The final step in fixing grilled chicken breast is resting. This is non-negotiable.
Why Resting Matters
When meat cooks, the juices are pushed toward the center. If you cut into it immediately, those juices spill out, leaving the chicken dry. Resting allows the proteins to relax and the juices to redistribute.
Let the chicken rest for 5–10 minutes, tented loosely with foil. This short pause makes a huge difference in moisture and texture.
Serving Suggestions
Grilled chicken breast is incredibly versatile. Serve it sliced over a salad, in a wrap, over rice, or with roasted vegetables. Drizzle with a simple sauce like chimichurri, tzatziki, or lemon butter to add extra flavor and moisture.
Bonus Tips for Perfect Grilled Chicken Breast
- Use a meat thermometer: This is the #1 tool for fixing grilled chicken breast. No guesswork, no dryness.
- Don’t flip too often: One flip is enough. Constant flipping prevents proper searing.
- Try a spice rub: If not marinating, use a dry rub with salt, pepper, paprika, garlic powder, and onion powder.
- Grill with the lid closed: This traps heat and cooks the chicken more evenly.
- Experiment with wood chips: For a smoky flavor, add soaked wood chips to a charcoal grill or use a smoker box on gas.
With these tips, you’ll never serve dry grilled chicken breast again.
Conclusion
Fixing grilled chicken breast isn’t about fancy equipment or complicated recipes—it’s about understanding the basics of moisture, heat, and timing. By brining for juiciness, marinating for flavor, preparing for even cooking, grilling with care, and resting properly, you can serve tender, flavorful chicken every single time.
Whether you’re cooking for family dinner or hosting a summer cookout, these techniques will elevate your grilled chicken from mediocre to magnificent. So fire up the grill, grab your thermometer, and get ready to enjoy perfectly juicy, delicious chicken breast—no dryness allowed.
Frequently Asked Questions
Why is my grilled chicken breast always dry?
Dry grilled chicken breast is usually caused by overcooking, lack of moisture from brining, or uneven thickness. Use a thermometer, brine the chicken, and pound it evenly to fix the issue.
Do I need to brine and marinate?
Brining adds moisture, while marinating adds flavor. You can do one or both. For best results, brine first, then marinate for at least 30 minutes.
Can I use a dry rub instead of a marinade?
Yes, a dry rub works well, especially if you’ve already brined the chicken. Use a mix of salt, pepper, garlic powder, paprika, and herbs for great flavor.
How do I know when grilled chicken is done?
Use a meat thermometer. Cook to 160°F (71°C), then let it rest. The temperature will rise to 165°F (74°C), the safe internal temperature.
Should I cover the grill when cooking chicken?
Yes, keep the lid closed as much as possible. This helps maintain even heat and cooks the chicken more consistently.
Can I reheat grilled chicken breast?
Yes, reheat gently in a skillet with a little oil or broth, or in the oven at 350°F (175°C) until warmed through. Avoid the microwave to prevent drying out.