Carving a roast chicken doesn’t have to be intimidating. With the right tools, a little patience, and these simple steps, you’ll serve up perfectly portioned, juicy chicken every time. Whether it’s a holiday feast or a cozy family dinner, mastering this skill elevates your cooking game.
Key Takeaways
- Let the chicken rest before carving: This keeps the juices inside, ensuring moist, flavorful meat.
- Use a sharp carving knife and fork: A dull knife makes clean cuts difficult and can tear the meat.
- Start by removing the legs and wings: These are the easiest parts to separate and provide a stable base for further carving.
- Slice the breast meat against the grain: This ensures tender, easy-to-chew pieces.
- Save the carcass for stock: Don’t throw away the bones—they’re perfect for making homemade broth.
- Practice makes perfect: The more you carve, the more confident and efficient you’ll become.
- Serve immediately for best results: Carved chicken tastes best when served warm and fresh.
Quick Answers to Common Questions
How long should I let a roast chicken rest before carving?
Let the chicken rest for 15–20 minutes after roasting. This allows the juices to redistribute, keeping the meat moist and tender.
What’s the best knife for carving chicken?
A sharp, long carving knife (8–10 inches) with a smooth blade is ideal. Avoid serrated knives, as they can tear the meat.
Should I remove the legs first when carving?
Yes, start with the legs. They’re easy to remove and provide a stable base for carving the breast meat.
How do I know where to cut to separate the joints?
Feel for the natural gaps or soft spots where the leg or wing connects to the body. These are the joints—cut through the skin and pop them loose.
Can I carve a chicken at the dinner table?
Absolutely! Carving at the table adds a personal, elegant touch. Just make sure you have enough space and a stable surface.
📑 Table of Contents
- Why Carving Roast Chicken Like a Pro Matters
- What You’ll Need Before You Start
- Step-by-Step Guide to Carving Roast Chicken
- Common Mistakes to Avoid
- Tips for Carving Different Types of Roast Chicken
- Serving and Storing Carved Chicken
- How to Practice and Improve Your Carving Skills
- Conclusion: Carve with Confidence
Why Carving Roast Chicken Like a Pro Matters
There’s something undeniably impressive about watching someone carve a roast chicken with confidence and precision. It’s not just about cutting meat—it’s about presentation, respect for the ingredients, and making your guests feel truly cared for. Whether you’re hosting Thanksgiving, a Sunday family dinner, or just treating yourself to a special meal, knowing how to carve roast chicken step by step transforms a simple dish into a centerpiece of culinary skill.
Many people avoid carving because they’re afraid of doing it wrong—maybe they’ve seen someone hack at a chicken with a butter knife, leaving behind a messy pile of uneven pieces. But with the right technique, carving becomes quick, clean, and even enjoyable. It’s one of those kitchen skills that pays off every time you use it. And the best part? You don’t need fancy tools or years of experience. Just a sharp knife, a steady hand, and this step-by-step guide.
What You’ll Need Before You Start
Before you even think about picking up a knife, make sure you’re prepared. Carving roast chicken is much easier when you have the right tools and a clear workspace. Here’s what you’ll need:
Visual guide about How to Carve Roast Chicken Step by Step Like a Pro
Image source: chefsmandala.com
The Right Tools
- A sharp carving knife: This is your most important tool. A long, thin blade (about 8–10 inches) with a sharp edge makes clean cuts through skin, meat, and joints. A serrated knife won’t work well here—smooth blades are essential.
- A sturdy carving fork: This helps hold the chicken steady while you cut. Look for one with a long handle and two sharp tines.
- A clean cutting board: Choose a large, stable board with a groove around the edge to catch juices. Wood or plastic works well—just make sure it’s clean and won’t slip.
- A serving platter: Have this ready to transfer the carved pieces. A warm platter keeps the chicken hot longer.
Timing Is Everything
One of the biggest mistakes people make is carving the chicken too soon. Right out of the oven, the meat is at its most tender—but also at its most fragile. The juices are still circulating, and if you cut too early, they’ll spill out, leaving the meat dry.
Instead, let the chicken rest for at least 15–20 minutes after roasting. This allows the internal temperature to stabilize and the juices to redistribute. Cover it loosely with foil to keep it warm, but don’t wrap it tightly—that can trap steam and make the skin soggy. During this time, you can finish side dishes, set the table, or simply enjoy the aroma filling your kitchen.
Setting Up Your Workspace
Clear a spot on your counter or dining table where you can work comfortably. Place the cutting board in the center, with the knife and fork within easy reach. Have your serving platter nearby, along with a small bowl for any scraps or bones you’ll save for stock. If you’re carving at the table (which can be a nice touch for special occasions), make sure everyone has space and the platter is within reach.
Pro tip: Place a damp paper towel under the cutting board to prevent it from sliding. Safety first!
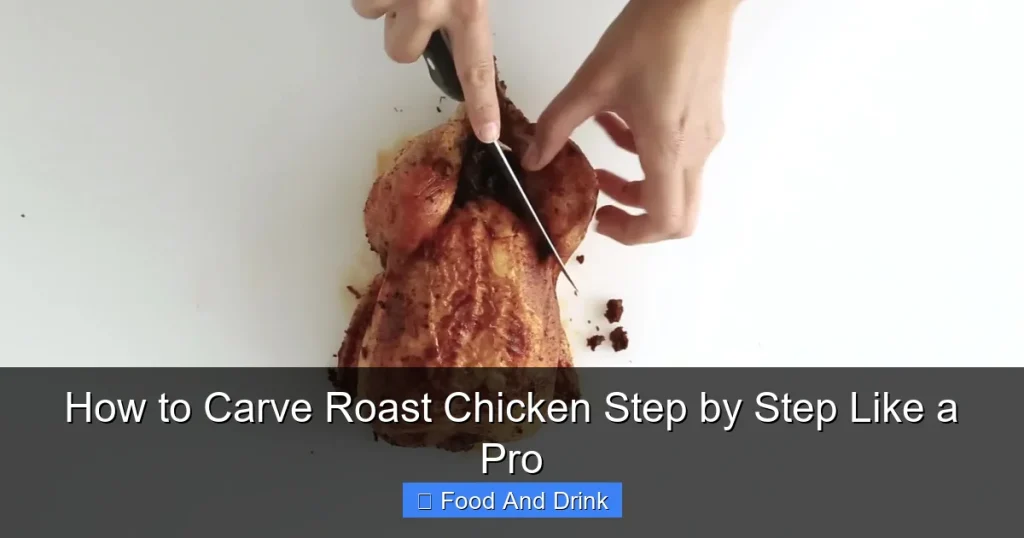
Step-by-Step Guide to Carving Roast Chicken
Now that you’re set up, it’s time to carve. Follow these steps in order, and you’ll have beautifully portioned chicken in just a few minutes.

Visual guide about How to Carve Roast Chicken Step by Step Like a Pro
Image source: s.yimg.com
Step 1: Position the Chicken
Place the rested chicken breast-side up on the cutting board. It should be stable and not wobble. If the legs are splayed out, gently tuck them in toward the body to create a more compact shape. This makes it easier to access the joints and bones.
Step 2: Remove the Legs (Thighs and Drumsticks)
Start with the legs—they’re the easiest to remove and provide a solid base for the rest of the carving. Here’s how:
- Hold the chicken steady with the fork, inserting it near the breast.
- Use your knife to locate the joint where the thigh connects to the body. You’ll feel a natural gap or soft spot.
- Cut through the skin between the thigh and the breast, then gently pull the leg away from the body. The joint should pop free with a little pressure.
- Once the leg is separated, place it on the serving platter.
- Repeat on the other side.
Now, if you want to separate the thigh from the drumstick, do it now. Hold the leg with one hand and use the knife to find the joint in the middle. Cut through it cleanly. Some people prefer them joined, especially for casual meals—but separating them makes for more elegant plating.
Step 3: Remove the Wings
Next, tackle the wings. They’re small but flavorful, and often a favorite for kids or snack lovers.
- Locate the joint where the wing meets the body. It’s usually just below the breast.
- Cut through the skin and pop the joint loose, similar to the legs.
- Remove the wing and place it on the platter.
- Repeat on the other side.
Wings can be left whole or cut at the joint into two pieces (the drumette and the flat). If you’re serving a crowd, cutting them makes them easier to eat.
Step 4: Carve the Breast Meat
This is the trickiest part—but also the most rewarding. The breast is the largest cut and deserves careful attention.
- Hold the chicken steady with the fork.
- Make a horizontal cut along the breastbone, starting from the top (near the neck) and moving down. This separates the breast from the carcass.
- Once you’ve cut along one side, gently pull the breast meat away and slice it into even pieces, about ½ to ¾ inch thick.
- Slice against the grain—this means cutting perpendicular to the muscle fibers. It makes the meat more tender.
- Repeat on the other side.
Pro tip: Don’t rush the breast. Take your time to make clean, even slices. If the skin is crispy, try to keep it attached—it adds flavor and texture.
Step 5: Final Touches and Presentation
Once all the meat is carved, take a moment to arrange it on the platter. Place the breast slices in the center, with legs and wings around the edges. This creates a balanced, attractive presentation.
If you like, drizzle a little of the resting juices over the meat for extra moisture and flavor. You can also garnish with fresh herbs like rosemary or thyme for a pop of color.
Common Mistakes to Avoid
Even experienced cooks can slip up when carving. Here are some common pitfalls and how to avoid them:

Visual guide about How to Carve Roast Chicken Step by Step Like a Pro
Image source: assets1.cbsnewsstatic.com
Carving Too Soon
As mentioned earlier, cutting into a chicken right after roasting leads to dry meat. Always let it rest. If you’re short on time, 10 minutes is better than nothing—but 15–20 is ideal.
Using a Dull Knife
A dull knife tears the meat instead of slicing it cleanly. It also increases the risk of slipping and cutting yourself. Sharpen your knife before carving, or use a freshly honed one.
Cutting With the Grain
Slicing parallel to the muscle fibers makes the meat chewy. Always cut against the grain, especially for the breast. Look for the direction of the fibers and slice perpendicular to them.
Forgetting to Save the Carcass
The bones, skin, and any leftover bits are gold for making stock. Don’t toss them! Store the carcass in a zip-top bag and freeze it until you’re ready to make broth. Homemade stock tastes infinitely better than store-bought.
Rushing the Process
Carving takes a few minutes, but rushing leads to messy cuts and uneven portions. Take your time, especially the first few times. Speed will come with practice.
Tips for Carving Different Types of Roast Chicken
Not all roast chickens are the same. Depending on how it was prepared, you might need to adjust your carving technique slightly.
Spatchcocked Chicken
If you roasted a spatchcocked chicken (flattened by removing the backbone), carving is even easier. The chicken lies flat, and the breast is already exposed. Simply slice the breast meat into portions, then remove the legs and wings as usual. Because it’s flat, there’s less joint work involved.
Stuffed Chicken
For a stuffed roast chicken, be extra careful when removing the breast. The stuffing can make the meat more fragile. Use a gentle hand and avoid pressing down too hard. You may want to remove the stuffing first with a spoon before carving the meat.
Herb- or Butter-Basted Chicken
If your chicken was basted with herbs, butter, or oil, the skin might be extra crispy. Try to preserve that crispiness when carving. Avoid dragging the knife through the skin—make clean, precise cuts to keep it intact.
Whole Chicken vs. Cornish Hen
Cornish hens are smaller, so the proportions are different. The breast is smaller, and the legs are closer together. The carving steps are the same, but you’ll work more quickly. For hens, you might even serve each bird whole at the table and let guests carve their own.
Serving and Storing Carved Chicken
Once your chicken is carved, it’s time to serve—and enjoy!
Serving Suggestions
Carved roast chicken pairs beautifully with a variety of sides. Classic options include mashed potatoes, roasted vegetables, gravy, stuffing, or a fresh green salad. For a festive touch, serve with cranberry sauce or apple chutney.
If you’re hosting a dinner party, consider plating each guest’s portion individually. A slice of breast, a drumstick, and a wing make a balanced plate. Add a spoonful of gravy and a sprig of parsley for elegance.
Storing Leftovers
Store leftover carved chicken in an airtight container in the refrigerator for up to 3–4 days. Reheat gently in the oven or microwave to avoid drying it out. You can also use leftovers in sandwiches, salads, or casseroles.
For longer storage, freeze the meat in portion-sized containers. It will keep for up to 3 months. Thaw in the refrigerator overnight before reheating.
Making the Most of Every Bite
Don’t let any flavor go to waste. Use leftover chicken in:
- Chicken salad with mayo, celery, and herbs
- Enchiladas or tacos with salsa and cheese
- Fried rice or stir-fry with vegetables
- Chicken pot pie or soup
Every bit counts!
How to Practice and Improve Your Carving Skills
Like any skill, carving improves with practice. Here’s how to get better:
Start with Simpler Birds
If you’re new to carving, try practicing on a roasted chicken from the grocery store. Many stores sell fully cooked rotisserie chickens—perfect for honing your technique without the pressure of a special meal.
Watch Videos and Observe
There’s no substitute for seeing it done. Watch a few professional carving videos online. Notice how they hold the knife, where they place the fork, and how they angle their cuts. Then try to mimic their movements.
Ask for Feedback
Invite a friend or family member to watch you carve and give honest feedback. Are the slices even? Is the meat juicy? Use their input to refine your approach.
Keep Your Tools Sharp
A sharp knife is safer and more effective. Invest in a good knife sharpener or take your knives to a professional sharpener a few times a year.
Celebrate Small Wins
The first time you carve a chicken without tearing the skin or losing a piece of meat, celebrate! Every successful carving builds confidence.
Conclusion: Carve with Confidence
Learning how to carve roast chicken step by step like a pro isn’t just about technique—it’s about confidence, care, and connection. When you carve with intention, you’re not just serving food; you’re creating a moment. A moment of warmth, generosity, and shared enjoyment.
So the next time you pull a golden, fragrant roast chicken from the oven, don’t hesitate. Let it rest, gather your tools, and take your time. Follow these steps, avoid the common mistakes, and soon you’ll be carving like a seasoned chef. Your family and friends will notice—and they’ll be impressed.
Remember, every great cook started somewhere. With practice, patience, and a sharp knife, you’ve got this. Now go carve that chicken—and enjoy every delicious bite.
🎥 Related Video: The Best Way To Carve A Whole Chicken | Epicurious 101
📺 Epicurious
Chef Frank Proto helps you add another skill to your kitchen toolkit, this time demonstrating the best way to carve a whole roast …
Frequently Asked Questions
Do I need to remove the stuffing before carving?
If your chicken is stuffed, it’s best to remove the stuffing first with a spoon. This prevents the meat from tearing and makes carving easier.
Can I use a regular kitchen knife instead of a carving knife?
You can, but a carving knife is designed for precision and clean cuts. A regular knife may be too thick or dull, leading to messy results.
What if the chicken falls apart when I try to carve it?
This usually happens if the chicken is overcooked or carved too soon. Let it rest longer next time, and avoid over-roasting.
How do I keep the skin crispy when carving?
Make clean, quick cuts and avoid dragging the knife through the skin. Carve gently to preserve the crispy texture.
Can I freeze carved chicken?
Yes, store carved chicken in an airtight container or freezer bag. It will keep for up to 3 months. Thaw in the fridge before reheating.
What should I do with the chicken carcass after carving?
Save the bones and scraps to make homemade chicken stock. It adds rich flavor to soups, stews, and sauces.