

Nobody wants dry, stringy roast chicken—especially after hours of prep. The secret to juicy, tender meat lies in proper technique, not just luck. With the right methods, you can serve a perfectly moist bird every single time.
Roasting a chicken seems simple—toss it in the oven, wait, and eat. But too often, the result is a dry, rubbery bird that leaves everyone disappointed. You’ve probably been there: you followed the recipe, preheated the oven, and even basted it every 20 minutes… yet the meat still came out tough and tasteless. It’s frustrating, especially when you’ve spent time and money on a good bird.
The good news? Dry roast chicken is almost always preventable. It’s not about fancy equipment or secret ingredients—it’s about understanding how heat, moisture, and time interact with the meat. With a few smart techniques, you can turn that same roast chicken into a juicy, golden-brown centerpiece that your family will actually look forward to. Whether you’re cooking for a holiday dinner or a weeknight meal, these tips will help you avoid dryness and deliver flavorful, tender results every time.
Key Takeaways
- Brining is a game-changer: Soaking chicken in saltwater (wet brine) or salt rub (dry brine) adds moisture and flavor deep into the meat.
- Don’t overcook: Use a meat thermometer and pull the chicken when thighs reach 160°F (71°C); carryover cooking will finish it safely.
- Let it rest: Resting for 15–30 minutes allows juices to redistribute, preventing dryness when carved.
- Truss properly: Tying the legs and wings helps even cooking and protects delicate breast meat from drying out.
- Use high heat wisely: Start with high heat to crisp skin, then lower the oven to gently cook the meat without overcooking.
- Spatchcock for even cooking: Butterflying the chicken flattens it, reducing cooking time and ensuring uniform doneness.
- Add moisture to the pan: Roasting with veggies, broth, or wine creates steam and prevents the drippings from burning.
Quick Answers to Common Questions
What’s the best way to keep roast chicken moist?
Brining (wet or dry) is the most effective method. It adds moisture and flavor deep into the meat, helping it stay juicy even if slightly overcooked.
Should I cover roast chicken while cooking?
No, covering traps steam and prevents the skin from crisping. Roast uncovered for golden, crispy skin and even cooking.
How long should I let roast chicken rest?
Let it rest for 15–30 minutes, tented loosely with foil. This allows juices to redistribute, keeping the meat moist when carved.
Can I roast a frozen chicken?
It’s not recommended. Frozen chicken cooks unevenly and is more likely to dry out. Always thaw it completely in the fridge before roasting.
Is it safe to eat chicken at 160°F?
Yes, if it rests. The internal temperature will rise to 165°F during resting, making it safe to eat while staying juicier than cooking to 165°F immediately.
📑 Table of Contents
Why Does Roast Chicken Turn Dry?
Before we dive into solutions, let’s understand the problem. Chicken, especially the breast meat, is naturally lean and low in fat. When exposed to high heat for too long, the proteins tighten and squeeze out moisture—like wringing a sponge. Once that moisture is gone, the meat becomes dry and tough. This is why overcooking is the number one cause of dry roast chicken.
But it’s not just about time and temperature. Other factors play a role too. For example, if the chicken wasn’t properly seasoned or hydrated before cooking, it has less moisture to begin with. Also, uneven cooking—like a breast that’s done while the thighs are still undercooked—can force you to leave the bird in the oven too long, drying out the white meat.
Another common mistake is not letting the chicken rest after cooking. When you cut into hot meat immediately, all the juices rush out onto the cutting board instead of staying inside the fibers. That’s why a rested chicken stays juicy, even after slicing.
Understanding these causes helps you target the right fixes. It’s not just about lowering the oven temperature or cooking for less time—it’s about managing moisture from start to finish. From prep to plating, every step matters when it comes to avoiding dry roast chicken.
Master the Art of Brining
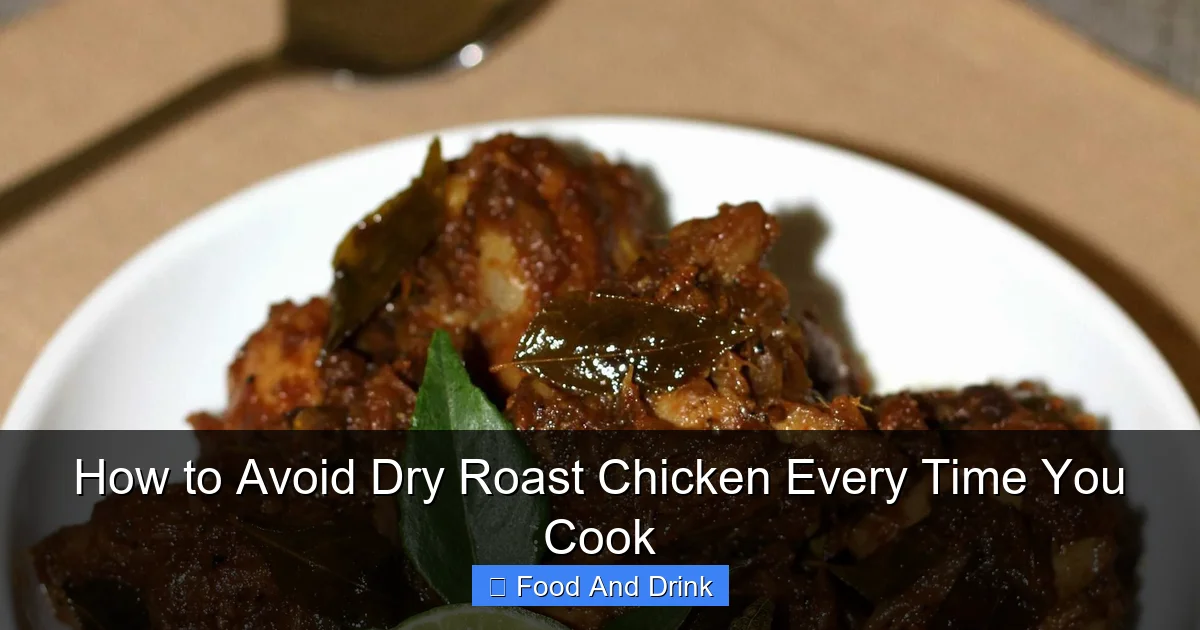
Visual guide about How to Avoid Dry Roast Chicken Every Time You Cook
Image source: i0.wp.com
If there’s one technique that can transform your roast chicken from dry to divine, it’s brining. Brining is the process of soaking meat in a saltwater solution (wet brine) or rubbing it with salt (dry brine) to add moisture and flavor. It’s a simple step that makes a huge difference.
Wet Brining: The Classic Method
Wet brining involves submerging the chicken in a mixture of water, salt, and sometimes sugar and aromatics. The salt helps the meat retain moisture during cooking by altering the protein structure. As the chicken soaks, it absorbs the brine, becoming juicier and more flavorful.
To make a basic wet brine, dissolve 1 cup of kosher salt and ½ cup of sugar in 1 gallon of cold water. You can add herbs like thyme, rosemary, or bay leaves, or even citrus slices for extra flavor. Submerge the chicken (whole or pieces) and refrigerate for 4 to 12 hours. Don’t go longer than 12 hours, or the meat can become too salty and mushy.
After brining, rinse the chicken and pat it dry. The skin won’t crisp as well if it’s wet, so drying is essential. Then proceed with your recipe. You’ll notice the meat stays moist even if you slightly overcook it—brining gives you a safety net.
Dry Brining: Simpler and Just as Effective
Dry brining is even easier. Instead of soaking, you simply rub salt (and optional seasonings) all over the chicken and let it sit uncovered in the fridge for several hours or overnight. The salt draws out moisture initially, then gets reabsorbed along with the seasonings, seasoning the meat deeply and helping it retain juices.
For a whole chicken, use about 1 teaspoon of kosher salt per pound. Sprinkle it evenly over the skin and under the breast skin if possible. Let it rest in the fridge for at least 4 hours, or up to 24 hours. The uncovered drying also helps crisp the skin during roasting.
Many chefs prefer dry brining because it’s less messy and doesn’t require a large container. Plus, the chicken comes out with better texture and flavor. Whether you choose wet or dry, brining is one of the most reliable ways to avoid dry roast chicken.
Cook to the Right Temperature—Not Time
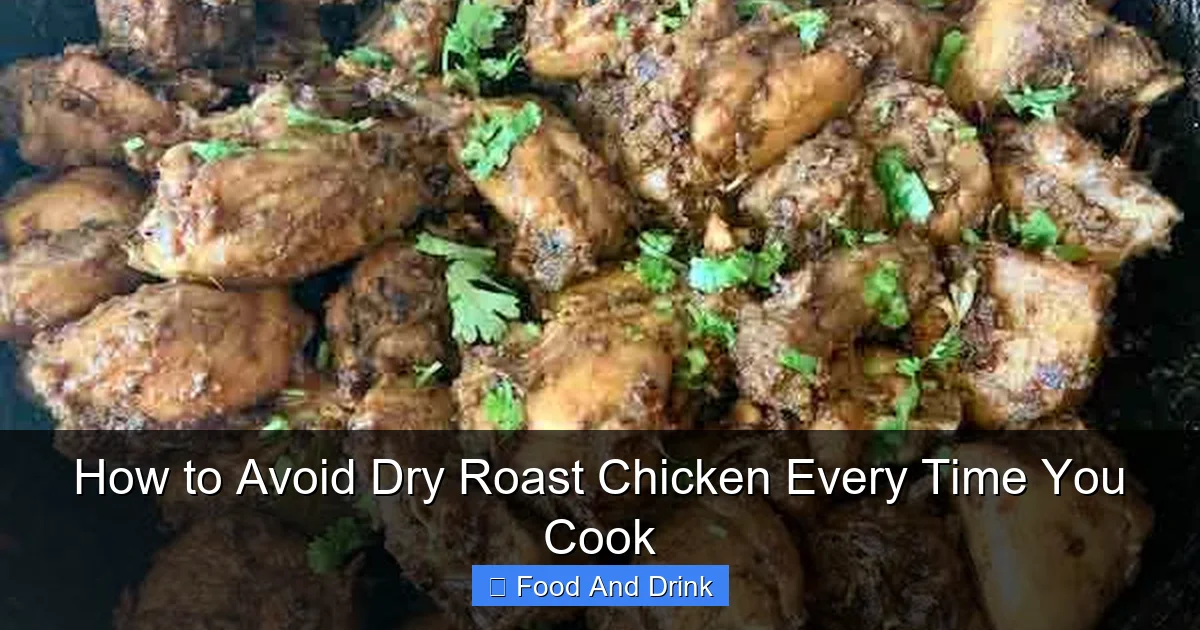
Visual guide about How to Avoid Dry Roast Chicken Every Time You Cook
Image source: artofpalate.com
One of the biggest mistakes home cooks make is relying on cooking time instead of temperature. Recipes often say “roast for 1 hour and 15 minutes,” but that’s just a guess. Chicken size, oven accuracy, and even altitude can affect cooking time. The only way to know for sure is to use a meat thermometer.
The Magic Number: 160°F (71°C)
The USDA recommends cooking chicken to 165°F (74°C) for safety, but pulling it out at 160°F (71°C) is actually better for juiciness. Here’s why: as the chicken rests, the internal temperature will rise by 5°F due to carryover cooking. So if you take it out at 160°F, it will reach 165°F safely while resting—without overcooking.
Insert the thermometer into the thickest part of the thigh, avoiding the bone. The breast should read around 155°F (68°C) at removal. If you only check the breast, you risk undercooking the thighs. Always check both.
Invest in a Good Thermometer
A reliable instant-read thermometer is one of the best investments you can make in your kitchen. Look for one that’s accurate, fast, and easy to clean. Probe thermometers with oven-safe cords are even better—you can monitor the temperature without opening the oven door.
Avoid guessing. Even if your chicken looks golden and smells amazing, it might still be undercooked or overcooked. Temperature is the only true measure of doneness. By cooking to the right temperature, you’ll avoid dry roast chicken and serve safe, juicy meat every time.
Rest Your Chicken Like a Pro
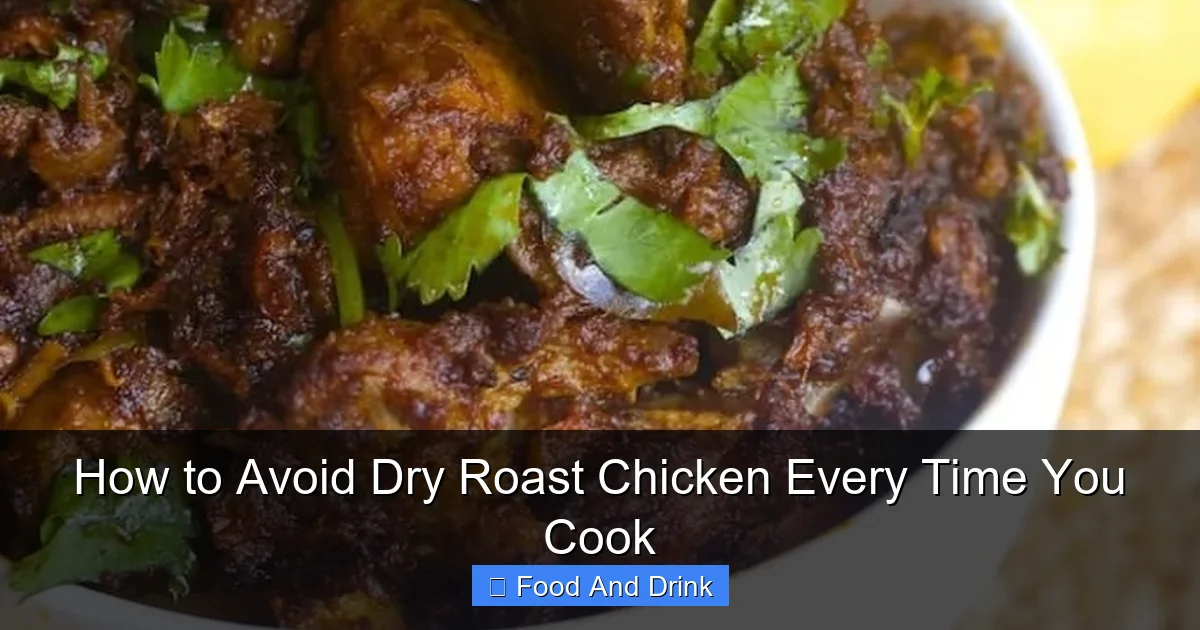
Visual guide about How to Avoid Dry Roast Chicken Every Time You Cook
Image source: artofpalate.com
You’ve roasted your chicken to perfection—golden skin, tender meat, amazing aroma. Now, resist the urge to carve it immediately. Resting is a crucial step that many people skip, and it’s one of the easiest ways to prevent dryness.
Why Resting Matters
When meat cooks, the juices are pushed toward the center. If you cut into it right away, those juices spill out, leaving the meat dry. Resting allows the fibers to relax and the juices to redistribute evenly throughout the chicken. This means every bite stays moist and flavorful.
For a whole roast chicken, let it rest for at least 15 minutes, but 20–30 minutes is ideal. Tent it loosely with foil to keep it warm, but don’t wrap it tightly—that can steam the skin and make it soggy.
How to Rest Without Losing Heat
If you’re worried about the chicken getting cold, rest it in a warm spot, like near the stove or in a turned-off oven with the door slightly open. You can also place it on a cutting board with a warm platter over the top to trap heat.
During resting, the internal temperature will continue to rise slightly, so remember to pull the chicken out a few degrees early. This final step ensures your roast chicken stays juicy from the first slice to the last.
Use the Right Roasting Technique
How you roast your chicken makes a big difference in moisture retention. From oven temperature to pan setup, small adjustments can prevent dryness and improve flavor.
Start Hot, Then Lower the Heat
Begin roasting at a high temperature—425°F to 450°F (220°C to 230°C)—for the first 15–20 minutes. This quickly crisps the skin and seals in juices. Then reduce the heat to 350°F to 375°F (175°C to 190°C) for the remainder of the cook time. This gentle finish prevents the breast from overcooking while ensuring the thighs are tender.
Truss for Even Cooking
Trussing—tying the legs together with kitchen twine—helps the chicken cook evenly. It keeps the legs close to the body, protecting the breast from drying out. It also gives the chicken a neat, professional shape.
To truss, tuck the wing tips behind the shoulders, then tie the legs together with twine. You can also tie the string around the body to hold the legs in place. If you don’t have twine, you can use a roasting rack or simply tuck the wings and legs close to the body.
Spatchcock for Faster, More Even Results
Spatchcocking—removing the backbone and flattening the chicken—is a game-changer. It reduces cooking time by up to 30% and ensures even doneness. The breast and thighs cook at the same rate, so you don’t have to worry about one drying out while the other finishes.
To spatchcock, place the chicken breast-side down and use kitchen shears to cut along both sides of the backbone. Remove it, then flip the chicken over and press down firmly to flatten it. Roast breast-side up at 450°F (230°C) for 35–45 minutes, depending on size.
This method is especially great for weeknight dinners—faster cooking means less risk of dryness, and the crispy skin is unbeatable.
Keep Moisture in the Pan
Even with perfect technique, dry air in the oven can pull moisture from the chicken. Adding liquid to the roasting pan creates steam, which helps keep the meat juicy and prevents the drippings from burning.
Use Broth, Wine, or Water
Pour ½ to 1 cup of liquid into the bottom of the roasting pan before cooking. Chicken broth, white wine, or even water work well. The liquid will simmer and create steam, adding moisture to the cooking environment.
Avoid using too much—just enough to cover the bottom of the pan. Too much liquid can make the skin soggy or cause the chicken to braise instead of roast.
Add Aromatics and Vegetables
Toss chopped onions, carrots, celery, garlic, or lemon halves into the pan. These not only add flavor to the drippings but also release moisture as they cook. Plus, you’ll have delicious roasted vegetables to serve alongside the chicken.
If you’re making gravy, the pan drippings will be rich and flavorful. Just skim off excess fat and whisk in a bit of flour and broth for a quick sauce.
Baste—But Not Too Much
Basting can add flavor and help crisp the skin, but opening the oven door too often lets heat escape and can dry out the chicken. Baste every 20–30 minutes, but keep it quick. Better yet, use the pan juices to baste—they’re already flavorful and moist.
Alternatively, skip basting altogether if you’re using a brine or spatchcock method. These techniques lock in moisture so well that basting isn’t necessary.
Choose the Right Chicken
Not all chickens are created equal. The quality and type of bird you buy can affect how juicy your roast turns out.
Opt for Pasture-Raised or Organic
Pasture-raised chickens tend to have more flavor and better texture than conventionally raised ones. They’re allowed to roam and eat a natural diet, which results in meat that’s more tender and moist. Organic chickens are also a good choice—they’re raised without antibiotics and often have better living conditions.
While they cost more, the difference in taste and texture is noticeable. If budget is a concern, look for sales or buy a whole chicken and use leftovers for soups, salads, or sandwiches.
Check the Label
Avoid chickens labeled “enhanced” or “injected with solution.” These are often pumped with saltwater and preservatives to add weight and moisture. While they may seem juicy at first, they can taste salty and artificial. A naturally moist chicken doesn’t need additives.
Size Matters
A 3½- to 4½-pound chicken is ideal for roasting. Smaller birds cook quickly but can dry out fast. Larger ones take longer and may have uneven cooking. If you’re feeding a crowd, consider roasting two smaller chickens instead of one giant one.
Store and Reheat Leftovers Properly
Even the juiciest roast chicken can turn dry if not stored or reheated correctly. Leftovers are inevitable—and delicious—but they need care to stay moist.
Store in Juices
When storing leftover chicken, keep it in its own juices. Place pieces in an airtight container and pour some of the pan drippings or broth over them. This prevents drying in the fridge.
Reheat Gently
Never microwave roast chicken on high—it will steam and become rubbery. Instead, reheat it in a 300°F (150°C) oven, covered with foil, for 15–20 minutes. Add a splash of broth or water to the dish to restore moisture.
You can also shred leftover chicken and use it in soups, casseroles, or salads, where added liquids keep it tender.
Conclusion
Dry roast chicken doesn’t have to be a kitchen nightmare. With the right techniques—brining, temperature control, resting, and smart roasting—you can serve a juicy, flavorful bird every time. It’s not about perfection; it’s about understanding how to work with the meat, not against it.
Start with a good chicken, season it well, and cook it to the right temperature. Let it rest, carve it carefully, and enjoy every moist, tender bite. Whether you’re roasting for a holiday feast or a simple family dinner, these tips will help you avoid dry roast chicken and impress everyone at the table.
Remember, great cooking is built on small, consistent choices. Try one new technique at a time—maybe start with dry brining or using a thermometer. Over time, these habits will become second nature, and dry chicken will be a thing of the past.
So the next time you’re planning a roast chicken dinner, don’t stress. You’ve got the tools, the knowledge, and the confidence to make it amazing. Happy roasting!
Frequently Asked Questions
How do I know when roast chicken is done?
Use a meat thermometer. Insert it into the thickest part of the thigh (avoiding the bone)—it should read 160°F (71°C) when removed from the oven. The breast should be around 155°F (68°C).
Can I brine a chicken for too long?
Yes. Wet brining beyond 12 hours can make the meat mushy and overly salty. Dry brining is safer for up to 24 hours.
Why is my roast chicken skin soggy?
Soggy skin is usually caused by not patting the chicken dry before roasting, covering it during cooking, or using too much liquid in the pan. Always dry the skin thoroughly and roast uncovered.
Should I rinse a brined chicken before roasting?
Yes, rinse off excess brine and pat the chicken completely dry. This helps the skin crisp up in the oven.
Can I use a roasting bag to keep chicken moist?
Yes, roasting bags trap steam and can prevent dryness, but the skin won’t crisp. For crispy skin, remove the bag during the last 15–20 minutes of cooking.
What’s the best oven temperature for roasting chicken?
Start at 425°F–450°F (220°C–230°C) for 15–20 minutes to crisp the skin, then reduce to 350°F–375°F (175°C–190°C) to finish cooking gently.


