
Cooking chicken perfectly hinges on time, temperature, and technique. Whether you’re baking, grilling, or frying, knowing exactly how long should you cook chicken ensures it’s safe to eat and bursting with flavor. This guide covers everything from internal temps to pro tips for foolproof results.
Key Takeaways
- Cook chicken to an internal temperature of 165°F (74°C): This is the gold standard set by the USDA to eliminate harmful bacteria like salmonella and campylobacter.
- Use a meat thermometer for accuracy: Relying on time alone can lead to undercooked or overcooked chicken—always check the thickest part of the meat.
- Rest chicken after cooking: Letting it rest for 5–10 minutes allows juices to redistribute, keeping it moist and tender.
- Adjust cooking times based on cut and method: Boneless breasts cook faster than bone-in thighs, and grilling differs from baking or frying.
- Marinate for flavor and moisture: A good marinade not only adds taste but can also help prevent dryness during cooking.
- Preheat your cooking surface: Whether it’s an oven, grill, or skillet, starting with a hot surface ensures even cooking and better browning.
- Don’t overcrowd the pan: This prevents steaming and ensures a crispy exterior when pan-frying or searing.
Quick Answers to Common Questions
How long should you cook chicken breast in the oven?
Boneless, skinless chicken breasts take 20–30 minutes at 375°F (190°C). Always check with a thermometer—165°F (74°C) is the safe internal temperature.
Can you cook chicken from frozen?
Yes, but it takes about 50% longer. Increase cooking time and use a thermometer to ensure it reaches 165°F. For best results, thaw in the fridge first.
Is pink chicken safe to eat?
Not if it’s undercooked. However, some smoked or grilled chicken may retain a pink hue even when safe. Always check the internal temperature.
How do you prevent dry chicken?
Brine before cooking, don’t overcook, and let it rest after cooking. Using a meat thermometer helps avoid drying out lean cuts.
Can you reheat cooked chicken?
Yes, reheat to 165°F (74°C). Use the oven, microwave, or stovetop with a bit of broth or sauce to keep it moist.
📑 Table of Contents
- How Long Should You Cook Chicken? The Ultimate Guide to Perfect Results Every Time
- Why Cooking Time Matters for Chicken
- Essential Tools for Perfectly Cooked Chicken
- Cooking Times by Method: A Detailed Breakdown
- How to Tell When Chicken Is Done (Without Guessing)
- Common Mistakes to Avoid
- Tips for Juicy, Flavorful Chicken Every Time
- Conclusion
How Long Should You Cook Chicken? The Ultimate Guide to Perfect Results Every Time
Chicken is one of the most versatile and beloved proteins in kitchens around the world. From weeknight stir-fries to Sunday roasts, it’s a staple that can be dressed up or down depending on the occasion. But despite its popularity, many home cooks still struggle with one critical question: how long should you cook chicken? Too little time, and you risk foodborne illness. Too much, and you end up with dry, rubbery meat that even the best sauce can’t save.
The good news? With the right knowledge and tools, cooking chicken perfectly is easier than you think. It’s not just about following a recipe—it’s about understanding the science behind cooking poultry. Factors like cut, thickness, cooking method, and even the starting temperature of the chicken all play a role. In this comprehensive guide, we’ll walk you through everything you need to know to cook chicken safely, evenly, and deliciously every single time. Whether you’re baking, grilling, frying, or slow-cooking, we’ve got you covered.
Why Cooking Time Matters for Chicken
Chicken, like all poultry, is highly perishable and can harbor dangerous bacteria such as Salmonella and Campylobacter. These pathogens are killed when chicken reaches a safe internal temperature, but simply cooking it “until it looks done” isn’t enough. Visual cues like color and texture can be misleading—chicken can turn white before it’s fully cooked, and dark meat can still look pink even when safe to eat.
Visual guide about How Long Should You Cook Chicken for Perfect Results Every Time
Image source: i.pinimg.com
That’s why timing and temperature go hand in hand. The USDA recommends cooking all poultry to a minimum internal temperature of 165°F (74°C). This temperature ensures that harmful bacteria are destroyed, making the chicken safe to consume. However, reaching this temperature doesn’t have to mean sacrificing juiciness. In fact, with proper technique, you can hit that magic number while keeping your chicken tender and flavorful.
The Role of Carryover Cooking
One often-overlooked factor is carryover cooking. This is the phenomenon where meat continues to cook even after it’s removed from the heat source. As the internal temperature rises by 5–10°F during resting, you can actually pull your chicken off the heat a few degrees early—around 160°F (71°C)—and let it coast to 165°F while resting. This helps prevent overcooking, especially with lean cuts like chicken breast.
Why Timing Varies
Cooking time isn’t one-size-fits-all. A thin chicken cutlet will cook in under 10 minutes, while a whole roasted chicken can take over an hour. The thickness of the meat, whether it’s bone-in or boneless, and the cooking method all influence how quickly heat penetrates the chicken. For example, bone acts as an insulator, slowing down cooking, while boneless cuts heat up faster. Understanding these variables helps you adjust your approach and avoid guesswork.
Essential Tools for Perfectly Cooked Chicken
Before we dive into specific cooking methods, let’s talk about the tools that make all the difference. You don’t need a professional kitchen to cook great chicken, but a few key items will elevate your results.

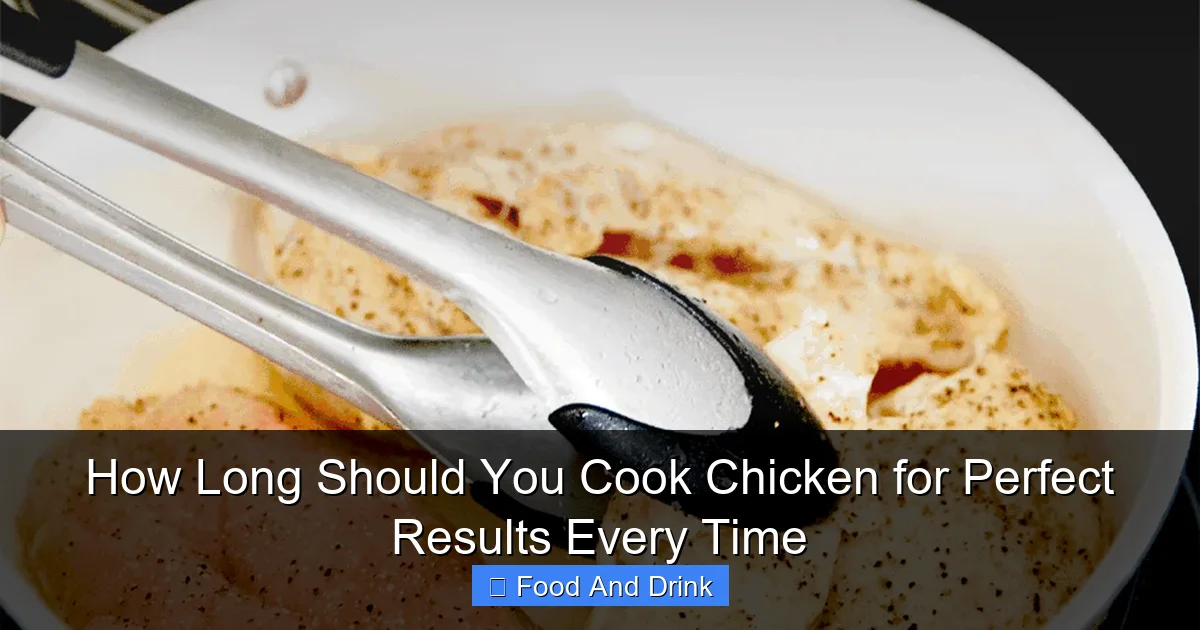
Visual guide about How Long Should You Cook Chicken for Perfect Results Every Time
Image source: i.pinimg.com
Instant-Read Meat Thermometer
This is non-negotiable. A good instant-read thermometer is the most reliable way to ensure your chicken is cooked safely without overdoing it. Look for one that gives a reading in under 10 seconds and has a thin probe for accurate insertion. Insert the probe into the thickest part of the meat, avoiding bones and fat, to get a true reading.
Kitchen Scale
Weighing your chicken cuts helps you estimate cooking times more accurately. A 6-ounce chicken breast will cook faster than a 10-ounce one, even if they’re the same thickness. A scale also ensures consistency when following recipes.
Cast Iron Skillet or Heavy Pan
For stovetop cooking, a heavy-bottomed pan like cast iron retains heat well and promotes even browning. It’s ideal for searing, pan-frying, and even finishing chicken in the oven.
Meat Mallet or Tenderizer
If you’re working with uneven cuts, a meat mallet can help flatten them to a consistent thickness. This ensures even cooking and prevents some parts from drying out while others remain undercooked.
Marinade Injector (Optional but Helpful)
For extra flavor and moisture, especially with lean cuts like breasts, a marinade injector can deliver seasoning directly into the meat. This is a game-changer for grilled or roasted chicken.
Cooking Times by Method: A Detailed Breakdown
Now that you’re equipped with the right tools and knowledge, let’s explore how long should you cook chicken using different methods. Each technique has its own ideal timing and temperature guidelines.
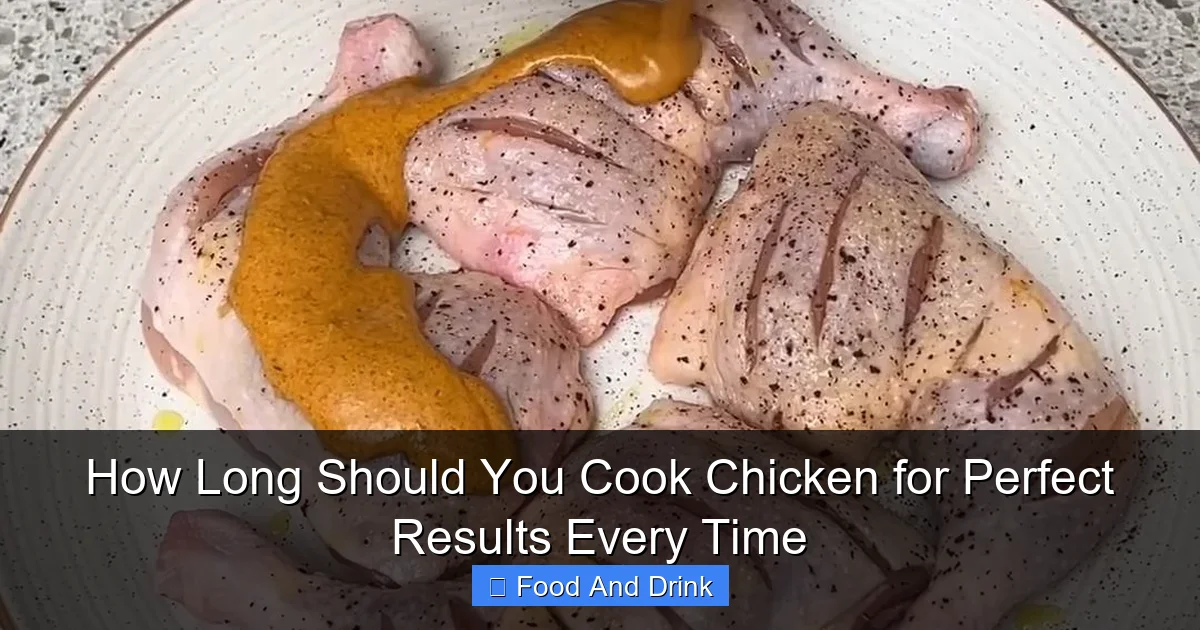
Visual guide about How Long Should You Cook Chicken for Perfect Results Every Time
Image source: i.pinimg.com
Baking and Roasting
Baking is one of the most popular ways to cook chicken because it’s hands-off and great for larger cuts. Preheat your oven to 375°F (190°C) for most recipes, though some call for higher or lower temperatures depending on the desired outcome.
- Boneless, skinless chicken breasts: 20–30 minutes. Start checking at 20 minutes with a thermometer. They’re done at 165°F.
- Bone-in, skin-on chicken breasts: 35–45 minutes. The bone slows cooking, so allow extra time.
- Chicken thighs (boneless): 25–35 minutes. Thighs are more forgiving and stay juicy even if slightly overcooked.
- Chicken thighs (bone-in): 40–50 minutes. The skin should be golden and crispy.
- Whole chicken: 20 minutes per pound at 350°F (175°C). A 4-pound bird takes about 1 hour 20 minutes. Use a meat thermometer in the thigh (not touching bone) to confirm doneness.
Pro Tip: For extra juiciness, brine your chicken breasts for 30 minutes to 2 hours before baking. A simple saltwater brine (4 cups water + ¼ cup salt) helps retain moisture.
Grilling
Grilling adds a smoky flavor and beautiful char, but it requires attention to prevent flare-ups and uneven cooking. Use a two-zone fire: direct heat for searing, indirect heat for finishing.
- Boneless chicken breasts: 6–8 minutes per side over medium heat (350–375°F). Total time: 12–16 minutes.
- Bone-in chicken pieces: 12–15 minutes per side. Start skin-side down over direct heat, then move to indirect to finish.
- Chicken wings: 10–12 minutes per side. Crisp skin over direct heat, then finish over indirect.
- Chicken skewers: 10–12 minutes total, turning occasionally. Cut into uniform pieces for even cooking.
Pro Tip: Oil the grates before heating to prevent sticking. And never flip chicken more than once—this helps develop a good crust.
Pan-Frying and Sautéing
Perfect for quick weeknight meals, pan-frying gives you crispy skin and tender meat. Use a heavy skillet and medium-high heat.
- Boneless, skinless chicken breasts: 5–7 minutes per side. Pound to even thickness for best results.
- Chicken cutlets (thin slices): 3–4 minutes per side. Great for piccata or schnitzel.
- Bone-in chicken thighs: 6–8 minutes per side. Start skin-side down to render fat and crisp the skin.
Pro Tip: Don’t move the chicken too soon after placing it in the pan. Let it sear for 2–3 minutes before flipping to develop a golden crust.
Deep-Frying
Deep-frying delivers crispy, juicy chicken but requires careful temperature control. Use a thermometer to maintain oil at 350–375°F (175–190°C).
- Boneless chicken pieces: 6–8 minutes. Drain on a wire rack to keep crispy.
- Bone-in chicken pieces: 10–12 minutes. Dark meat may need a few extra minutes.
- Chicken tenders: 4–5 minutes. Smaller pieces cook quickly.
Pro Tip: Double-dip in flour or batter for extra crunch. Let coated chicken rest for 5–10 minutes before frying to help the coating adhere.
Slow Cooking and Instant Pot
These methods are ideal for hands-off cooking and tender, fall-off-the-bone results.
- Slow cooker (low setting): 4–6 hours for boneless chicken, 6–8 hours for bone-in. Shred easily when done.
- Instant Pot (pressure cooking): 8–10 minutes on high pressure for boneless breasts, 10–12 minutes for thighs. Natural release for 5–10 minutes.
Pro Tip: Add liquid (broth, sauce, or water) to prevent drying out. Avoid overcooking—chicken can become mushy in slow cookers.
How to Tell When Chicken Is Done (Without Guessing)
Even with timing guidelines, the best way to know if your chicken is done is by checking its internal temperature. Here’s how to do it right:
Using a Meat Thermometer
Insert the probe into the thickest part of the meat, avoiding bone, fat, or gristle. For whole chickens, check the innermost part of the thigh and the breast. The temperature should read 165°F (74°C).
Visual and Texture Cues (Secondary Checks)
While not as reliable as a thermometer, these signs can help confirm doneness:
- Juices run clear (not pink) when pierced.
- Meat is no longer translucent and pulls away from the bone easily.
- Skin is golden and crispy (for roasted or fried chicken).
- Meat feels firm but springy to the touch.
The Resting Period
After cooking, let your chicken rest for 5–10 minutes. This allows juices to redistribute, resulting in moister meat. Cover loosely with foil to keep warm.
Common Mistakes to Avoid
Even experienced cooks make errors. Here are the most common pitfalls and how to avoid them:
Cooking from Cold
Chicken straight from the fridge takes longer to cook and may cook unevenly. Let it sit at room temperature for 15–20 minutes before cooking.
Overcooking Lean Cuts
Boneless, skinless breasts dry out quickly. Use a thermometer and consider brining or marinating to retain moisture.
Underseasoning
Chicken benefits from seasoning at least 15 minutes before cooking—or even better, overnight. Salt penetrates the meat, enhancing flavor and texture.
Skipping the Thermometer
Relying on time or color alone is risky. Always use a thermometer for safety and consistency.
Overcrowding the Pan
This lowers the pan’s temperature and causes steaming instead of browning. Cook in batches if needed.
Tips for Juicy, Flavorful Chicken Every Time
Great chicken isn’t just about safety—it’s about taste and texture. Here are some expert tips to elevate your cooking:
Brining for Moisture
A saltwater brine (or flavored with herbs and sugar) helps chicken retain moisture during cooking. Soak for 30 minutes to 2 hours, then pat dry before cooking.
Marinating for Flavor
Acidic marinades (with lemon juice, vinegar, or yogurt) tenderize and infuse flavor. Marinate for at least 30 minutes, or up to 24 hours in the fridge.
Using a Dry Rub
Rub spices directly onto the skin or meat before cooking. Let sit for 15–30 minutes to bloom the flavors.
Basting
For roasted or grilled chicken, baste with butter, oil, or pan juices every 10–15 minutes to keep the surface moist.
Finishing with Butter
Add a pat of cold butter to pan-fried or grilled chicken just before serving. It melts into a rich, glossy finish.
Conclusion
Knowing how long should you cook chicken is about more than just following a timer—it’s about understanding the interplay of heat, time, and technique. By using a meat thermometer, choosing the right method for your cut, and avoiding common mistakes, you can achieve perfectly cooked chicken every time. Whether you’re baking a weeknight dinner or grilling for a summer barbecue, these tips will help you serve juicy, safe, and delicious poultry with confidence.
Remember, great cooking is a skill that improves with practice. Don’t be afraid to experiment with marinades, rubs, and cooking times. And most importantly, always prioritize food safety. With the knowledge in this guide, you’re well on your way to becoming a chicken-cooking pro.
Frequently Asked Questions
What is the safest internal temperature for chicken?
The USDA recommends cooking all poultry to an internal temperature of 165°F (74°C). This ensures harmful bacteria are destroyed and the chicken is safe to eat.
How long should you cook chicken on the grill?
Boneless breasts take 12–16 minutes (6–8 minutes per side), while bone-in pieces need 24–30 minutes. Use a thermometer to confirm doneness.
Can you cook chicken in a slow cooker?
Yes, cook on low for 4–6 hours for boneless or 6–8 hours for bone-in. The chicken should be tender and easily shreddable when done.
Why is my chicken still pink after cooking?
Pink color can result from smoking, grilling, or certain marinades. As long as the internal temperature reaches 165°F, it’s safe to eat.
How do you know if chicken is undercooked?
Undercooked chicken may feel soft, have translucent areas, or release pink juices. Always use a thermometer to verify it’s reached 165°F.
Should you wash chicken before cooking?
No. Washing can spread bacteria around your kitchen. Cooking to the proper temperature is sufficient to make chicken safe.


