
Knowing when a whole chicken is done cooking safely is essential for both taste and health. This guide covers the most reliable methods—including internal temperature, visual signs, and timing—so you can serve perfectly cooked, juicy chicken without the guesswork.
Key Takeaways
- Use a meat thermometer: The most accurate way to check doneness is by measuring the internal temperature—165°F (74°C) in the thickest part of the thigh, avoiding bone.
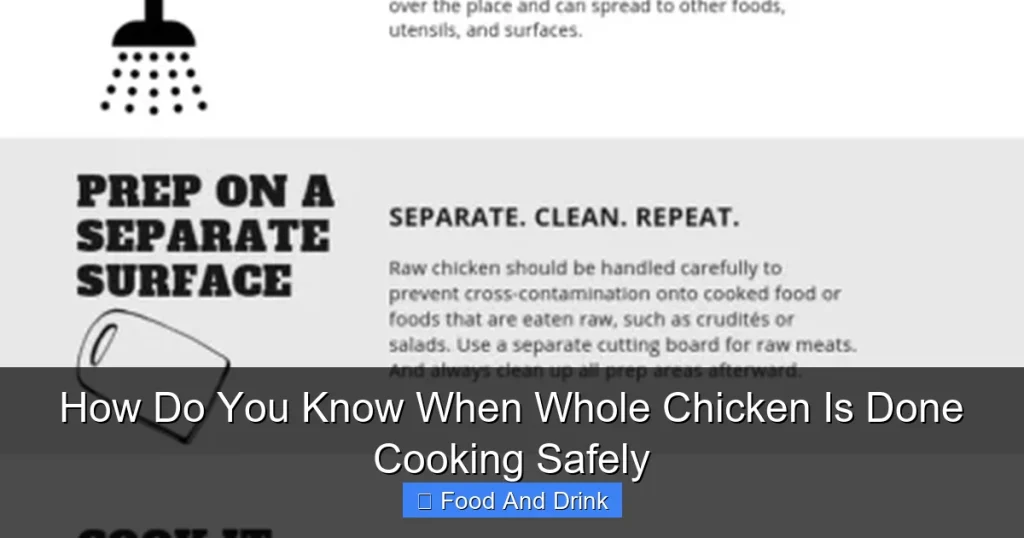
- Check the juices: When pierced, the juices should run clear, not pink or bloody, especially near the joints.
- Observe the legs: The legs should move easily and feel loose when wiggled, indicating the connective tissue has broken down.
- Rest the chicken: Let the chicken rest for 15–20 minutes after cooking; this allows juices to redistribute and the internal temperature to stabilize.
- Avoid overcooking: Overcooked chicken becomes dry and tough—use timing as a guide, but always confirm with a thermometer.
- Account for carryover cooking: The chicken’s internal temperature can rise 5–10°F after removal from heat, so remove it at 160°F if resting.
- Know your cooking method: Roasting, grilling, and slow cooking affect timing and doneness cues differently—adjust accordingly.
Quick Answers to Common Questions
What temperature should a whole chicken reach to be safe?
A whole chicken is safe to eat when it reaches an internal temperature of 165°F (74°C) in the thickest part of the thigh, avoiding the bone.
Can you tell if chicken is done without a thermometer?
Yes, you can check for clear juices, wiggly legs, and golden skin, but a thermometer is the most reliable method to ensure safety.
How long should you rest a whole chicken after cooking?
Let the chicken rest for 15–20 minutes to allow juices to redistribute and carryover cooking to complete.
Is it safe to eat chicken that’s slightly pink?
Not necessarily. While some smoked chicken can appear pink due to smoke, any pinkness in roasted or grilled chicken may indicate undercooking—always check the temperature.
Can you overcook a whole chicken?
Yes, overcooking dries out the meat, especially the breast. Use a thermometer and avoid cooking beyond 165°F unless using a slow-cooking method.
📑 Table of Contents
- Introduction: Why Knowing When Whole Chicken Is Done Matters
- The Gold Standard: Using a Meat Thermometer
- Visual and Physical Cues: What to Look and Feel For
- Timing Guidelines: A Helpful Starting Point
- The Importance of Resting the Chicken
- Avoiding Common Mistakes
- Special Considerations for Different Cooking Methods
- Conclusion: Confidence in the Kitchen
Introduction: Why Knowing When Whole Chicken Is Done Matters
Cooking a whole chicken might seem simple, but getting it just right—juicy, flavorful, and safe to eat—can be tricky. Undercooked chicken poses serious health risks, including foodborne illnesses like salmonella and campylobacter. On the flip side, overcooked chicken turns dry, tough, and unappetizing. So, how do you know when whole chicken is done cooking safely? The answer lies in a combination of science, technique, and a few reliable visual and tactile cues.
Whether you’re roasting a bird for Sunday dinner, grilling it for a summer barbecue, or slow-cooking it for shreds, understanding doneness ensures both safety and satisfaction. Many home cooks rely on time alone—like “20 minutes per pound”—but this method can be misleading due to variations in oven temperature, chicken size, and even altitude. That’s why learning to assess doneness beyond the clock is a game-changer. In this guide, we’ll walk you through the best practices, tools, and tips to confidently determine when your whole chicken is perfectly cooked.
The Gold Standard: Using a Meat Thermometer
When it comes to knowing when whole chicken is done cooking safely, nothing beats a digital instant-read meat thermometer. This small kitchen tool takes the guesswork out of cooking and gives you precise, real-time data about the chicken’s internal temperature. The USDA recommends cooking all poultry to a minimum internal temperature of 165°F (74°C) to kill harmful bacteria.
Visual guide about How Do You Know When Whole Chicken Is Done Cooking Safely
Image source: i.pinimg.com
Where to Insert the Thermometer
To get an accurate reading, insert the probe into the thickest part of the thigh, making sure it doesn’t touch the bone. Bone conducts heat differently than meat and can give a false high reading. The thigh is ideal because it’s one of the last parts to cook through and tends to stay juicier than the breast. You can also check the breast, but aim for the center, again avoiding the bone.
Why 165°F Is the Magic Number
At 165°F, harmful pathogens like salmonella are destroyed almost instantly. Some chefs argue that pulling the chicken at 160°F and letting it rest allows carryover cooking to bring it up to 165°F, which is perfectly safe and helps retain moisture. This method works well if you’re confident in your thermometer and timing. However, for beginners or when food safety is a top concern, hitting 165°F directly is the safest bet.
Types of Thermometers to Use
There are several types of thermometers that work well for whole chicken:
- Instant-read digital thermometers: Fast, accurate, and easy to use. Ideal for spot-checking during cooking.
- Leave-in probe thermometers: These stay in the chicken while it cooks and connect to a base unit or smartphone app, alerting you when the target temperature is reached.
- Oven-safe thermometers: Designed to stay in the meat during roasting, these are great for hands-off monitoring.
For most home cooks, an instant-read thermometer is the best investment. It’s affordable, reliable, and versatile for all kinds of meats.
Visual and Physical Cues: What to Look and Feel For
While a thermometer is the most reliable method, visual and physical signs can also help you assess doneness—especially if you don’t have a thermometer on hand. These cues are especially useful when cooking methods like grilling or smoking make temperature checking difficult.
Visual guide about How Do You Know When Whole Chicken Is Done Cooking Safely
Image source: izzycooking.com
Clear Juices, Not Pink
One classic method is to pierce the chicken near the joint between the thigh and the body. If the juices run clear—not pink, red, or cloudy—the chicken is likely done. Pink juices can indicate undercooking, though in some cases, myoglobin (a protein in meat) can cause pinkness even when the chicken is safe. This is more common in smoked or grilled chicken. Still, clear juices are a strong indicator of doneness.
The Leg Wiggle Test
Another old-school trick is the leg wiggle test. Grab one of the drumsticks and gently wiggle it. If it moves freely and feels loose, the connective tissue has broken down, and the chicken is likely cooked through. If it’s stiff or resists movement, it needs more time. This test works best for roasted or braised chickens where the legs are exposed.
Skin Color and Texture
While not a definitive sign, the skin can give you clues. A properly cooked roasted chicken will have golden-brown, crispy skin. If the skin is pale or rubbery, the chicken may be undercooked. However, be cautious—some recipes call for basting or covering the chicken to prevent over-browning, which can mask doneness.
Meat Shrinkage and Bone Exposure
As chicken cooks, the meat shrinks away from the bones. In a fully cooked bird, you might notice the drumsticks pulling away from the body or the wing tips becoming more exposed. While this isn’t a standalone indicator, it can support other signs of doneness.
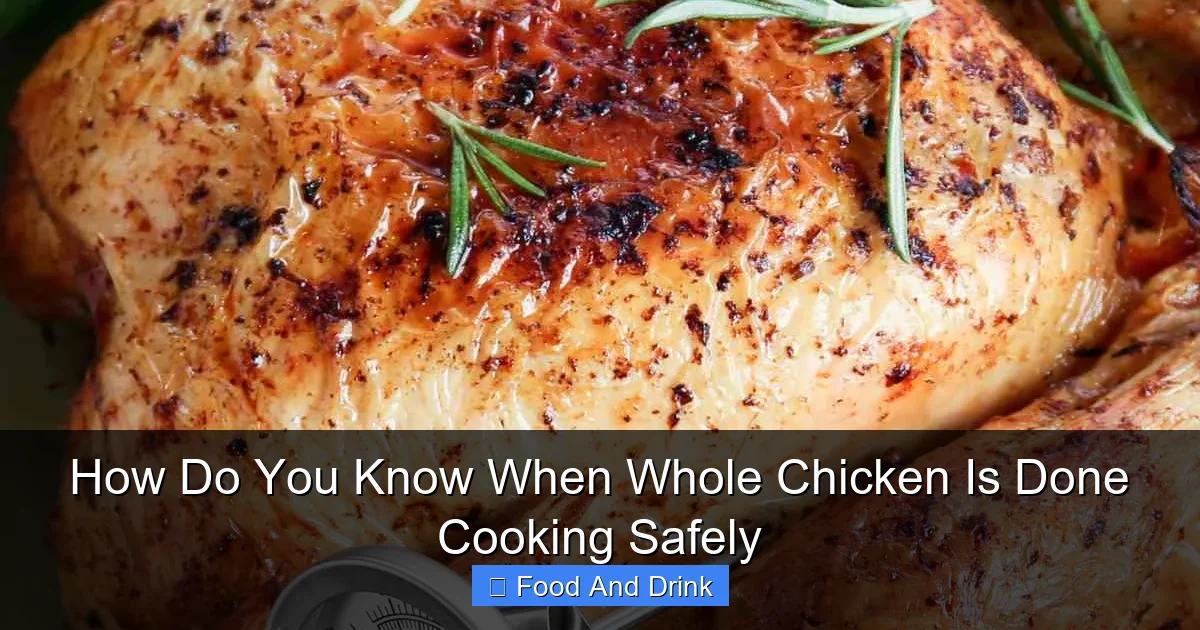
Timing Guidelines: A Helpful Starting Point
While time alone shouldn’t be your only guide, it’s a useful reference—especially when you’re new to cooking whole chicken. General timing depends on the cooking method and the size of the bird.
Visual guide about How Do You Know When Whole Chicken Is Done Cooking Safely
Image source: foodhow.com
Roasting in the Oven
For a standard 3–4 pound (1.4–1.8 kg) whole chicken roasted at 375°F (190°C), plan on about 20 minutes per pound. So, a 4-pound chicken would take roughly 80 minutes. However, this can vary based on oven accuracy, whether the chicken is stuffed, and if it’s covered or uncovered. Always confirm with a thermometer.
Grilling or Smoking
Grilling a whole chicken requires indirect heat and longer cooking times. At around 325°F (163°C), expect 15–20 minutes per pound. Smoking can take even longer—up to 25 minutes per pound—depending on the smoker and desired smoke flavor. Use a leave-in probe thermometer to monitor progress without constantly opening the grill.
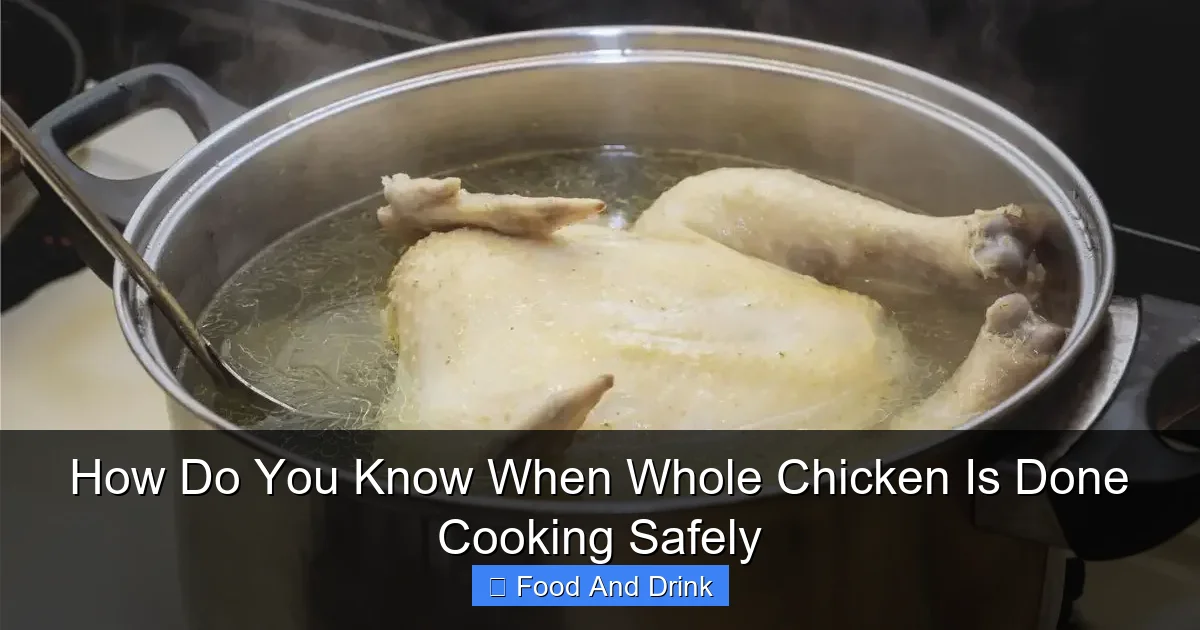
Slow Cooking
In a slow cooker, a whole chicken typically takes 4–6 hours on low (around 200°F/93°C). Because the temperature is lower, it’s crucial to use a thermometer to ensure the internal temp reaches 165°F. Slow-cooked chicken often falls off the bone when done, but don’t rely solely on texture—verify with a thermometer.
Air Frying
Air fryers cook chicken faster and more evenly. A 3–4 pound chicken usually takes 45–60 minutes at 360°F (182°C), depending on the model. Rotate the chicken halfway through for even browning. Again, use a thermometer to confirm doneness.
The Importance of Resting the Chicken
Once your chicken reaches the target temperature, the cooking isn’t quite over. Resting is a critical step that affects both safety and flavor. Letting the chicken rest for 15–20 minutes allows the juices to redistribute throughout the meat, resulting in a moister, more tender bird.
How Resting Works
During cooking, juices are pushed toward the center of the meat. When you remove the chicken from heat, these juices begin to settle. If you carve it immediately, the juices will spill out, leaving the meat dry. Resting gives the muscle fibers time to relax and reabsorb the moisture.
Carryover Cooking
Another benefit of resting is carryover cooking. The internal temperature of the chicken can rise 5–10°F after it’s removed from the heat source. This means you can safely remove the chicken from the oven at 160°F and let it rest—it will reach 165°F during this time. This technique helps prevent overcooking, especially in thick cuts like the breast.
How to Rest Properly
To rest your chicken, transfer it to a cutting board or platter and loosely tent it with aluminum foil. Don’t wrap it tightly—this can steam the skin and make it soggy. Let it sit at room temperature. The larger the chicken, the longer it should rest—up to 30 minutes for a 6-pound bird.
Avoiding Common Mistakes
Even experienced cooks can fall into traps when cooking whole chicken. Here are some common mistakes and how to avoid them.
Relying Solely on Time
Ovens vary, chickens vary, and recipes aren’t one-size-fits-all. Always use time as a guideline, not a rule. A chicken that’s been brined or stuffed will cook differently than a plain one. The only way to know for sure is with a thermometer.
Overcooking the Breast
The breast meat dries out faster than the dark meat in the thighs. To prevent this, some cooks use the “spatchcock” method—removing the backbone and flattening the chicken—which promotes even cooking. Others roast the chicken breast-side down for the first half of cooking, then flip it to crisp the skin.
Not Trussing Properly
Trussing (tying the legs together with kitchen twine) helps the chicken cook evenly and keeps the shape attractive. If the legs are loose, they can overcook while the breast is still underdone. Use a simple butcher’s knot to secure the legs and tuck the wing tips under the body.
Ignoring the Giblets
Always check the cavity of the chicken for the giblets (heart, liver, gizzard) before cooking. They’re often packaged in a small bag and can affect cooking if left inside. Remove them and save for gravy or stock, or discard.
Skipping the Thermometer
It’s tempting to skip the thermometer, especially if you’ve cooked chicken many times. But even small variations in size or oven temperature can throw off your timing. A $10 thermometer is a small price to pay for peace of mind and perfectly cooked chicken.
Special Considerations for Different Cooking Methods
Each cooking method affects how you assess doneness. Here’s what to keep in mind for popular techniques.
Roasting
Roasting is the most common method for whole chicken. It allows for even browning and crispy skin. Use a roasting pan with a rack to elevate the chicken and promote airflow. Baste occasionally for extra flavor, but avoid opening the oven too often, as it lowers the temperature.
Grilling
Grilling imparts a smoky flavor but requires careful heat management. Use a two-zone fire: sear over direct heat, then move to indirect heat to finish cooking. A drip pan under the chicken prevents flare-ups. Use a leave-in thermometer to monitor doneness without lifting the lid.
Slow Cooking
Slow cookers are great for tender, fall-off-the-bone chicken, but they can mask undercooking. Always use a thermometer. Add vegetables to the bottom to create a natural rack and prevent the chicken from sitting in liquid.
Air Frying
Air fryers cook chicken quickly and evenly, but the small space can make it hard to maneuver. Use a rotisserie attachment if available. Check the chicken halfway through and rotate if needed. The skin gets extra crispy—perfect for those who love texture.
Conclusion: Confidence in the Kitchen
Knowing when whole chicken is done cooking safely doesn’t have to be a mystery. By combining the precision of a meat thermometer with visual cues, timing guidelines, and proper resting techniques, you can consistently serve juicy, flavorful, and safe chicken. Whether you’re a beginner or a seasoned cook, these tips will help you master the art of cooking a whole bird.
Remember, food safety starts in your kitchen. Undercooked chicken isn’t just unappetizing—it’s dangerous. But overcooked chicken is a disappointment. The sweet spot is 165°F, confirmed by a reliable thermometer, and a 15–20 minute rest. With practice, you’ll develop an instinct for doneness, but never stop using your tools. Your family, friends, and taste buds will thank you.
🎥 Related Video: No thermometer? No problem – here is how to tell your chicken is cooked through #chickenhack #short
📺 ShiftPixy Labs
No thermometer? No problem – here is how to tell your chicken is cooked through Chef JP shares an easy tip for when you are …
Frequently Asked Questions
How long does it take to cook a 4-pound whole chicken?
A 4-pound chicken typically takes about 80 minutes to roast at 375°F (190°C), but always confirm doneness with a thermometer.
Should I wash my chicken before cooking?
No, washing raw chicken can spread bacteria around your kitchen. Cooking to 165°F kills any harmful pathogens.
Can I cook a frozen whole chicken?
Yes, but it will take about 50% longer to cook. Use a thermometer to ensure it reaches 165°F, and avoid stuffing if cooking from frozen.
Why is my chicken dry even though it’s cooked?
This usually happens from overcooking. Use a thermometer, rest the chicken, and consider brining or basting to retain moisture.
Is it safe to stuff a whole chicken before cooking?
Yes, but the stuffing must also reach 165°F. Cook the chicken until both the meat and stuffing are safe, which may take longer.
Can I use a meat thermometer on a whole chicken while it’s cooking?
Yes, leave-in probe thermometers are designed for this. They allow you to monitor temperature without opening the oven or grill.


