

Knowing how do you know if roast chicken is cooked is essential for both safety and flavor. This guide covers temperature checks, visual cues, timing tips, and expert tricks to ensure your roast chicken is juicy, safe, and delicious—every single time.
Roast chicken is one of those classic comfort foods that feels like home—crispy golden skin, tender meat, and that rich, savory aroma filling your kitchen. But here’s the thing: nothing ruins the moment faster than cutting into a bird only to find pink, undercooked meat… or worse, dry, overcooked flesh that’s tough and stringy. So, how do you know if roast chicken is cooked perfectly every time? It’s a question every home cook has asked, and the good news is, the answer is simpler than you might think.
The secret lies in a combination of science, observation, and a little bit of patience. While recipes often give you a general cooking time—like “roast for 1 hour and 15 minutes”—that’s just a starting point. Ovens vary, chickens differ in size, and even the type of roasting pan can affect cooking. Relying solely on time is like driving by the clock instead of looking at the road. You need real-time feedback. That’s where tools like meat thermometers and visual cues come in. And once you master these techniques, you’ll never have to guess again.
In this guide, we’ll walk you through every method to ensure your roast chicken is not only safe to eat but also juicy, flavorful, and cooked to perfection. Whether you’re a beginner or a seasoned cook, these tips will help you roast with confidence. From understanding safe internal temperatures to recognizing visual signs of doneness, we’ve got you covered. Let’s dive in and turn your next roast chicken into a masterpiece.
Key Takeaways
- Use a meat thermometer: The most reliable way to check doneness is by measuring the internal temperature—165°F (74°C) in the thickest part of the thigh, avoiding bone.
- Check the juices: Pierce the chicken near the thigh; if the juices run clear (not pink), it’s likely done.
- Look for visual signs: The skin should be golden brown and crispy, and the legs should move easily when wiggled.
- Rest the chicken: Let it rest for 10–15 minutes after roasting to lock in juices and allow carryover cooking.
- Account for carryover cooking: The internal temperature can rise 5–10°F after removal from the oven, so remove it at 160°F (71°C) if resting.
- Adjust for size and oven variations: Larger birds or uneven ovens may require longer cooking times—always rely on temperature, not time alone.
- Brining helps with even cooking: A brined chicken retains moisture and cooks more evenly, reducing the risk of dryness.
Quick Answers to Common Questions
What is the safest internal temperature for roast chicken?
The USDA recommends cooking roast chicken to an internal temperature of 165°F (74°C) in the thickest part of the thigh, avoiding the bone.
Can you tell if roast chicken is done without a thermometer?
Yes, you can check if juices run clear, the skin is golden brown, and the legs move easily—but a thermometer is the most reliable method.
How long should you rest roast chicken after cooking?
Let roast chicken rest for 10–15 minutes after roasting to allow juices to redistribute and carryover cooking to complete.
Is it safe to eat chicken if the juices are pink?
No, pink juices may indicate undercooked meat. Always ensure the internal temperature reaches 165°F for safety.
Should you cover roast chicken while it rests?
Tent it loosely with foil to keep it warm, but don’t wrap it tightly, as this can make the skin soggy.
📑 Table of Contents
The Science of Safe Roasting: Why Temperature Matters
When it comes to cooking poultry, safety is non-negotiable. Undercooked chicken can harbor harmful bacteria like Salmonella and Campylobacter, which can cause serious foodborne illness. That’s why understanding the science behind safe cooking temperatures is the first step in mastering roast chicken.
The U.S. Department of Agriculture (USDA) recommends cooking all poultry—including whole chickens—to a minimum internal temperature of 165°F (74°C). This temperature is scientifically proven to destroy harmful bacteria quickly and effectively. But here’s the catch: that temperature must be measured in the right place. The thickest part of the thigh, near where it connects to the body, is the best spot. Why? Because the thigh is one of the last parts to cook through, and it’s farthest from the heat source. Measuring there ensures the entire bird is safe to eat.
Now, you might be thinking, “But my grandma never used a thermometer and her chicken was always perfect!” And you’re right—some people have a great eye and a feel for it. But even the most experienced cooks can be thrown off by a larger bird, a cold oven, or a change in recipe. A meat thermometer removes the guesswork. It’s like having a built-in safety net.
Let’s say you’re roasting a 4-pound chicken. You’ve followed a recipe that says to cook it at 375°F (190°C) for 1 hour and 20 minutes. But when you check it at the 1-hour mark, the internal temperature is only 150°F (65°C). That’s perfectly normal! Ovens can run hot or cold, and chickens vary in density. Instead of panicking, you simply continue cooking and check every 10 minutes until you hit 165°F. This method ensures you don’t overcook the breast while waiting for the thighs to catch up.
Another common mistake is inserting the thermometer into the bone. Bone conducts heat differently than meat, and it can give you a false reading. Always aim for the center of the thigh muscle, avoiding contact with the bone. If you’re using a digital instant-read thermometer, insert it slowly and wait for the reading to stabilize—usually about 10–15 seconds.
And here’s a pro tip: if you’re roasting a stuffed chicken, you must also check the center of the stuffing. It needs to reach 165°F as well. But honestly? For even cooking and food safety, it’s often better to cook stuffing separately. That way, you can focus on getting the chicken perfectly done without worrying about the filling.
Visual and Physical Cues: What to Look and Feel For
Visual guide about How Do You Know If Roast Chicken Is Cooked Perfectly Every Time
Image source: vindulge.com
While a thermometer is the gold standard, there are other ways to assess doneness—especially if you don’t have one on hand. Visual and physical cues can give you a good sense of whether your roast chicken is ready, though they’re best used in combination with temperature checks.
One of the easiest signs to spot is the color of the juices. When chicken is undercooked, the juices that run from it are often pink or even bloody. As it cooks, those juices turn clear. To test this, use a small knife or fork to pierce the thickest part of the thigh, near the joint. If the liquid that comes out is clear and colorless, that’s a strong indicator the chicken is done. If it’s still pink or cloudy, give it more time.
Another visual clue is the skin. A perfectly roasted chicken should have golden-brown, crispy skin that’s slightly blistered in spots. If the skin is pale or soggy, it likely needs more time in the oven. But be careful—overcooking can also cause the skin to darken too much or burn, especially if you’re using a high-heat method like roasting at 425°F (220°C) to start. That’s why many chefs recommend starting high to crisp the skin, then lowering the heat to finish cooking gently.
The legs and wings can also tell you a lot. When a chicken is fully cooked, the legs should move freely when you wiggle them. If they’re stiff or hard to move, the connective tissues haven’t broken down yet, and the meat may still be undercooked. Similarly, the wings should feel tender and easy to pull away from the body.
You can also look at the overall appearance of the bird. A cooked chicken will shrink slightly from the sides of the pan, and the meat will pull away from the bones, especially around the thighs and drumsticks. The breast may also appear plump and firm, not soft or squishy.
But remember: these visual cues are helpful, but not foolproof. A chicken can look done on the outside but still be undercooked inside—especially if it’s a large bird or was started from cold. That’s why combining these signs with a temperature check is your best bet.
Using a Meat Thermometer: The Most Reliable Method
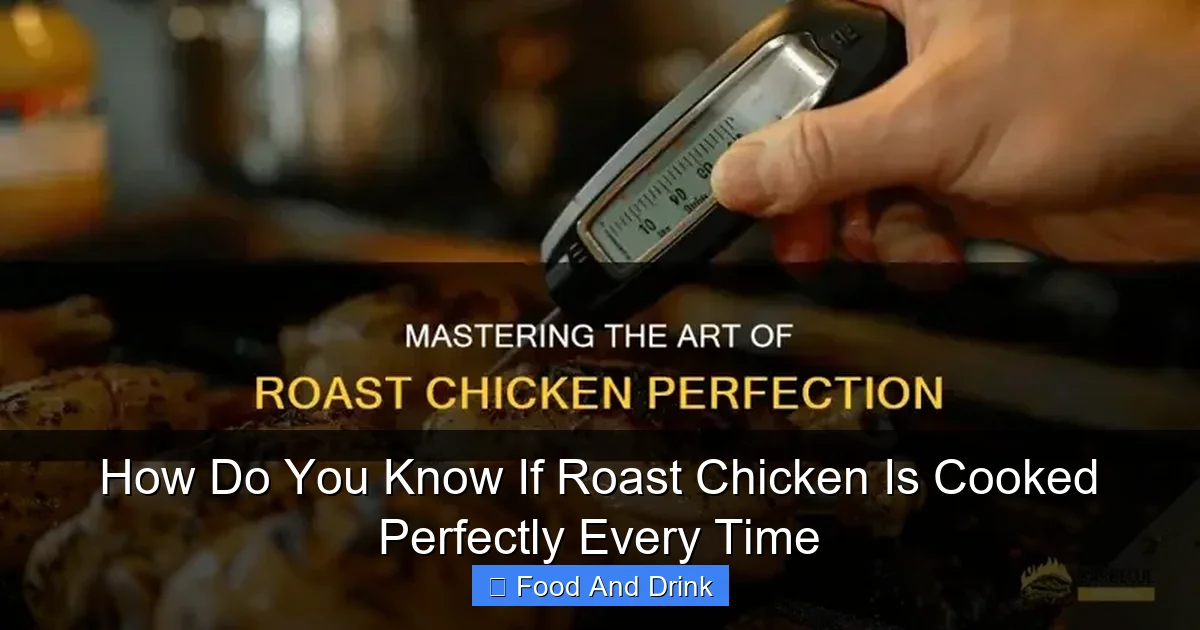
Visual guide about How Do You Know If Roast Chicken Is Cooked Perfectly Every Time
Image source: shungrill.com
If there’s one tool that can transform your roast chicken game, it’s a good meat thermometer. It’s affordable, easy to use, and takes the guesswork out of cooking. Whether you’re a beginner or a pro, this little gadget is your secret weapon for perfect results every time.
There are two main types of thermometers to consider: instant-read and leave-in. Instant-read thermometers are great for quick checks. You insert the probe, wait a few seconds, and get an accurate reading. They’re ideal for checking multiple spots without leaving the oven open too long. Leave-in thermometers, on the other hand, stay in the chicken while it roasts. They often come with a digital display that sits outside the oven, so you can monitor the temperature without opening the door. Both are excellent—choose based on your preference and budget.
To use an instant-read thermometer correctly, insert the probe into the thickest part of the thigh, making sure it doesn’t touch the bone. The ideal target temperature is 165°F (74°C). But here’s a smart trick: many chefs recommend removing the chicken from the oven when it reaches 160°F (71°C). Why? Because of carryover cooking.
Carryover cooking is the phenomenon where the internal temperature of meat continues to rise after it’s removed from the heat source. This happens because the outer layers are hotter than the center, and heat gradually moves inward. For a roast chicken, this can mean a 5–10°F increase during the resting period. So, pulling it out at 160°F ensures it hits 165°F while resting—without overcooking.
Let’s say you’re roasting a 5-pound chicken at 375°F. You check it after 1 hour and 15 minutes, and the thermometer reads 158°F. That’s close! You give it another 10 minutes, and it hits 160°F. At that point, you remove it from the oven, tent it loosely with foil, and let it rest for 15 minutes. During that time, the temperature climbs to 165°F—perfectly safe and juicy.
One common mistake is checking the temperature too early or in the wrong spot. Don’t check the breast first—it cooks faster and can hit 165°F while the thighs are still undercooked. Always check the thigh. Also, avoid poking the thermometer through the skin into the cavity, as that won’t give you an accurate reading of the meat.
If you’re using a leave-in thermometer, place the probe in the thigh before roasting. Set an alarm for 160°F, and when it beeps, remove the chicken and let it rest. This method is especially helpful for larger birds or when you’re multitasking in the kitchen.
And don’t forget to clean your thermometer after each use! Bacteria can linger on the probe, so wash it with hot, soapy water or use a disinfectant wipe.
Timing and Oven Tips for Even Cooking
Visual guide about How Do You Know If Roast Chicken Is Cooked Perfectly Every Time
Image source: i.pinimg.com
While temperature is the ultimate guide, understanding timing and oven behavior can help you plan and troubleshoot. Roast chicken cooking times vary based on weight, oven temperature, and whether the chicken is stuffed or not.
As a general rule, plan for about 15–20 minutes per pound at 375°F (190°C). So a 4-pound chicken would take roughly 1 hour to 1 hour and 20 minutes. But again, this is just a guideline. A chicken that’s been brined or spatchcocked (butterflied) will cook faster. A cold chicken straight from the fridge will take longer than one that’s been brought to room temperature.
One of the biggest factors affecting cooking time is oven accuracy. Many home ovens run hotter or colder than the set temperature. To check yours, use an oven thermometer. Place it inside and compare the reading to the dial. If your oven runs 25°F hot, you’ll need to adjust your cooking time accordingly.
Another tip: rotate the pan halfway through roasting. This ensures even browning, especially if your oven has hot spots. And if you’re using a roasting pan with a rack, make sure the chicken isn’t sitting in its own juices—this can lead to steaming instead of roasting, which affects crispiness.
For extra insurance, you can also use the “two-temperature method.” Start by roasting at 425°F (220°C) for the first 20–30 minutes to crisp the skin and jump-start cooking. Then reduce the heat to 350°F (175°C) to finish cooking gently. This method helps prevent the breast from drying out while ensuring the thighs cook through.
And don’t forget about resting! After roasting, let the chicken rest for at least 10–15 minutes before carving. This allows the juices to redistribute throughout the meat, resulting in a moister, more flavorful bird. Tent it loosely with foil to keep it warm, but don’t wrap it tightly—that can make the skin soggy.
Common Mistakes and How to Avoid Them
Even experienced cooks make mistakes when roasting chicken. The good news? Most of these are easy to fix with a little knowledge and attention.
One of the most common errors is overcooking. It’s easy to leave the chicken in too long, especially if you’re relying on time instead of temperature. Overcooked chicken is dry, tough, and loses its flavor. To avoid this, always use a thermometer and remove the chicken at 160°F to account for carryover cooking.
Another mistake is not trussing the chicken. Trussing—tying the legs together with kitchen twine—helps the bird cook evenly. Without it, the legs can overcook while the breast is still underdone. It also gives the chicken a more attractive, compact shape.
Skipping the rest is another big one. Cutting into the chicken immediately after roasting lets all the juices spill out, leaving the meat dry. Always let it rest!
And finally, don’t forget to season properly. Salt the chicken at least 30 minutes before roasting, or even better, dry-brine it overnight. This not only adds flavor but also helps the skin crisp up.
Conclusion: Master the Art of Perfect Roast Chicken
Roasting a chicken doesn’t have to be stressful. With the right tools, techniques, and a little patience, you can achieve juicy, flavorful, and perfectly cooked results every time. The key is to stop guessing and start measuring. Use a thermometer, watch for visual cues, and always let your chicken rest. Once you master these steps, you’ll wonder how you ever cooked without them. So go ahead—fire up that oven, season that bird, and roast with confidence. Your perfect roast chicken awaits.
🎥 Related Video: No thermometer? No problem – here is how to tell your chicken is cooked through #chickenhack #short
📺 ShiftPixy Labs
No thermometer? No problem – here is how to tell your chicken is cooked through Chef JP shares an easy tip for when you are …
Frequently Asked Questions
Can I cook a frozen roast chicken?
It’s not recommended to roast a completely frozen chicken, as it can lead to uneven cooking and food safety risks. Thaw it in the refrigerator first.
Why is my roast chicken dry?
Dry chicken is usually caused by overcooking. Use a thermometer, remove the chicken at 160°F, and let it rest to retain moisture.
How do I get crispy skin on roast chicken?
Pat the skin dry before roasting, season with salt, and start at a high temperature (425°F) to crisp the skin, then reduce heat.
Can I stuff the chicken while roasting?
Yes, but the stuffing must also reach 165°F. For even cooking and safety, many chefs recommend cooking stuffing separately.
How often should I check the temperature?
Check every 10–15 minutes once you’re close to the target temperature to avoid overcooking.
What if my chicken is done but the skin isn’t crispy?
Turn on the broiler for 2–3 minutes at the end of cooking to crisp the skin, watching closely to prevent burning.

