
Yes, you absolutely can roast chicken perfectly every time—with the right techniques, tools, and confidence. This guide breaks down everything from prep to plating, ensuring golden skin, tender meat, and delicious results whether you’re a beginner or seasoned cook.
Key Takeaways
- Start with a quality bird: Choose fresh or properly thawed chicken, ideally organic or free-range for better flavor and texture.
- Patience pays off: Let the chicken come to room temperature before roasting and dry the skin thoroughly for crispier results.
- Season generously and smartly: Salt in advance (dry brine) and use aromatics like garlic, herbs, and lemon inside the cavity for deep flavor.
- Use the right temperature: Roast at 425°F (220°C) for the first 20 minutes, then reduce to 375°F (190°C) to ensure even cooking without drying out.
- Check internal temperature: Use a meat thermometer—165°F (74°C) in the thickest part of the thigh (not touching bone) means it’s safe and juicy.
- Rest before carving: Let the chicken rest for 15–20 minutes after roasting to lock in juices and make carving easier.
- Repurpose leftovers wisely: Use leftover meat for salads, soups, tacos, or sandwiches—roasted chicken is a kitchen workhorse.
Quick Answers to Common Questions
Can I roast chicken from frozen?
No, never roast chicken from frozen. It must be fully thawed in the refrigerator to cook safely and evenly. Roasting frozen chicken leads to uneven cooking and potential food safety risks.
How long does it take to roast a 4-pound chicken?
A 4-pound chicken takes about 1 hour to 1 hour 15 minutes at 425°F (220°C) initially, then 375°F (190°C). Always check the internal temperature—165°F (74°C) in the thigh—to confirm doneness.
Can I use a slow cooker instead of the oven?
While you can cook chicken in a slow cooker, it won’t give you crispy skin. For that golden, roasted texture, the oven is the best method.
What if my chicken skin isn’t crispy?
This is usually due to moisture. Make sure to pat the chicken very dry, and consider dry-brining in the fridge uncovered for a few hours or overnight.
Can I reuse the drippings for gravy?
Absolutely! Skim off excess fat, then use the drippings as the base for a rich, flavorful gravy. Add broth, flour, and seasonings to taste.
📑 Table of Contents
- Can I Roast Chicken Perfectly Every Time? The Honest Answer
- Why Roasting Chicken Feels Tricky (And Why It Doesn’t Have To)
- Choosing the Right Chicken: Quality Matters
- Prep Like a Pro: The Secret to Perfect Roast Chicken
- Master the Roasting Process: Temperature, Time, and Technique
- How to Know When It’s Done: The Thermometer Test
- Carving and Serving: Make It Look (and Taste) Amazing
- Common Mistakes (And How to Avoid Them)
- Creative Twists: Beyond Basic Roast Chicken
- Conclusion: Yes, You Can Roast Chicken Perfectly
Can I Roast Chicken Perfectly Every Time? The Honest Answer
If you’ve ever stood over a sizzling roasting pan, wondering if your chicken will turn out juicy or dry, golden or pale, you’re not alone. Roasting a whole chicken seems simple—toss it in the oven, wait, and eat—but achieving that restaurant-quality result at home can feel like a mystery. The good news? Yes, you can roast chicken perfectly every time. It’s not magic. It’s method.
Roasting chicken is one of the most rewarding cooking skills you can master. It’s economical, versatile, and deeply satisfying. A well-roasted chicken feeds a family, makes leftovers for days, and fills your kitchen with an aroma that says “home.” But perfection isn’t just about taste—it’s about texture, safety, and consistency. And that’s where most home cooks stumble.
The secret isn’t a secret at all. It’s about understanding the basics: how heat works, how moisture behaves, and how flavor develops. With a few key techniques and a little practice, you’ll go from nervous beginner to confident roaster. Whether you’re cooking for a holiday dinner or a Tuesday night meal, this guide will help you roast chicken that’s crispy-skinned, succulent, and full of flavor—every single time.
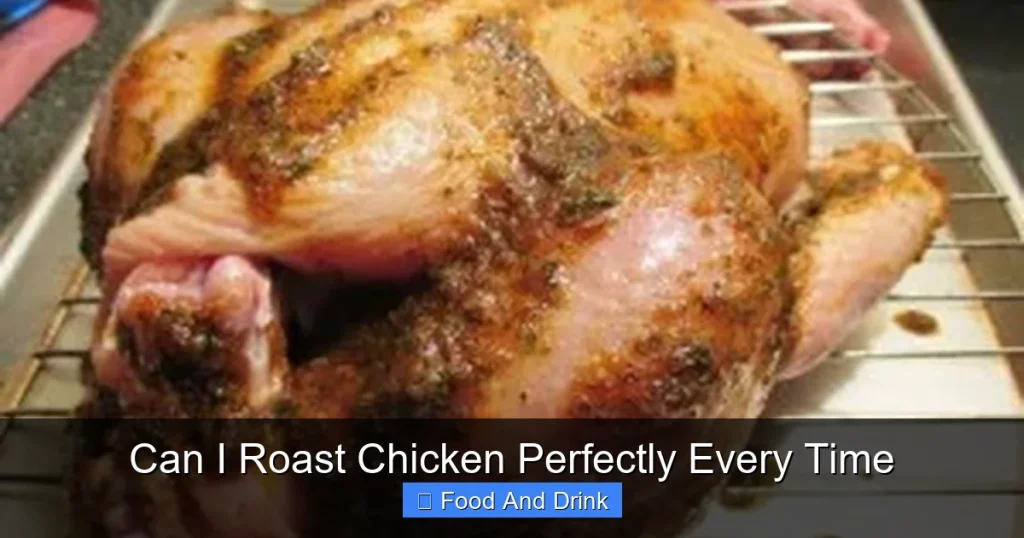
Why Roasting Chicken Feels Tricky (And Why It Doesn’t Have To)
Visual guide about Can I Roast Chicken Perfectly Every Time
Image source: i.pinimg.com
Let’s be real: roasting a whole chicken can feel intimidating. There’s a whole bird involved—organs, bones, skin, and all. You’re dealing with uneven shapes, varying thicknesses, and the fear of undercooking or overcooking. Plus, there’s the pressure of serving something that looks and tastes impressive.
But here’s the truth: roasting chicken is one of the most forgiving and straightforward cooking methods out there. Unlike delicate fish or precise pastries, chicken gives you room to learn. And once you understand a few core principles, the process becomes second nature.
One common mistake is rushing. Many people throw a cold chicken straight from the fridge into a hot oven. That leads to uneven cooking—the outside dries out before the inside is done. Another is under-seasoning. Chicken isn’t naturally bold in flavor, so it needs salt, herbs, and aromatics to shine. And then there’s the myth that higher heat always means better browning. While high heat helps crisp the skin, too much can burn it before the meat is cooked through.
The good news? These are all fixable. With the right prep, temperature control, and a reliable thermometer, you’ll eliminate guesswork. Roasting chicken isn’t about luck—it’s about technique. And once you’ve got it down, you’ll wonder why you ever doubted yourself.
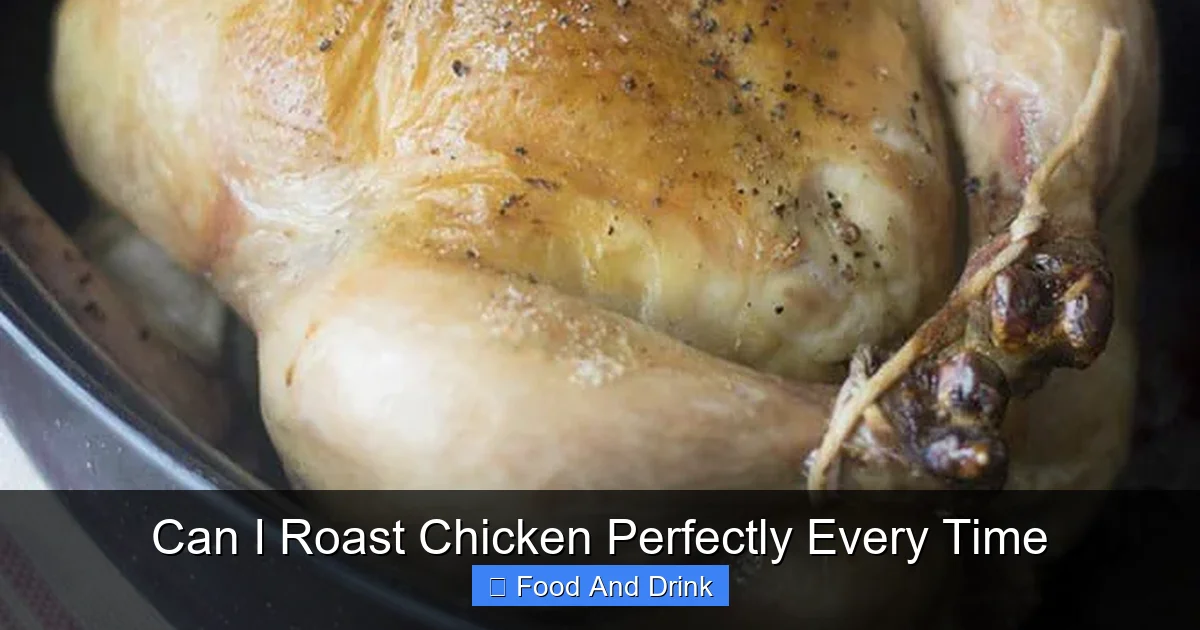
Choosing the Right Chicken: Quality Matters

Visual guide about Can I Roast Chicken Perfectly Every Time
Image source: jocooks.com
Before you even think about turning on the oven, start with the star of the show: the chicken itself. Not all chickens are created equal, and the quality of your bird will directly impact the final result.
Fresh vs. Frozen: What’s Best?
You’ve probably seen both fresh and frozen chickens at the store. So which should you choose? Fresh chickens are convenient—no thawing required—but they have a shorter shelf life. Frozen chickens are often more affordable and can be just as good, provided they’re thawed properly.
If you go frozen, plan ahead. Thaw your chicken in the refrigerator, not on the counter. Allow 24 hours for every 5 pounds (about 2.3 kg). A 4-pound (1.8 kg) chicken will take about 20–24 hours to thaw safely. Never thaw at room temperature—this encourages bacterial growth.
When buying fresh, check the sell-by date and look for firm, plump flesh with no strong odor. The skin should be smooth and free of bruises or discoloration.
Conventional, Free-Range, or Organic?
You’ll also see labels like “free-range,” “organic,” or “pasture-raised.” These aren’t just marketing buzzwords—they affect flavor and texture.
– Conventional chickens are raised in crowded conditions and fed a standard diet. They’re fine for roasting, but may have less flavor and more water content.
– Free-range chickens have access to the outdoors, which can lead to more active muscles and richer taste.
– Organic chickens are fed organic feed and raised without antibiotics or hormones. Many people find organic birds have a cleaner, more pronounced flavor.
– Pasture-raised chickens spend most of their lives outdoors, foraging. These tend to be the most flavorful and textured, though also the most expensive.
For the best roast, aim for free-range or organic if your budget allows. The difference in taste and texture is noticeable, especially when roasted simply with salt, pepper, and herbs.
Size Matters: Picking the Right Weight
Chickens typically range from 3 to 6 pounds (1.4 to 2.7 kg). For a family of four, a 4- to 5-pound bird is ideal. Smaller chickens cook faster and can dry out more easily, while larger ones take longer and may not fit in all ovens or roasting pans.
If you’re cooking for two, consider a smaller bird or plan to enjoy leftovers. Roasted chicken keeps well in the fridge for up to four days and freezes beautifully for up to three months.
Prep Like a Pro: The Secret to Perfect Roast Chicken
Great roasting starts long before the oven heats up. Proper prep is the foundation of a juicy, flavorful bird. Skimp here, and you’ll pay for it later.
Dry the Skin Thoroughly
Crispy skin is the hallmark of a great roast chicken. And the key to crispiness? Dryness. Moisture is the enemy of browning.
After removing the chicken from its packaging, pat it completely dry with paper towels—inside and out. Don’t skip the cavity! Any leftover moisture will steam the skin instead of crisping it.
For even better results, let the chicken air-dry in the fridge, uncovered, for at least 1 hour—or up to 24 hours. This extra step, called “dry brining,” not only dries the skin but also seasons the meat deeply as the salt penetrates over time.
Salt Early and Often
Salt is your best friend when roasting chicken. It enhances flavor, helps retain moisture, and promotes browning.
For the best results, salt the chicken at least 1 hour before cooking—or up to 24 hours in advance. Use about 1 teaspoon of kosher salt per pound of chicken. Sprinkle it evenly over the skin and inside the cavity.
If you’re short on time, you can salt just before roasting, but the flavor won’t be as deep. For a true dry brine, place the salted chicken on a wire rack set over a baking sheet and refrigerate uncovered. This allows air to circulate and dries the skin further.
Stuff the Cavity with Aromatics
Forget stuffing the cavity with bread-based stuffing—it’s a food safety risk and doesn’t cook evenly. Instead, fill the cavity with aromatics that infuse the meat with flavor as it roasts.
Try a combination of:
– Halved lemons or limes
– Garlic cloves (smashed)
– Fresh herbs (rosemary, thyme, sage)
– Onion quarters
– A few sprigs of parsley
These won’t “stuff” the chicken like traditional stuffing, but they’ll release juices and oils that baste the meat from the inside out. Plus, they make the kitchen smell amazing.
Truss or Not to Truss?
Trussing—tying the legs together with kitchen twine—used to be standard practice. The idea was to help the bird cook evenly and look neat.
But modern ovens and roasting techniques have made trussing less necessary. In fact, leaving the legs untied can help them cook faster and more evenly, especially if you tuck the wings under the body to prevent burning.
If you do truss, keep it loose. You want the legs to stay close to the body, but not so tight that they restrict heat flow.
Master the Roasting Process: Temperature, Time, and Technique
Now for the main event: roasting. This is where science meets art. Get the heat right, and you’ll have golden skin and juicy meat. Get it wrong, and you’ll end up with dry, rubbery disappointment.
The Two-Temperature Method
The best way to roast chicken is with a two-stage temperature approach:
1. Start high: Preheat your oven to 425°F (220°C). This high heat jump-starts browning and crisps the skin.
2. Reduce heat: After 20 minutes, lower the oven to 375°F (190°C). This gentler heat allows the inside to cook through without overcooking the outside.
This method gives you the best of both worlds: crispy skin and tender meat.
Use a Roasting Pan (or Not)
A roasting pan with a rack is ideal—it elevates the chicken, allowing heat to circulate evenly and preventing the bottom from steaming. But if you don’t have one, a baking sheet with a wire rack works just as well.
Avoid roasting directly on the pan bottom unless you’re using vegetables underneath (more on that soon). Direct contact can cause uneven browning and soggy skin.
Add Vegetables for a One-Pan Meal
One of the joys of roasting chicken is that you can cook a complete meal in one pan. Toss chopped vegetables—like potatoes, carrots, onions, and celery—into the pan around the chicken. Drizzle with olive oil, salt, and pepper.
As the chicken roasts, its juices will baste the vegetables, infusing them with incredible flavor. Just make sure the veggies are cut into similar-sized pieces so they cook evenly.
Rotate for Even Browning
Ovens have hot spots. To ensure even browning, rotate the pan 180 degrees halfway through cooking. This simple step prevents one side from burning while the other stays pale.
If your oven runs hot, consider using an oven thermometer to verify the temperature. Many home ovens are off by 25°F or more.
Baste? Maybe, Maybe Not
Basting—spooning pan juices over the chicken—was once considered essential. But modern research shows it doesn’t significantly improve moisture or flavor. In fact, opening the oven door lowers the temperature and can延长 cooking time.
If you want to baste, do it sparingly—once or twice at most—and close the oven quickly. Or better yet, skip it. The chicken will stay juicy thanks to proper prep and temperature control.
How to Know When It’s Done: The Thermometer Test
The only reliable way to know if your chicken is done is with a meat thermometer. Visual cues—like golden skin or juices running clear—are helpful but not foolproof.
Where to Insert the Thermometer
Insert the probe into the thickest part of the thigh, avoiding the bone. The thigh is the last part to cook, so if it’s done, the rest of the bird is safe.
The USDA recommends cooking poultry to an internal temperature of 165°F (74°C). But here’s a pro tip: pull the chicken out at 160°F (71°C). The temperature will continue to rise 5–10 degrees as it rests, landing safely at 165°F.
Resting: The Final Step to Juicy Meat
Once the chicken reaches the right temperature, remove it from the oven and let it rest, loosely covered with foil, for 15–20 minutes.
Resting allows the juices to redistribute throughout the meat. If you carve too soon, those precious juices will spill out, leaving dry slices. But after resting, each piece will be moist and flavorful.
Use this time to make a quick pan sauce with the drippings, or simply enjoy the aroma filling your kitchen.
Carving and Serving: Make It Look (and Taste) Amazing
A perfectly roasted chicken deserves a beautiful presentation. Carving doesn’t have to be intimidating—with a sharp knife and a few simple steps, you’ll serve elegant portions every time.
How to Carve a Whole Chicken
1. Place the chicken breast-side up on a cutting board.
2. Remove the legs by cutting through the joint where the thigh meets the body. Repeat on the other side.
3. Separate the drumstick from the thigh by cutting through the joint.
4. Slice the breast meat against the grain into even portions. Start at the top and work your way down.
5. Optional: Remove the wings by cutting through the joint.
Serve the pieces on a platter with the roasted vegetables, or arrange them individually on plates.
Make a Simple Pan Sauce
Don’t let those golden drippings go to waste! A quick pan sauce elevates your meal from good to gourmet.
After removing the chicken, place the roasting pan on the stovetop over medium heat. Add 1 cup of chicken broth, wine, or water, and scrape up the browned bits (that’s flavor!). Simmer for 2–3 minutes, then stir in a tablespoon of butter for richness. Season with salt, pepper, and a splash of lemon juice if desired.
Drizzle over the carved chicken and vegetables for a restaurant-worthy finish.
Common Mistakes (And How to Avoid Them)
Even experienced cooks make mistakes. Here are the most common pitfalls—and how to dodge them.
- Overcooking: The #1 cause of dry chicken. Use a thermometer and pull the bird out at 160°F.
- Under-seasoning: Salt early and generously. Don’t be shy—chicken needs it.
- Starting cold: Let the chicken come to room temperature for 30–60 minutes before roasting.
- Skipping the rest: Resting is non-negotiable. Cutting too soon = dry meat.
- Ignoring the cavity: Dry it out and stuff it with aromatics for extra flavor.
- Using a dull knife: A sharp knife makes carving easier and safer.
Creative Twists: Beyond Basic Roast Chicken
Once you’ve mastered the basics, experiment with flavors and techniques.
– Spatchcocking: Flatten the chicken by removing the backbone. This reduces cooking time and ensures even browning.
– Herb butter under the skin: Gently loosen the skin and spread softened butter mixed with herbs between the skin and meat. This bastes the breast from above.
– Marinades and rubs: Try a lemon-garlic marinade or a smoky paprika rub for bold flavor.
– Global inspirations: Roast with soy sauce and ginger for an Asian twist, or cumin and coriander for a Middle Eastern flair.
The possibilities are endless—and delicious.
Conclusion: Yes, You Can Roast Chicken Perfectly
Roasting a whole chicken doesn’t have to be daunting. With the right chicken, proper prep, smart roasting techniques, and a reliable thermometer, you can achieve golden, juicy, flavorful results every single time.
It’s not about perfection—it’s about progress. Each roast teaches you something new. And with each success, your confidence grows.
So the next time someone asks, “Can I roast chicken perfectly every time?” you can smile and say, “Yes. And so can you.”
Frequently Asked Questions
How do I keep the breast meat from drying out?
Roast at a moderate temperature and use a thermometer. Pull the chicken out at 160°F (71°C) and let it rest. The breast will stay juicy thanks to carryover cooking and proper resting.
Can I roast chicken without a rack?
Yes, but the skin may not crisp as well. If you don’t have a rack, place chopped vegetables in the pan to elevate the chicken slightly and absorb drippings.
Is it safe to stuff the cavity with bread stuffing?
No, it’s not recommended. The stuffing may not reach a safe temperature before the chicken is done, increasing the risk of foodborne illness. Bake stuffing separately.
How do I store leftover roast chicken?
Store in an airtight container in the refrigerator for up to 4 days. For longer storage, freeze for up to 3 months. Remove meat from the bones before freezing for easier use.
Can I roast a chicken in a convection oven?
Yes! Convection roasting circulates hot air for even browning. Reduce the temperature by 25°F (about 15°C) and check for doneness a few minutes early.
What’s the best way to reheat leftover roast chicken?
Reheat in a 350°F (175°C) oven covered with foil for 15–20 minutes, or gently in a skillet with a splash of broth to keep it moist. Avoid the microwave if possible—it can dry out the meat.


