

BBQ chicken with a can of beer is a game-changer for home cooks. The beer keeps the meat moist while infusing it with rich, smoky flavor, and the recipe couldn’t be simpler. Just season, place the chicken over a half-full beer can, and grill to perfection.
If you’ve ever stood over a grill, watching your chicken slowly dry out despite your best efforts, you’re not alone. Dry, overcooked chicken is one of the most common grilling mishaps—especially when you’re trying to impress friends or family at a summer cookout. But what if there was a simple, almost magical trick to keep your chicken juicy, tender, and packed with flavor? Enter: BBQ chicken with a can of beer.
This clever technique has been a grilling secret among pitmasters and backyard chefs for years. It’s not just a gimmick—it’s a smart, science-backed method that uses the power of steam and flavor infusion to transform ordinary chicken into something extraordinary. And the best part? It’s incredibly easy. No marinating for hours, no complicated brining, no constant flipping. Just a few ingredients, a half-full beer can, and a hot grill.
Imagine biting into a piece of chicken that’s crispy on the outside, succulent on the inside, and bursting with smoky, savory notes. That’s what beer-can chicken delivers. The beer heats up inside the can, creating steam that gently cooks the chicken from the inside out. At the same time, the alcohol and hops infuse the meat with a subtle depth of flavor that you just can’t get from dry heat alone. Plus, the chicken stands upright on the can, allowing heat to circulate evenly around the entire bird—resulting in perfectly cooked meat from breast to thigh.
Key Takeaways
- Beer adds moisture and flavor: The steam from the heated beer bastes the chicken from the inside, preventing dryness.
- Easy setup, impressive results: No fancy tools needed—just a grill, a beer can, and basic seasonings.
- Versatile for any occasion: Great for backyard BBQs, tailgates, or weeknight dinners.
- Customize your spice blend: Use your favorite rub or marinade to match your taste.
- Safe grilling technique: Proper placement and heat control ensure even cooking and food safety.
- Works with various chicken cuts: Best with whole chickens or bone-in thighs and drumsticks.
- Eco-friendly tip: Reuse or recycle the beer can after cooking.
Quick Answers to Common Questions
Can I use a soda can instead of beer?
Yes, you can use a soda can, but beer adds better flavor and steam. Cola or ginger beer work best for a sweeter twist.
How long does beer-can chicken take to cook?
About 1 to 1.5 hours, depending on the size of the chicken and grill temperature. Always check with a thermometer.
Is beer-can chicken safe to eat?
Yes, as long as the chicken reaches 165°F internally and you use a clean, aluminum can. The alcohol evaporates during cooking.
Can I cook this in the oven?
Yes! Use a roasting pan with a rack. Cook at 375°F for 1.5 to 2 hours, but grilling gives better flavor and crispiness.
What if the chicken tips over?
Use a beer can stand or place the can in a small dish for stability. Always handle with care when moving.
📑 Table of Contents
Why Beer-Can Chicken Works So Well
There’s a reason this method has stood the test of time. It’s not just about novelty—it’s about smart cooking science. When you place a chicken over a beer can, you’re essentially creating a mini convection oven on your grill. The can acts as a heat conductor and steam generator, which does two crucial things: it keeps the meat moist and it enhances flavor.
Let’s break it down. As the grill heats up, the beer inside the can warms rapidly. Once it reaches boiling point, it turns to steam. This steam rises into the cavity of the chicken, gently cooking the meat from the inside. Because the steam is moist heat, it prevents the chicken from drying out—even during long cooking times. This is especially helpful for white meat, which tends to dry out faster than dark meat.
But it’s not just about moisture. The beer itself contributes flavor. Different beers bring different notes: a light lager adds a crisp, clean taste, while a stout or porter can lend rich, malty, almost coffee-like undertones. Even a simple domestic beer works well, especially when combined with a good dry rub or spice blend. The alcohol evaporates during cooking, leaving behind the essence of the beer without any boozy aftertaste.
Another advantage? Even cooking. When you grill a whole chicken flat on the grate, the legs and thighs cook faster than the breast. But when the chicken stands upright on the beer can, heat surrounds it evenly. The breast doesn’t dry out, and the dark meat doesn’t overcook. It’s a balanced, all-around win.
And let’s not forget the presentation. A whole chicken standing proudly on a beer can is a showstopper. It looks impressive on the grill and even better on the platter. Your guests will be amazed—and you’ll look like a grilling pro, even if you’re doing it for the first time.
Choosing the Right Beer for Your Chicken
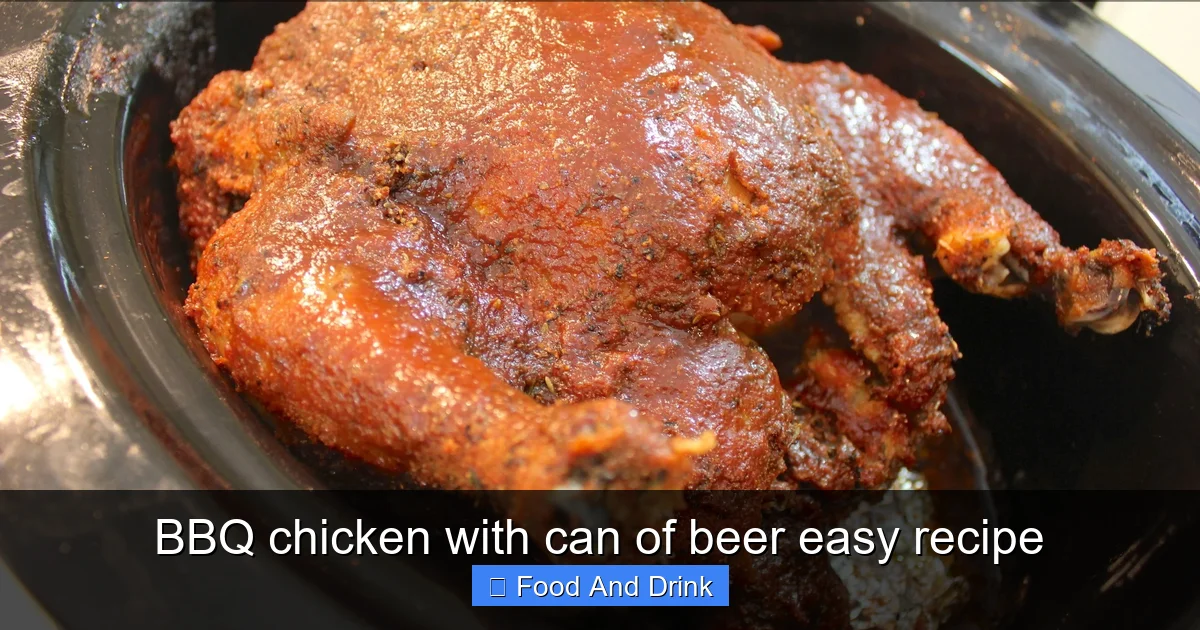
Visual guide about BBQ chicken with can of beer easy recipe
Image source: mrbcooks.com
One of the most common questions people ask is: “Does the type of beer really matter?” The short answer is: yes, but not as much as you might think. While the beer does contribute flavor, it’s not the only factor. The seasoning, cooking time, and heat level play bigger roles. Still, choosing the right beer can elevate your dish from good to great.
If you’re using a light lager—like Budweiser, Coors, or Miller—you’ll get a clean, mild flavor. This is a great choice if you want the spices and smoke to shine. Light lagers don’t overpower the chicken, making them ideal for beginners or when serving picky eaters.
For a slightly bolder taste, try a pale ale or IPA. These beers have more hop character, which can add a subtle bitterness and citrusy note. Just be cautious—some IPAs are very strong and might dominate the flavor if you’re not used to them. A session IPA or a mild pale ale is a safer bet.
If you’re feeling adventurous, go for a stout or porter. These dark beers bring deep, roasted flavors that pair beautifully with smoky BBQ rubs. Think coffee, chocolate, and toasted malt. They work especially well with spicy or coffee-based rubs. Just remember: dark beers can sometimes make the chicken look a bit gray on the inside, but the taste is still fantastic.
And what about non-alcoholic beer? Absolutely! It still creates steam and adds flavor, just without the alcohol. It’s a great option if you’re cooking for kids or avoiding alcohol.
Pro tip: Don’t use flat beer. Open the can, pour out about half (or drink it—no judgment!), and use it while it’s still fresh. Flat beer won’t create as much steam, and the flavor will be duller.
Essential Ingredients and Equipment
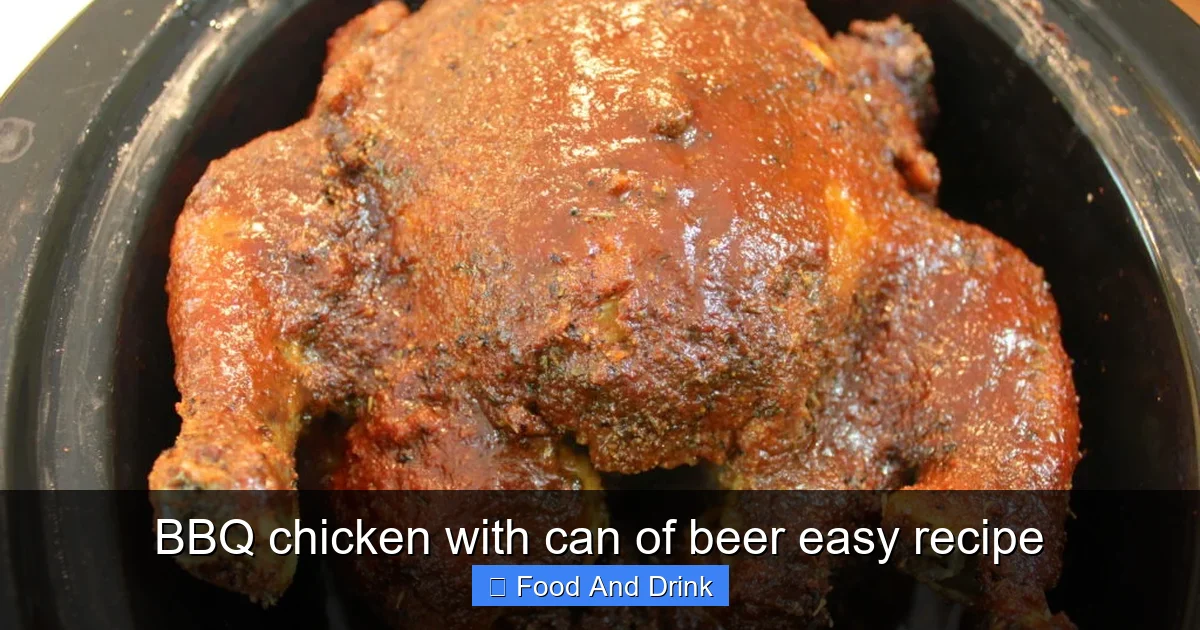
Visual guide about BBQ chicken with can of beer easy recipe
Image source: mrbcooks.com
The beauty of beer-can chicken is its simplicity. You don’t need a long list of ingredients or fancy tools. Here’s what you’ll need to get started:
For the Chicken
- 1 whole chicken (3.5 to 4.5 pounds)
- 1 can of beer (12 oz)
- 2–3 tablespoons of dry rub or seasoning blend
- 1 tablespoon olive oil or melted butter (optional, for basting)
- Salt and pepper to taste
For the Rub (Homemade Option)
- 1 tablespoon paprika
- 1 teaspoon garlic powder
- 1 teaspoon onion powder
- 1 teaspoon dried thyme
- 1 teaspoon dried oregano
- 1/2 teaspoon cayenne pepper (optional, for heat)
- 1 teaspoon brown sugar (for caramelization)
- 1/2 teaspoon black pepper
- 1/2 teaspoon salt
Equipment
- Grill (charcoal, gas, or pellet)
- Beer can holder or sturdy can (aluminum only—never steel)
- Tongs or heat-resistant gloves
- Meat thermometer
- Basting brush (optional)
You don’t need a special beer can chicken stand, though they’re available if you want one. A regular aluminum beer can works perfectly—just make sure it’s clean and not dented. Avoid steel cans, which can leach harmful chemicals when heated.
Step-by-Step Cooking Instructions
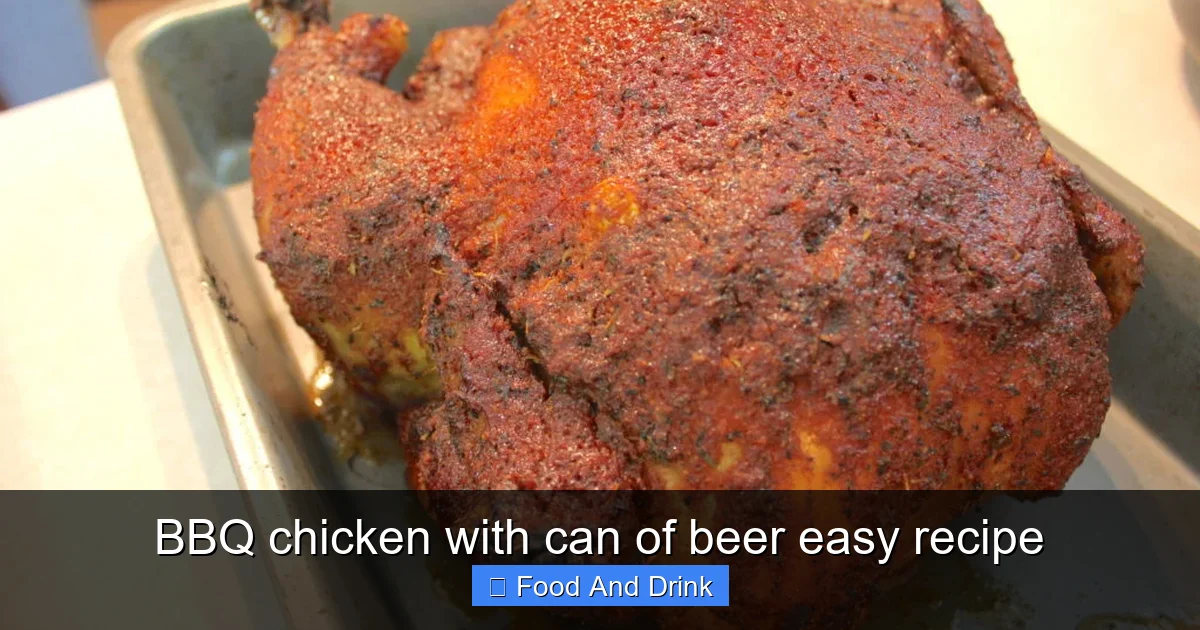
Visual guide about BBQ chicken with can of beer easy recipe
Image source: mrbcooks.com
Now for the fun part: cooking your beer-can chicken. Follow these steps for juicy, flavorful results every time.
1. Prep the Chicken
Start by removing the giblets and neck from the cavity (if included). Rinse the chicken inside and out, then pat it completely dry with paper towels. Dry skin is key to crispy results.
2. Season Generously
Rub the chicken all over with olive oil or melted butter. This helps the seasoning stick and promotes browning. Then, sprinkle your dry rub liberally on all sides—inside the cavity, under the skin (gently lift the skin and rub some in), and on the outside. Don’t be shy. Let it sit for 15–30 minutes at room temperature while you prep the grill.
3. Prep the Beer Can
Open the beer can and pour out (or drink) about half. You want the can to be about half full. This ensures enough liquid to create steam but not so much that it boils over. Wipe the top of the can clean to avoid any residue getting on the chicken.
4. Set Up the Grill
For charcoal grills: Light the coals and let them burn until covered with white ash. Push the coals to the sides, creating a cooler zone in the center. This indirect heat method prevents flare-ups and ensures even cooking.
For gas grills: Turn on one or two burners to medium heat, leaving the center off. This creates the same indirect heat zone.
5. Place the Chicken on the Can
Carefully lower the chicken cavity onto the open beer can. The can should fit snugly inside. Stand the chicken upright in the center of the grill, over the cooler zone. The legs should touch the grill grates for stability.
6. Close the Lid and Cook
Close the grill lid and let the chicken cook for about 1 to 1.5 hours. Resist the urge to peek too often—every time you open the lid, you lose heat and extend cooking time.
7. Check the Temperature
After about an hour, start checking the internal temperature. Insert a meat thermometer into the thickest part of the thigh, avoiding the bone. The chicken is done when it reaches 165°F (74°C). The breast should be around 160°F (71°C)—it will continue to cook slightly after removal.
8. Rest and Serve
Once done, carefully remove the chicken from the grill using tongs or gloves. Let it rest for 10–15 minutes. This allows the juices to redistribute, keeping the meat moist. Then, lift the chicken off the can (use tongs—it will be hot!) and carve as desired.
Tips for Perfect Beer-Can Chicken
Even with a simple recipe, a few pro tips can make a big difference.
Use a Stable Setup
A wobbly chicken can tip over, creating a mess and a safety hazard. Make sure the can is upright and the chicken is balanced. If needed, use a beer can chicken stand or place the can in a small baking dish for extra stability.
Don’t Skip the Resting Time
Resting is non-negotiable. It’s the secret to juicy meat. Cutting into the chicken too soon lets all the juices run out, leaving you with dry meat.
Baste for Extra Flavor (Optional)
If you want a glossy, flavorful finish, baste the chicken with a mix of melted butter, BBQ sauce, or beer during the last 15 minutes of cooking. Just don’t baste too early—wet skin won’t crisp up.
Watch for Flare-Ups
Fat dripping onto hot coals can cause flames. If this happens, move the chicken to a cooler part of the grill temporarily. Using indirect heat minimizes this risk.
Experiment with Wood Chips
Add a handful of soaked wood chips (hickory, apple, or cherry) to your charcoal or gas grill for extra smokiness. Soak them in water for 30 minutes first, then place them near the heat source.
Try Different Rubs and Sauces
Once you master the basics, get creative. Try a Cajun rub, a coffee-chili blend, or a honey-mustard glaze. The beer-can method works with any flavor profile.
Serving Suggestions and Pairings
BBQ chicken with a can of beer is a meal in itself, but it shines even brighter with the right sides and drinks.
Classic Sides
- Coleslaw (creamy or vinegar-based)
- Corn on the cob (grilled or boiled)
- Baked beans (homemade or store-bought)
- Grilled vegetables (zucchini, bell peppers, onions)
- Garlic bread or cornbread
Sauces and Condiments
Serve with a variety of dipping sauces:
- Classic BBQ sauce
- Honey mustard
- Ranch dressing
- Hot sauce or sriracha mayo
Drink Pairings
Since you’re already using beer, why not enjoy one with your meal? A crisp lager, a hoppy IPA, or a malty amber ale all complement the smoky, savory flavors of the chicken. For non-beer drinkers, iced tea, lemonade, or a fruity sangria work well.
Common Mistakes to Avoid
Even simple recipes can go wrong if you’re not careful. Here are a few pitfalls to watch out for:
Using a Dented or Damaged Can
A weak or dented can can collapse under the weight of the chicken. Always use a sturdy, undamaged aluminum can.
Overfilling the Can
Too much beer can boil over and flare up. Stick to half a can.
Grilling Over Direct Heat
This can cause the outside to burn before the inside is cooked. Always use indirect heat.
Skipping the Thermometer
Guessing doneness leads to undercooked or overcooked chicken. Use a thermometer for accuracy.
Not Letting the Chicken Rest
As mentioned earlier, resting is crucial. Don’t skip it!
Variations and Creative Twists
Once you’ve mastered the basics, try these fun variations:
Beer-Can Chicken Tacos
Shred the meat and serve in soft tortillas with salsa, avocado, and lime.
Spicy Buffalo Style
Brush the chicken with buffalo sauce during the last 10 minutes of cooking. Serve with blue cheese dressing.
Herb-Infused Beer
Add fresh herbs like rosemary, thyme, or bay leaves to the beer can before cooking.
Smoky Chipotle Rub
Use a rub with smoked paprika, chipotle powder, and garlic for a bold, smoky kick.
Grilled Pineapple Salsa
Top the chicken with a fresh salsa made from grilled pineapple, red onion, cilantro, and lime.
Conclusion
BBQ chicken with a can of beer is more than just a fun cooking trick—it’s a reliable, delicious method that delivers juicy, flavorful results with minimal effort. Whether you’re a grilling newbie or a seasoned pitmaster, this recipe is worth adding to your rotation. It’s perfect for summer cookouts, family dinners, or anytime you want to impress with little work.
The combination of steam, spice, and smoke creates a chicken that’s tender, moist, and packed with flavor. And with so many ways to customize it—different beers, rubs, and sauces—you’ll never get bored. So fire up the grill, crack open a beer (for the chicken, of course), and get ready to enjoy one of the easiest and most rewarding BBQ dishes around.
Frequently Asked Questions
Can I use a whole chicken or just parts?
You can use a whole chicken or bone-in parts like thighs and drumsticks. Whole chickens work best for the beer-can method.
Do I need to brine the chicken first?
No, the beer keeps it moist, but a quick brine can add extra flavor and tenderness if you have time.
Can I use flavored beer like pumpkin or fruit beer?
Yes, but strong flavors might overpower the chicken. Use mild fruit beers or save them for dessert.
How do I clean the beer can after cooking?
Rinse it out and recycle. Never reuse a can that’s been heated—it’s not safe for drinking.
Can I add vegetables to the grill?
Absolutely! Grill corn, zucchini, or potatoes around the chicken for a complete meal.
What’s the best way to carve beer-can chicken?
Let it rest, then remove the can. Carve by separating legs, wings, and slicing the breast meat off the bone.

